Come see this mirror makeover and learn how to paint a mirror frame with step by step guide. Save this post so you can make sure you know how to do this easy DIY whenever you find an old mirror you want to upcycle!
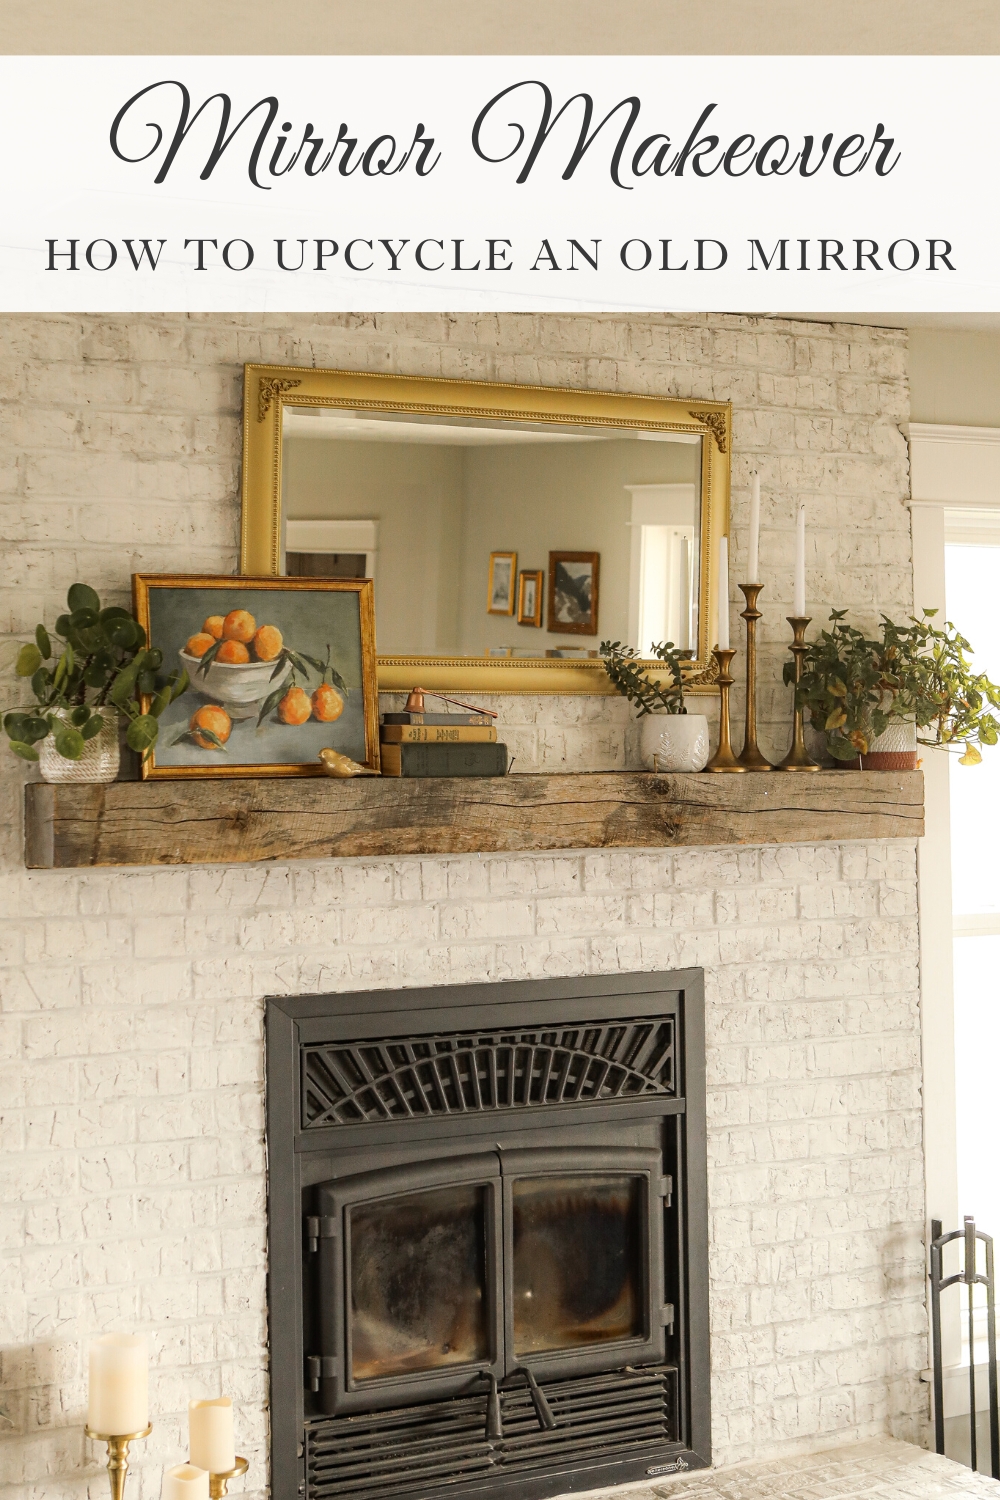
I love when I can breathe new life into something I already have. Whether it is upcycling it into something new or just giving it a little makeover, I love these kinds of projects and the creativity that comes with them.
When we gave my daughter’s bedroom a tween makeover a few months ago, we swapped out the old mirror in her room with a more modern, boho chic mirror that is her style. The mirror she had in there had previously been my mirror at our old house, at our first house and even at my apartment before that. The mirror has been with me longer than even Kevin!
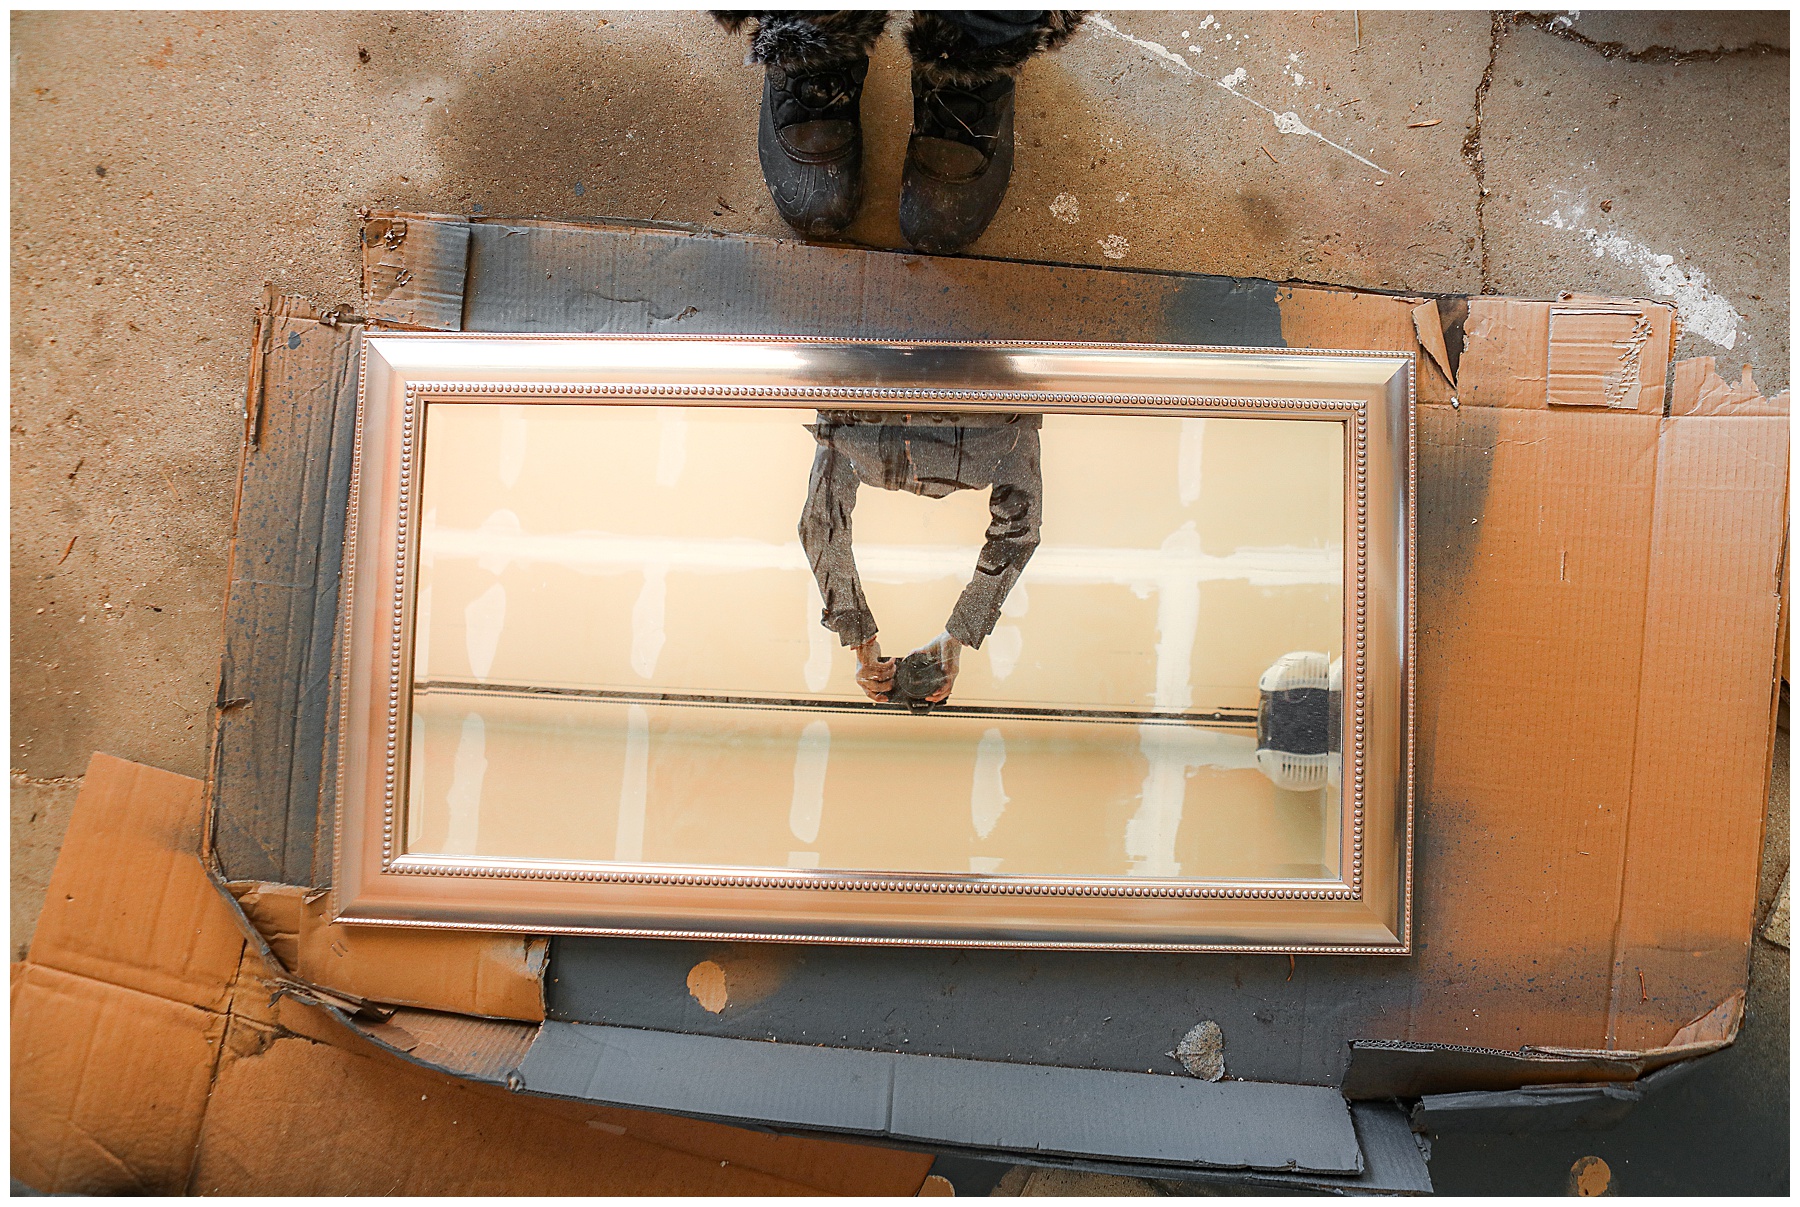
It’s been a good mirror. I’ve always loved the shape and the simplicity of the lines. But it was 2005 silver, and obviously gold has made a massive comeback in home decor.
Instead of willing the mirror away, I decided it was time to give to do a mirror makeover and learn how to paint a mirror frame.
Making it my mid-life style
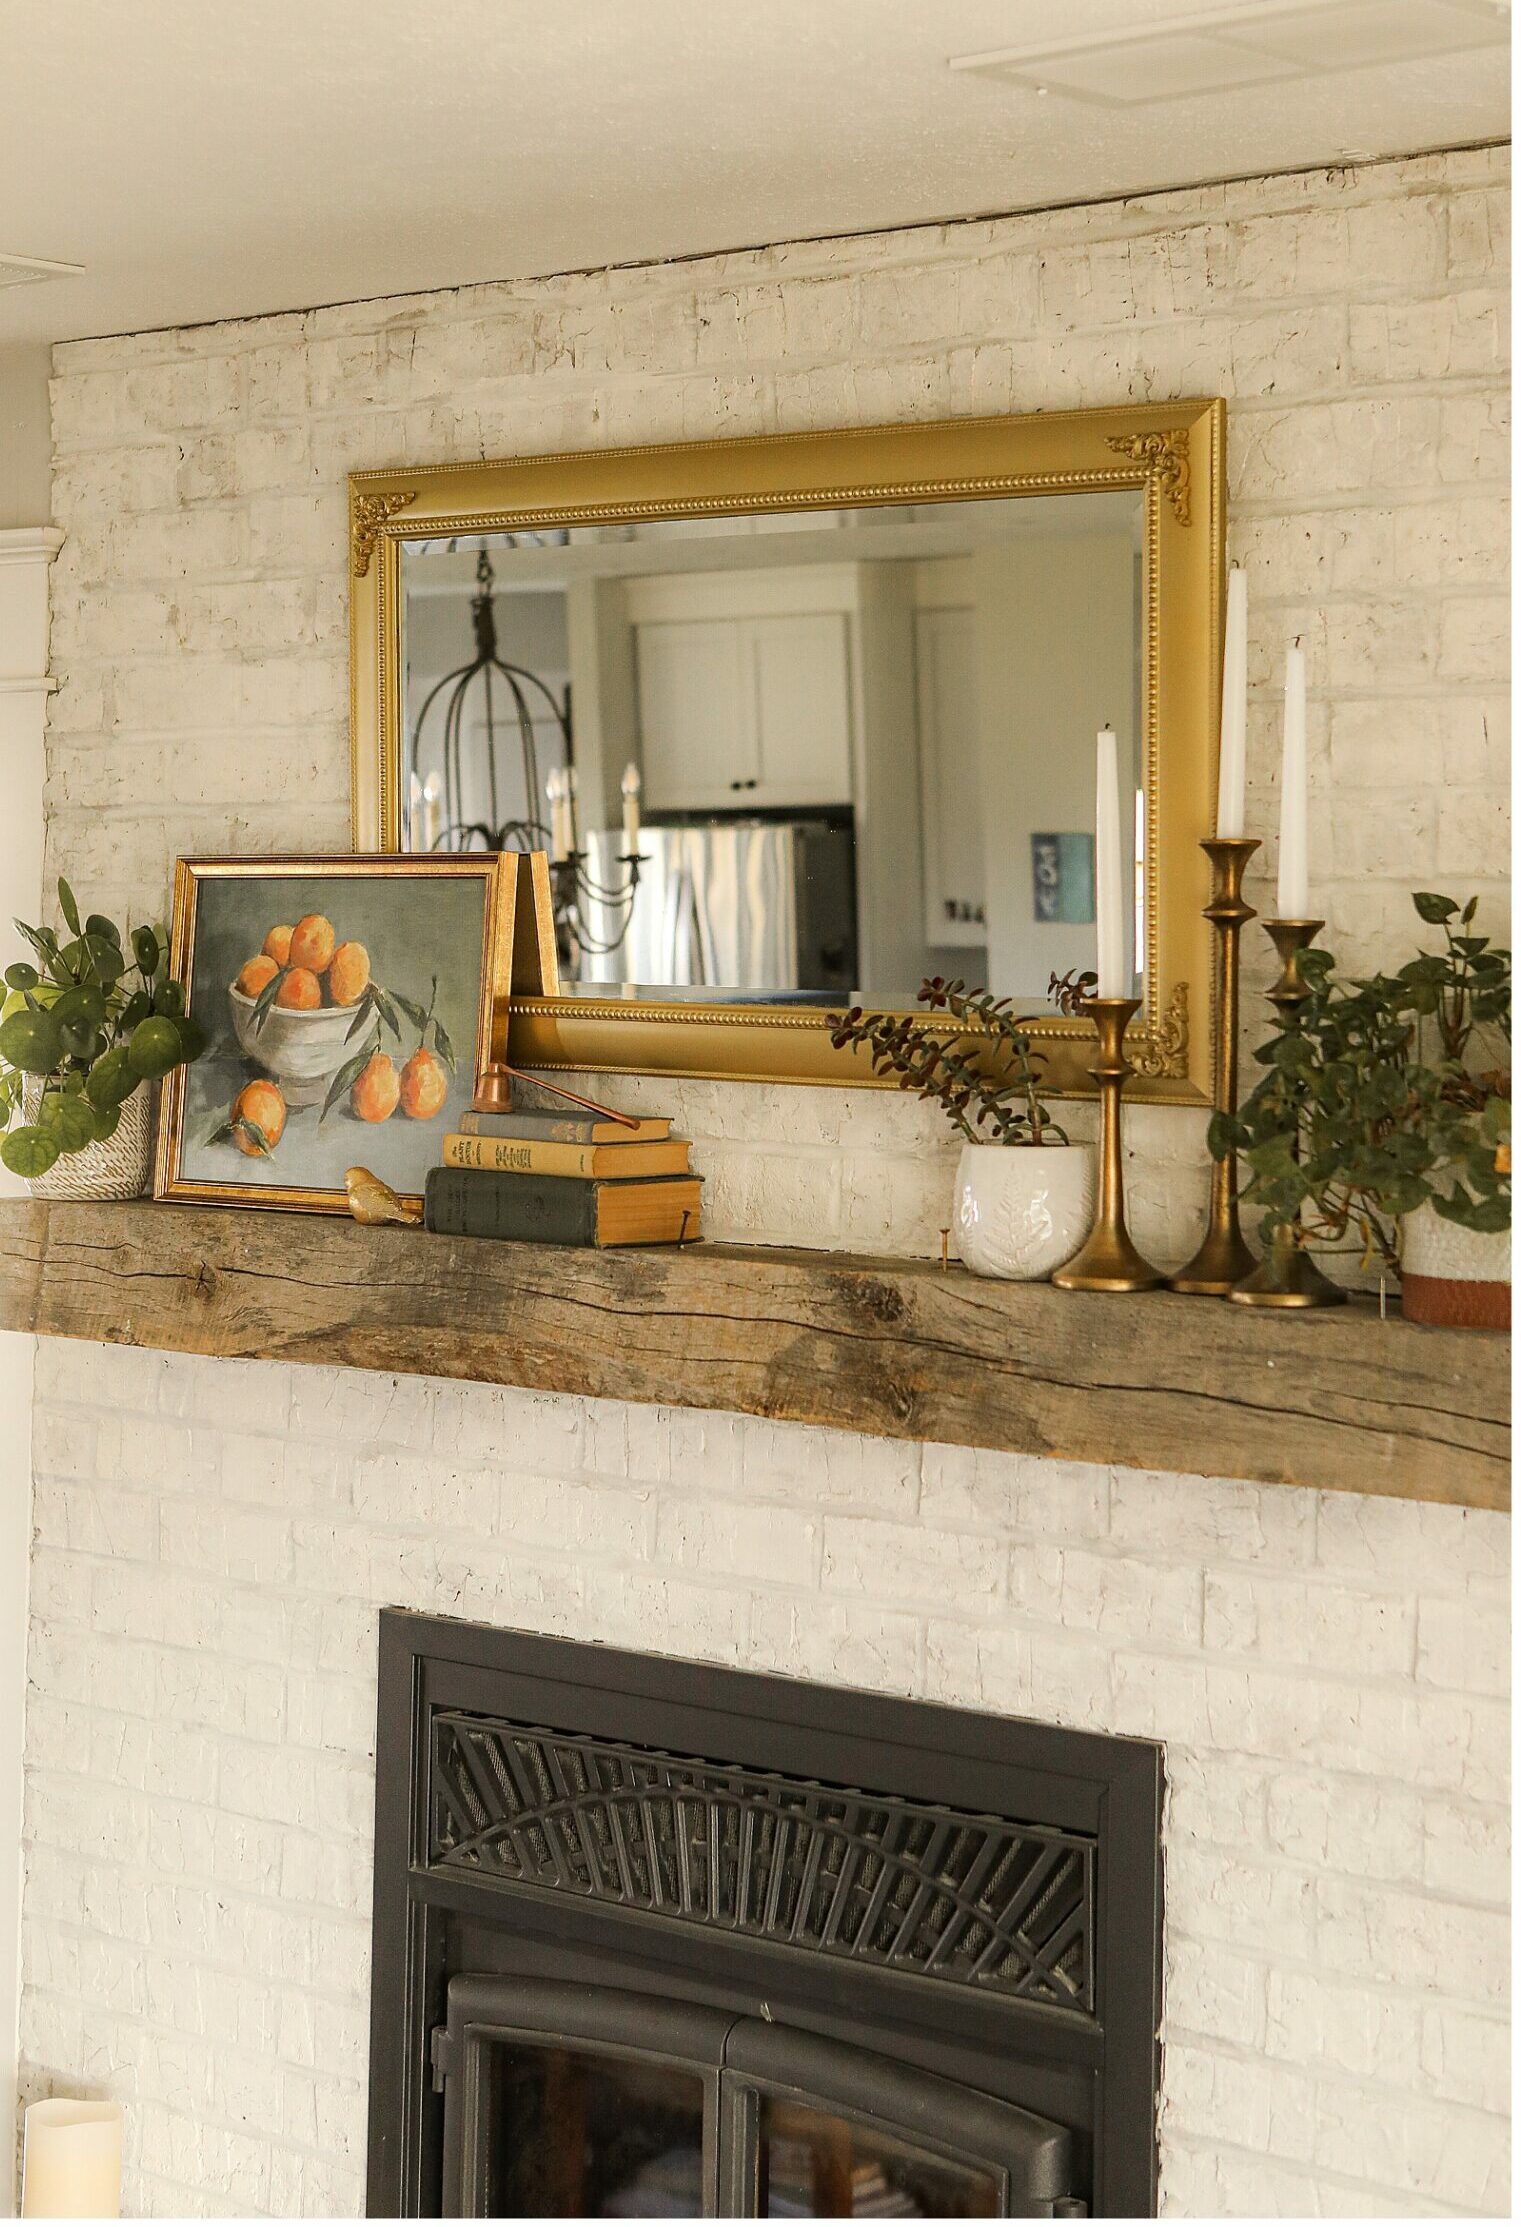
I already mentioned that I love the shape of the mirror. I really believe that you can’t go wrong with a nice rectangle. However, it was definitely from a different era in my life. I decided to upcycle the silver mirror into a gold mirror – more of a champagne gold mirror versus the brassy gold.
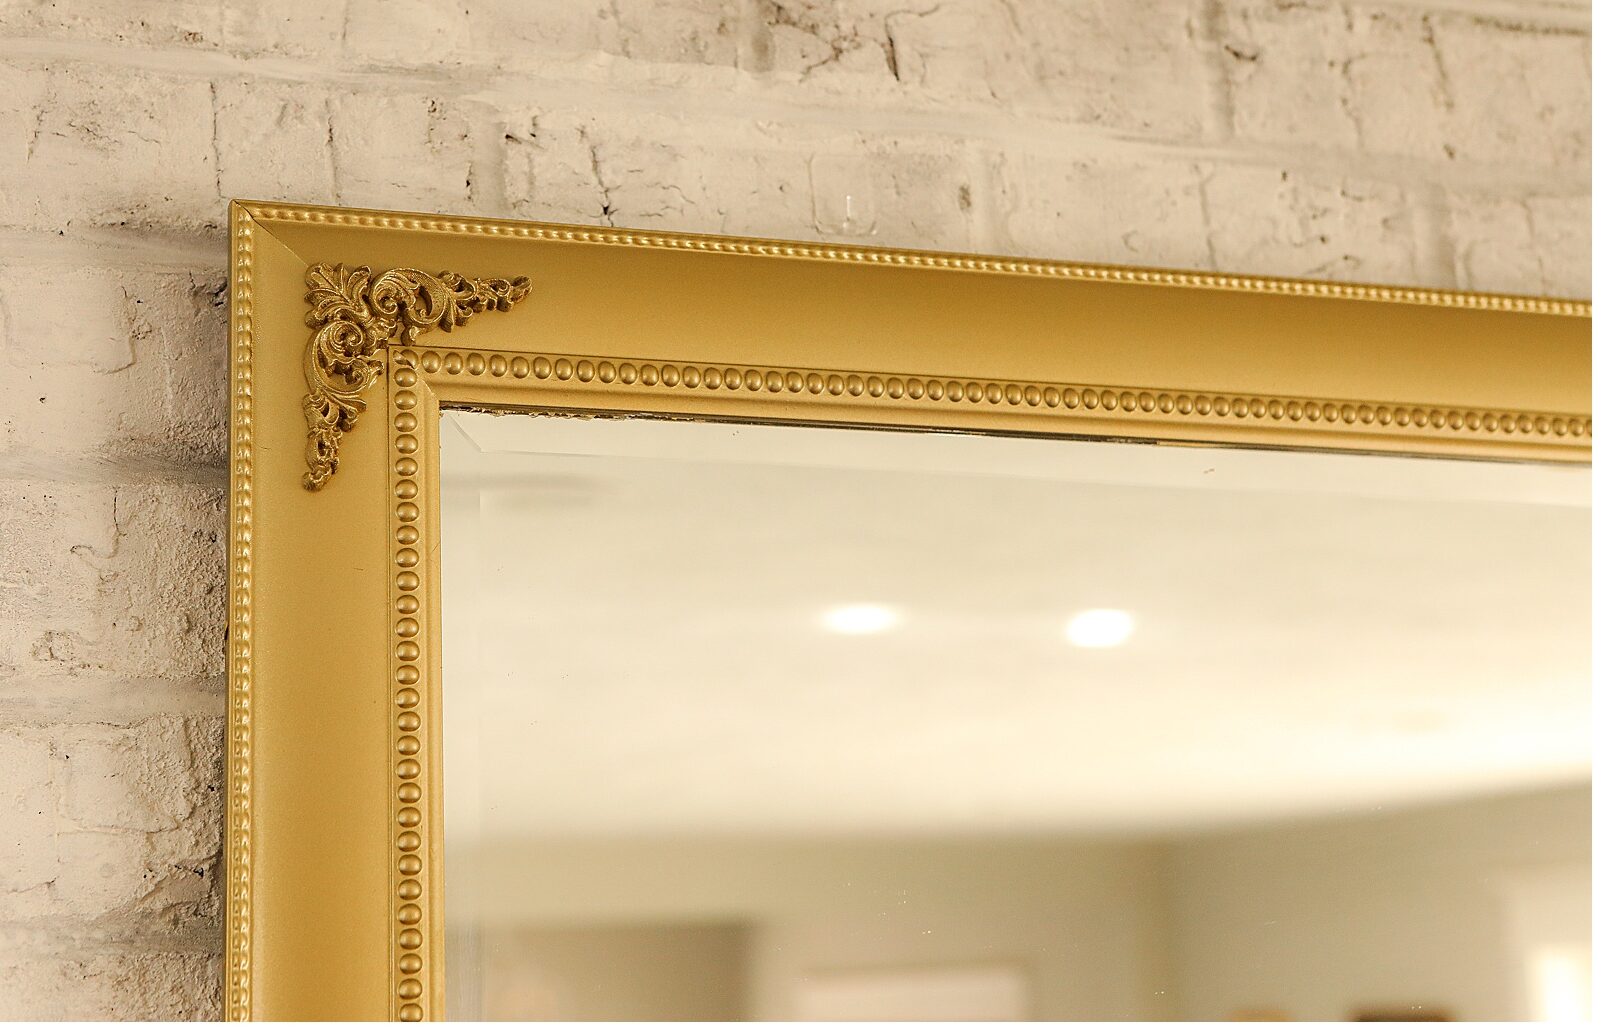
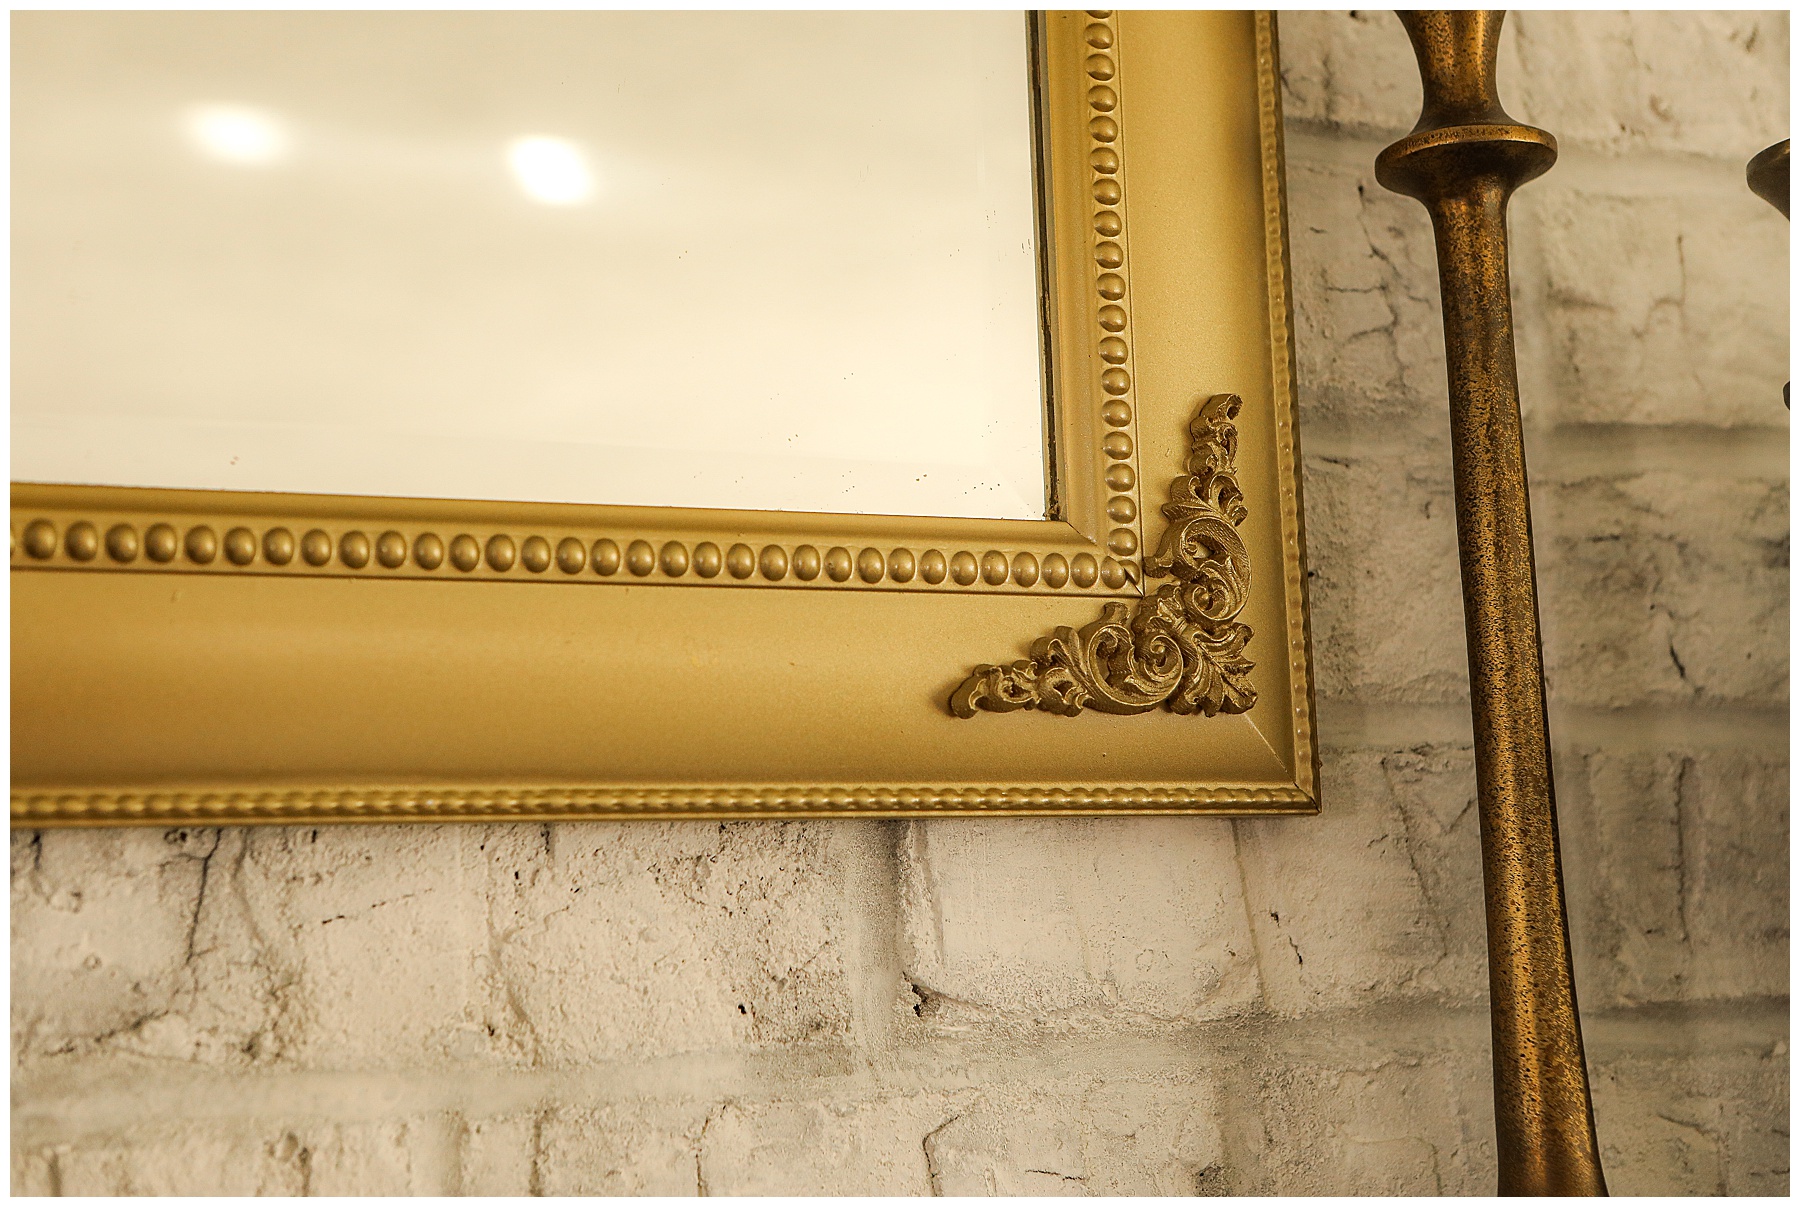
I also wanted to add a few more traditional touches. The original mirror was really simple, with straight edges and not a lot of detail with the exception of some beading around the sides. As my life has changed, I’ve definitely gravitated towards more traditional and vintage pieces. I decided to add a few wooden flourishes to the edges to give it more of a traditional vintage vibe.
Here’s how to paint a mirror and add some flourish details to breath new life into it.
Supplies for the mirror makeover
- Wooden Flourishes – My pieces are pretty similar to these ones {HERE}.
- Wood glue – I used a gorilla multipurpose wood glue
- Spray paint – I used two colors. Rustoleum Sunlit Brass Spray Paint {HERE} and Rustoleum Vintage Gold {HERE}
- Liquid Mask – This was used in place of blue tape and you can find it {HERE}. I love the way that this covered the entire mirror surface of the mirror so I didn’t have to worry about using blue tape on the whole thing. Painters use this on windows when they are spraying the trim.
- A paint brush – For painting on the liquid mask.
- Vintage Gold Paint {HERE}
- Sunlit Brass Paint {HERE}
Steps for the Mirror Makeover: How to paint a mirror frame
Liquid Mask
Before doing anything else, I cleaned the mirror. This step was important before spray painting and then adding the liquid mask. You don’t want to do either of these on a dust surface.
Once the mirror was clean I simply brushed on the liquid mask. It went on very easily. Put on a nice thick layer because that makes it easier to remove it later. I had some trouble in areas where I had it too thin.
Adding detail
Before painting the mirror, I added the corner details by securing them with wood glue and letting them dry for several hours. Hold them in place until they no longer slip or wiggle.
Once they were no longer moveable, I was able to paint the mirror.
How to paint a mirror frame
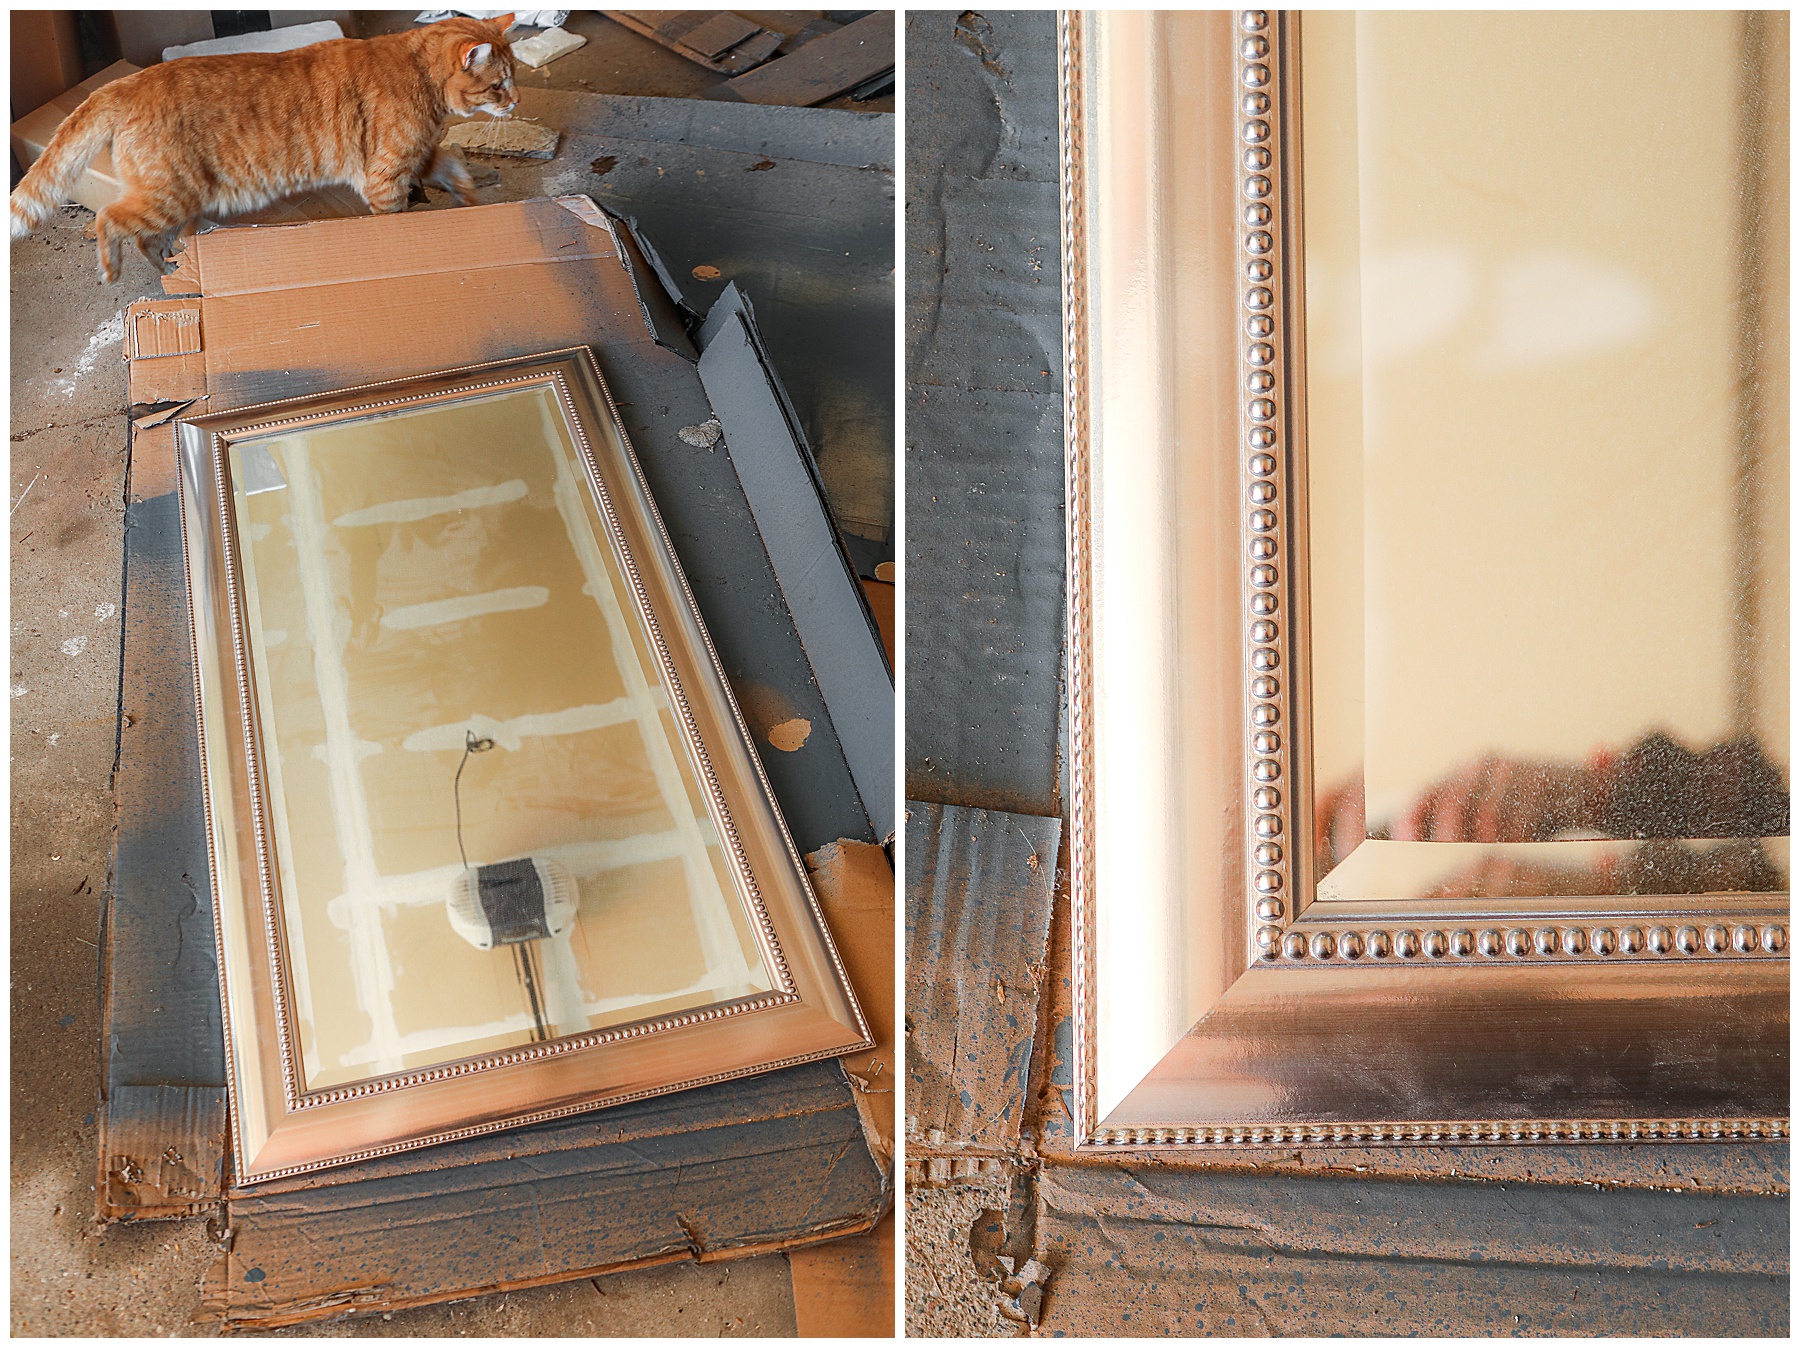
When the liquid mask was dry, I went to town spray painting the mirror. Because I used liquid mask, the surface of the mirror was safe and I didn’t have to worry about getting paint on any part of it. I started with the sunlit brass color but after letting it dry, I decided that was a bit too brassy.
I went in with the vintage gold to give it a nice dusting of that color and then ended up using the two in tandem to achieve a final outcome that I loved.
Once the mirror had dried for 24 hours, I removed the liquid mask. As I mentioned, this was more difficult than I hoped in places where I painted the liquid mask on too thin.
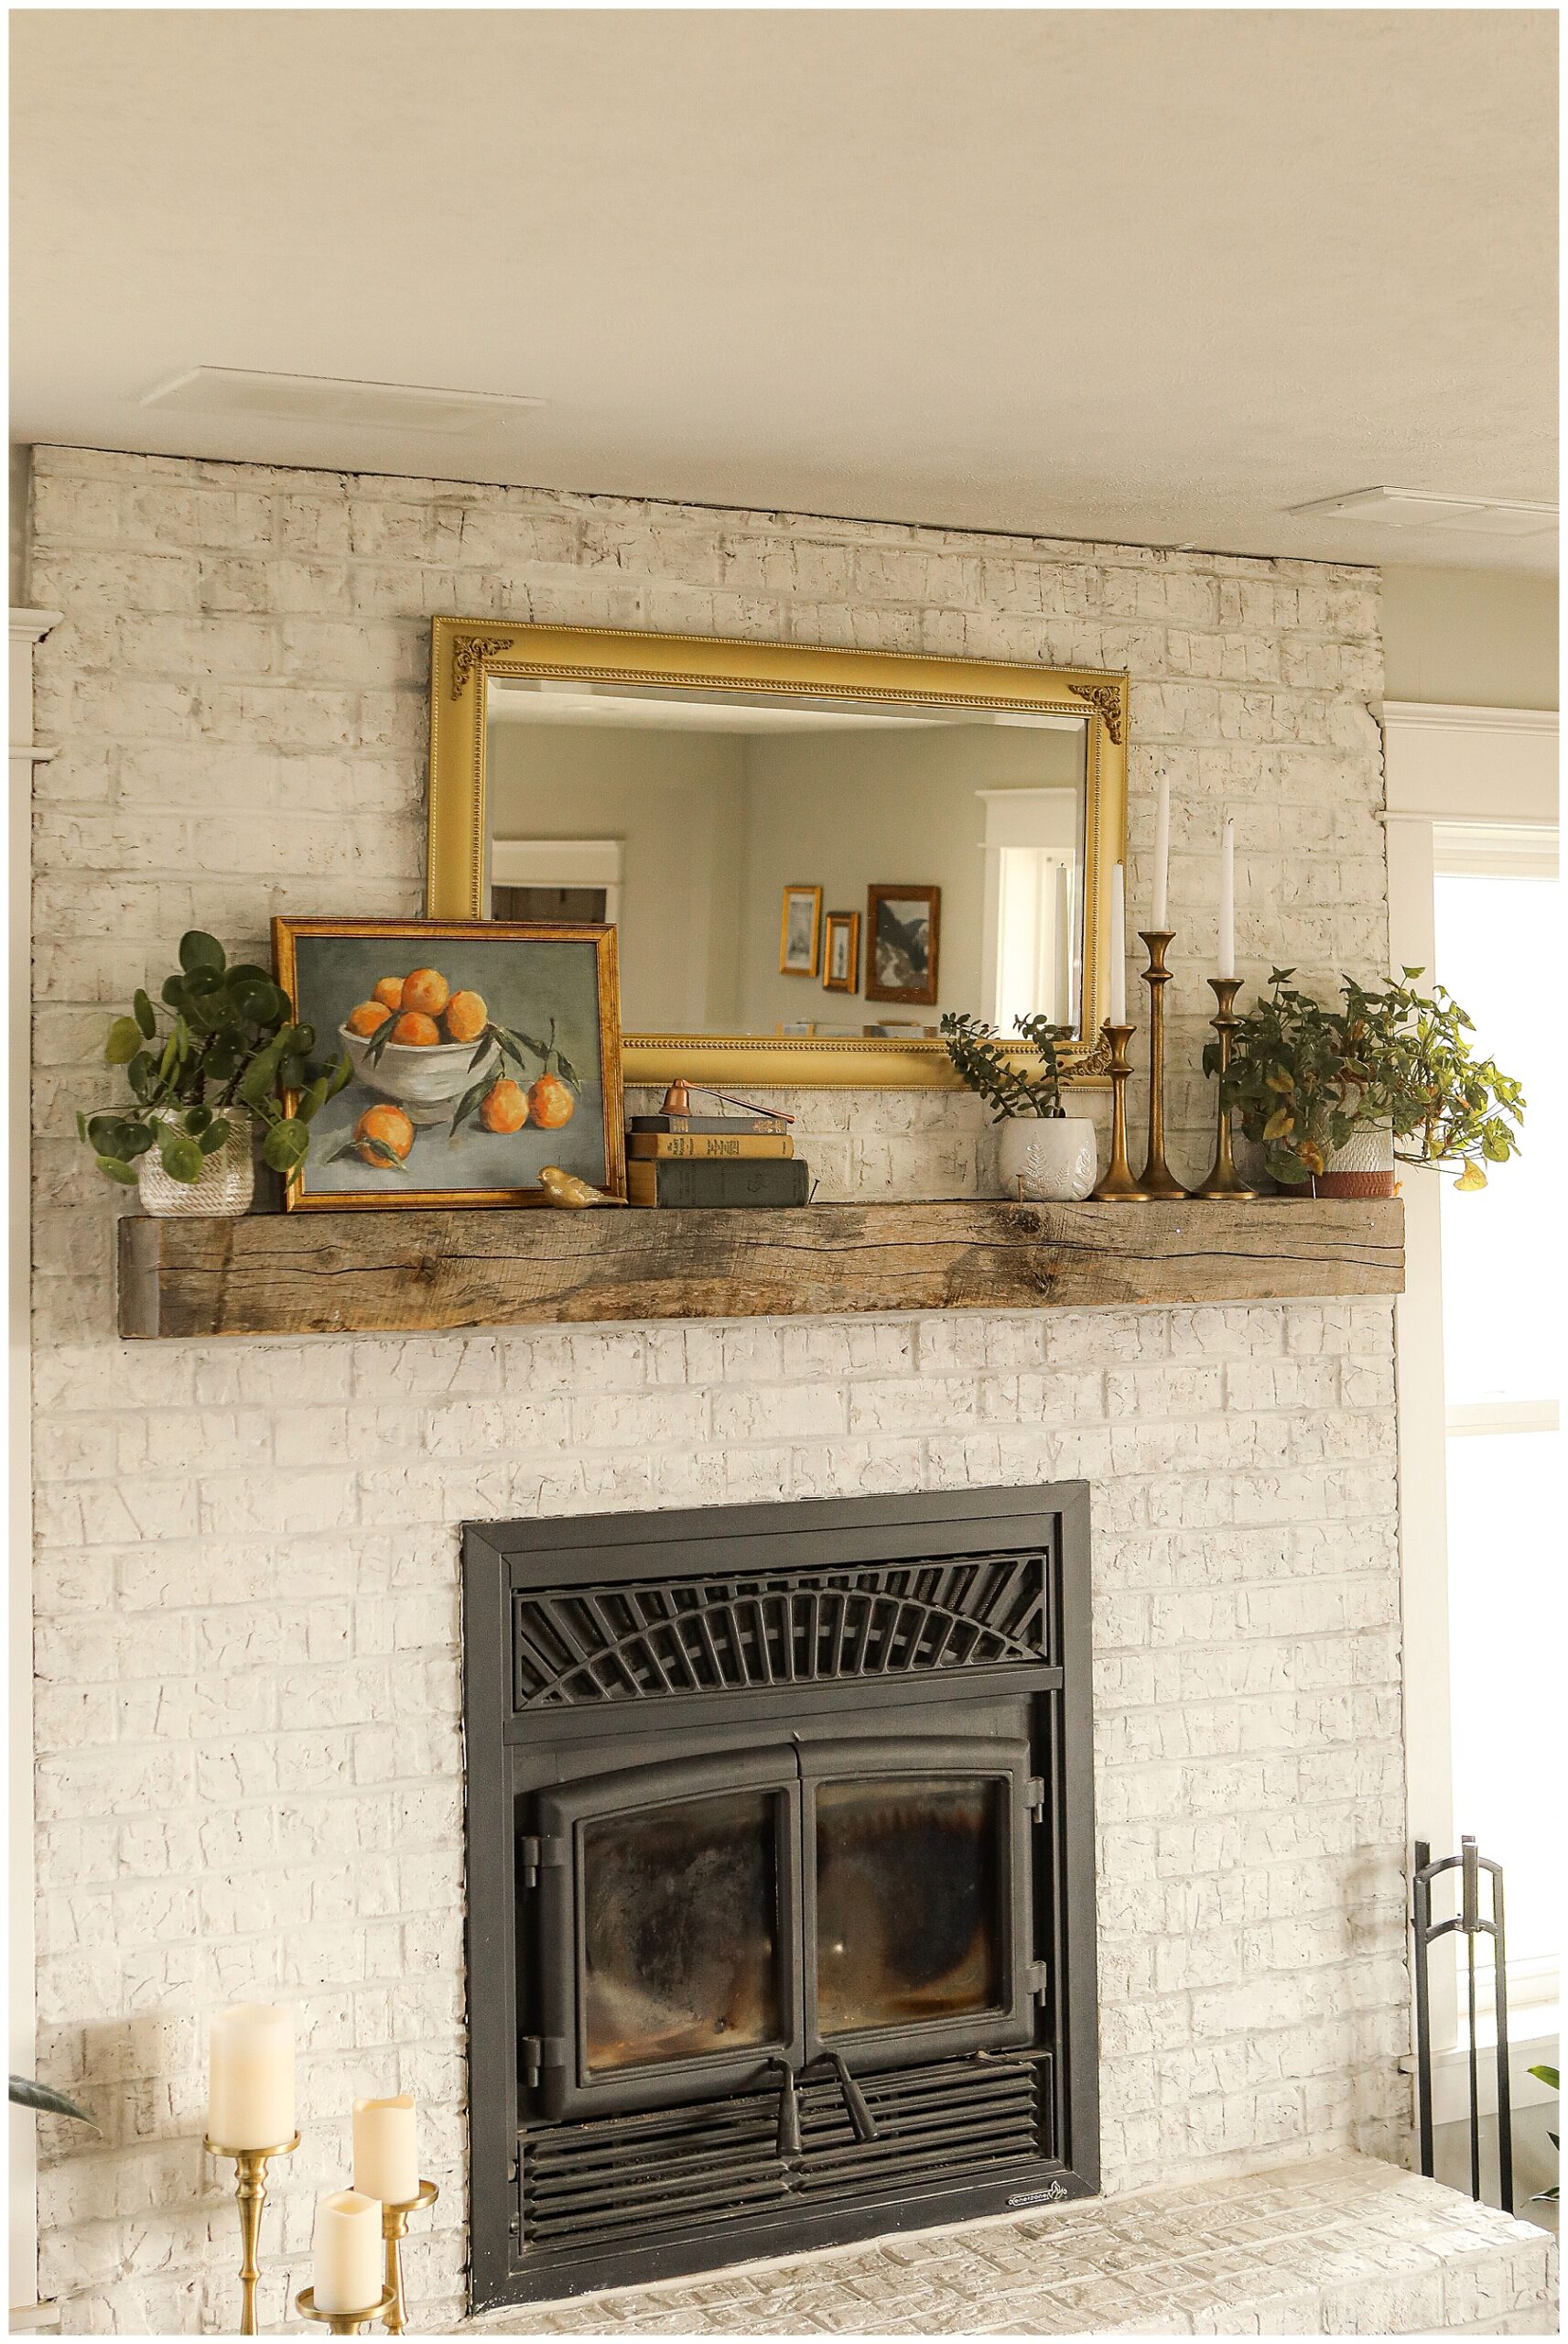
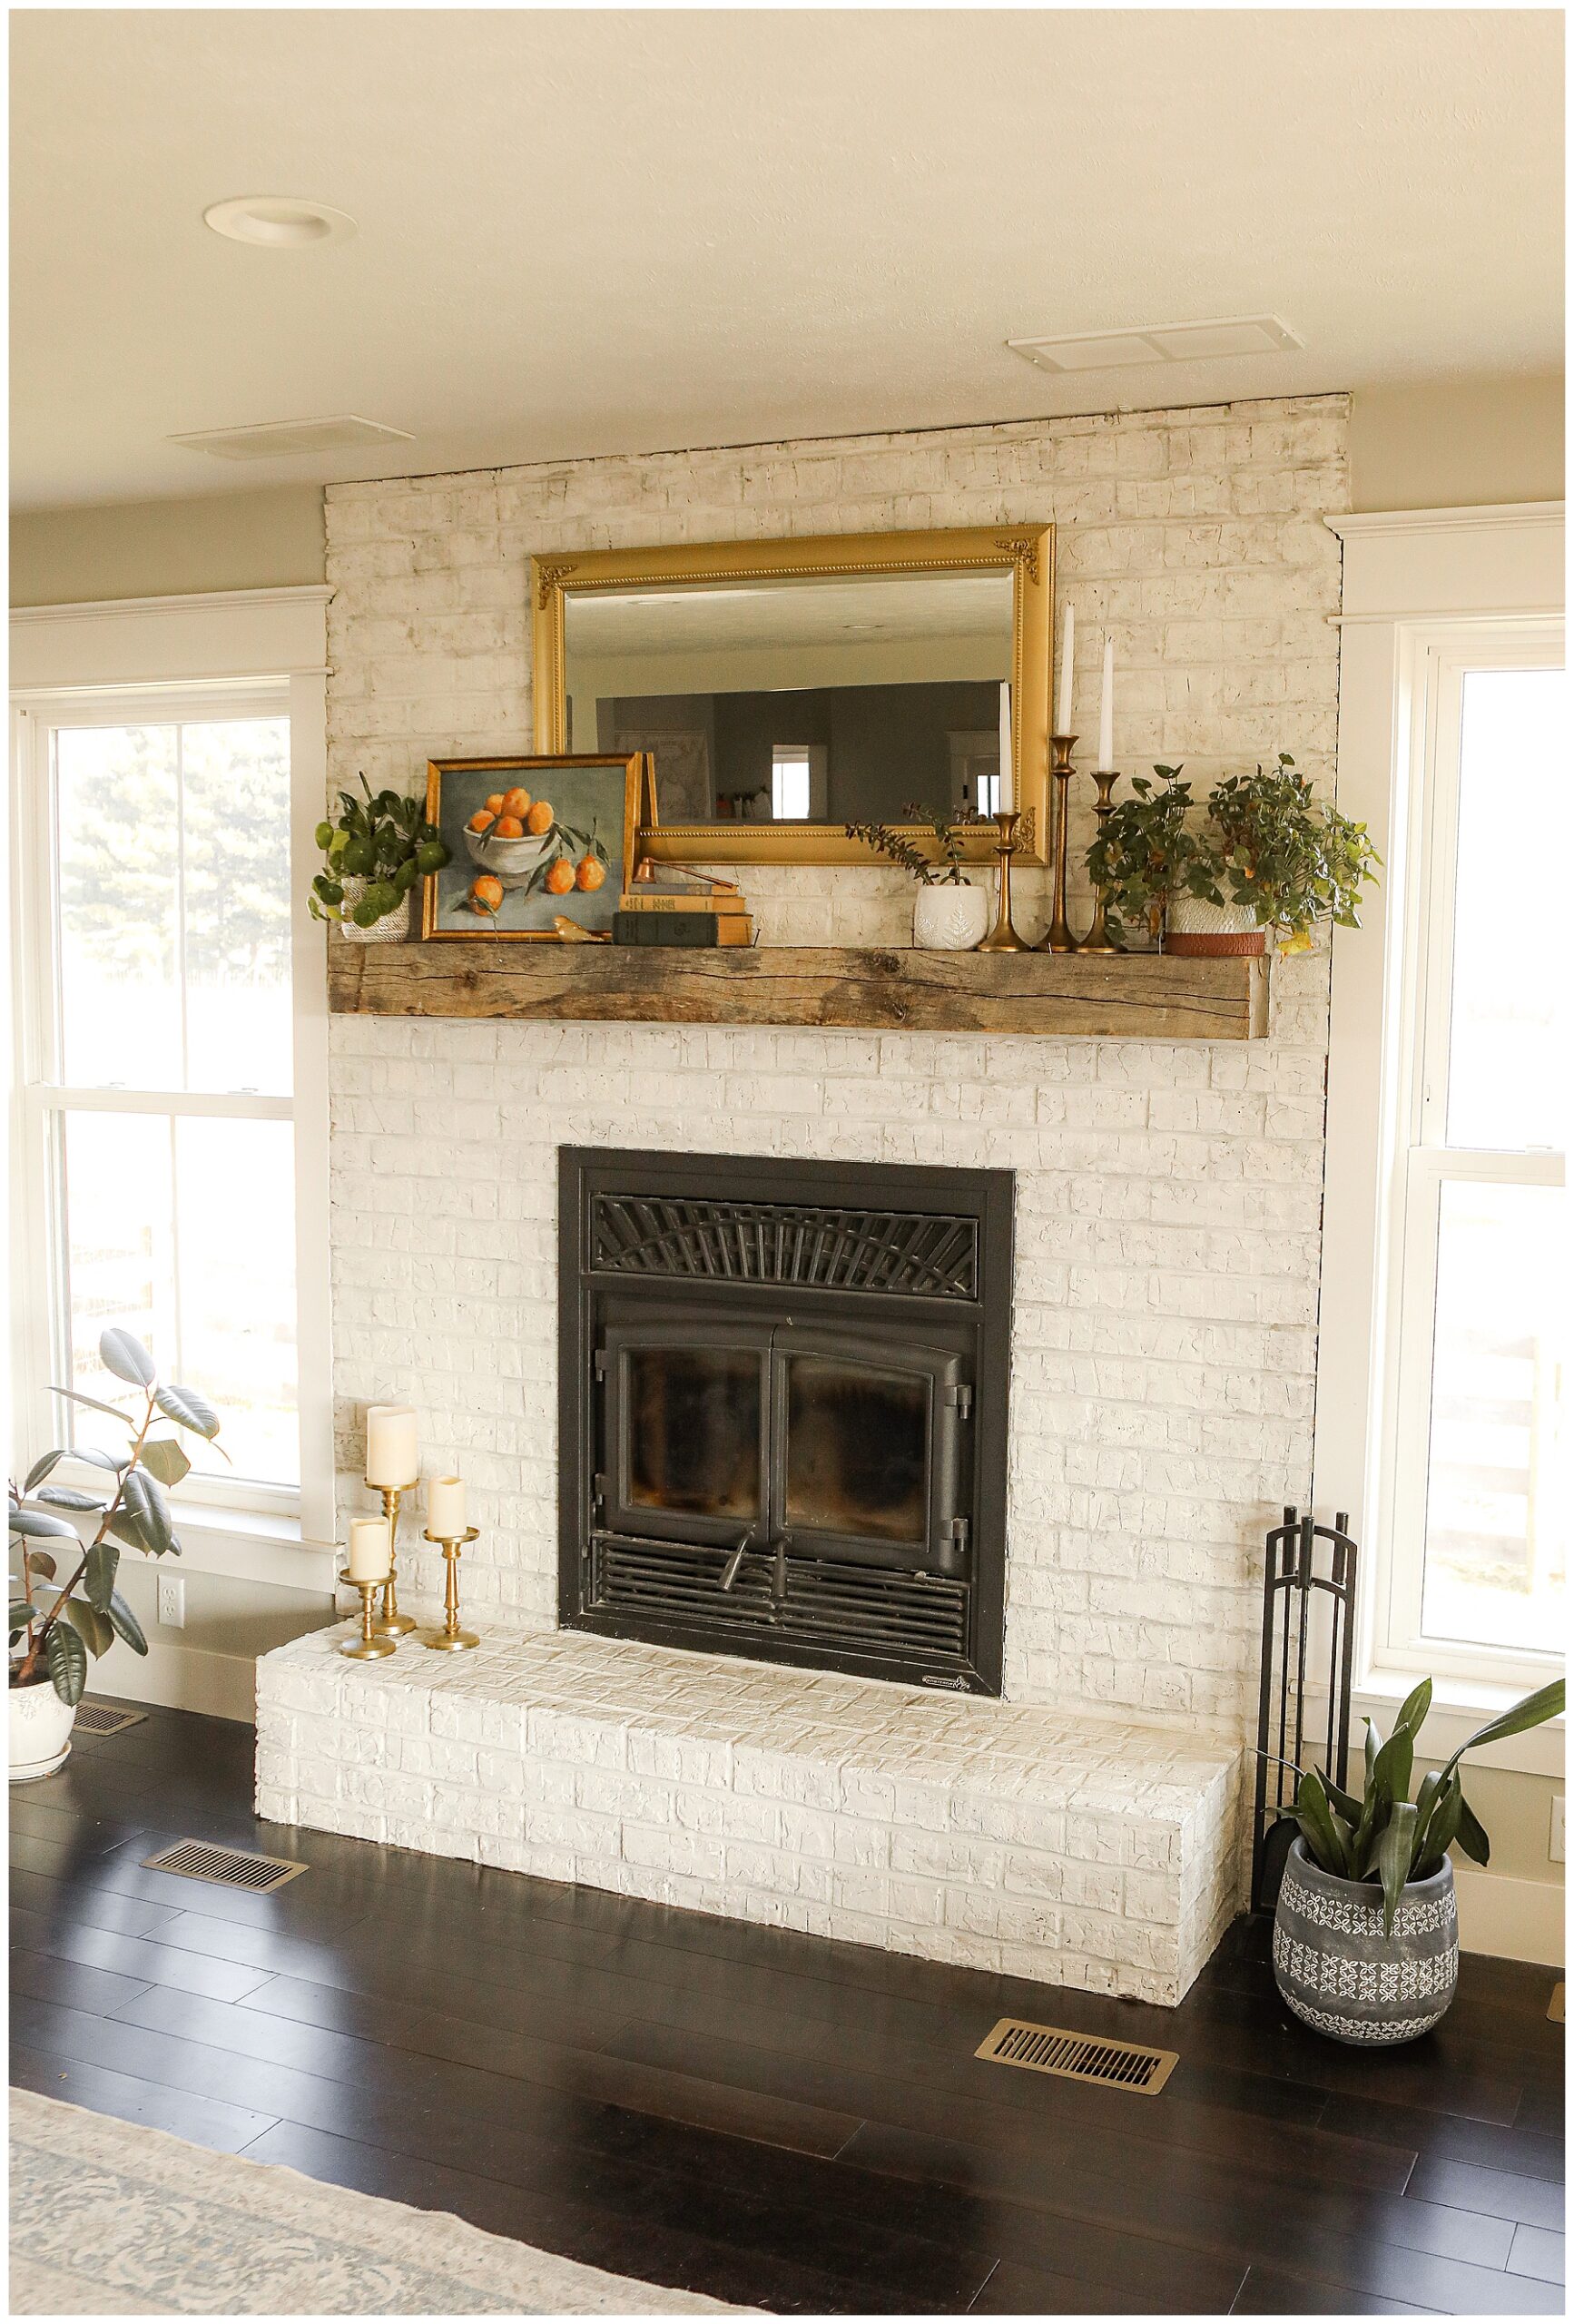
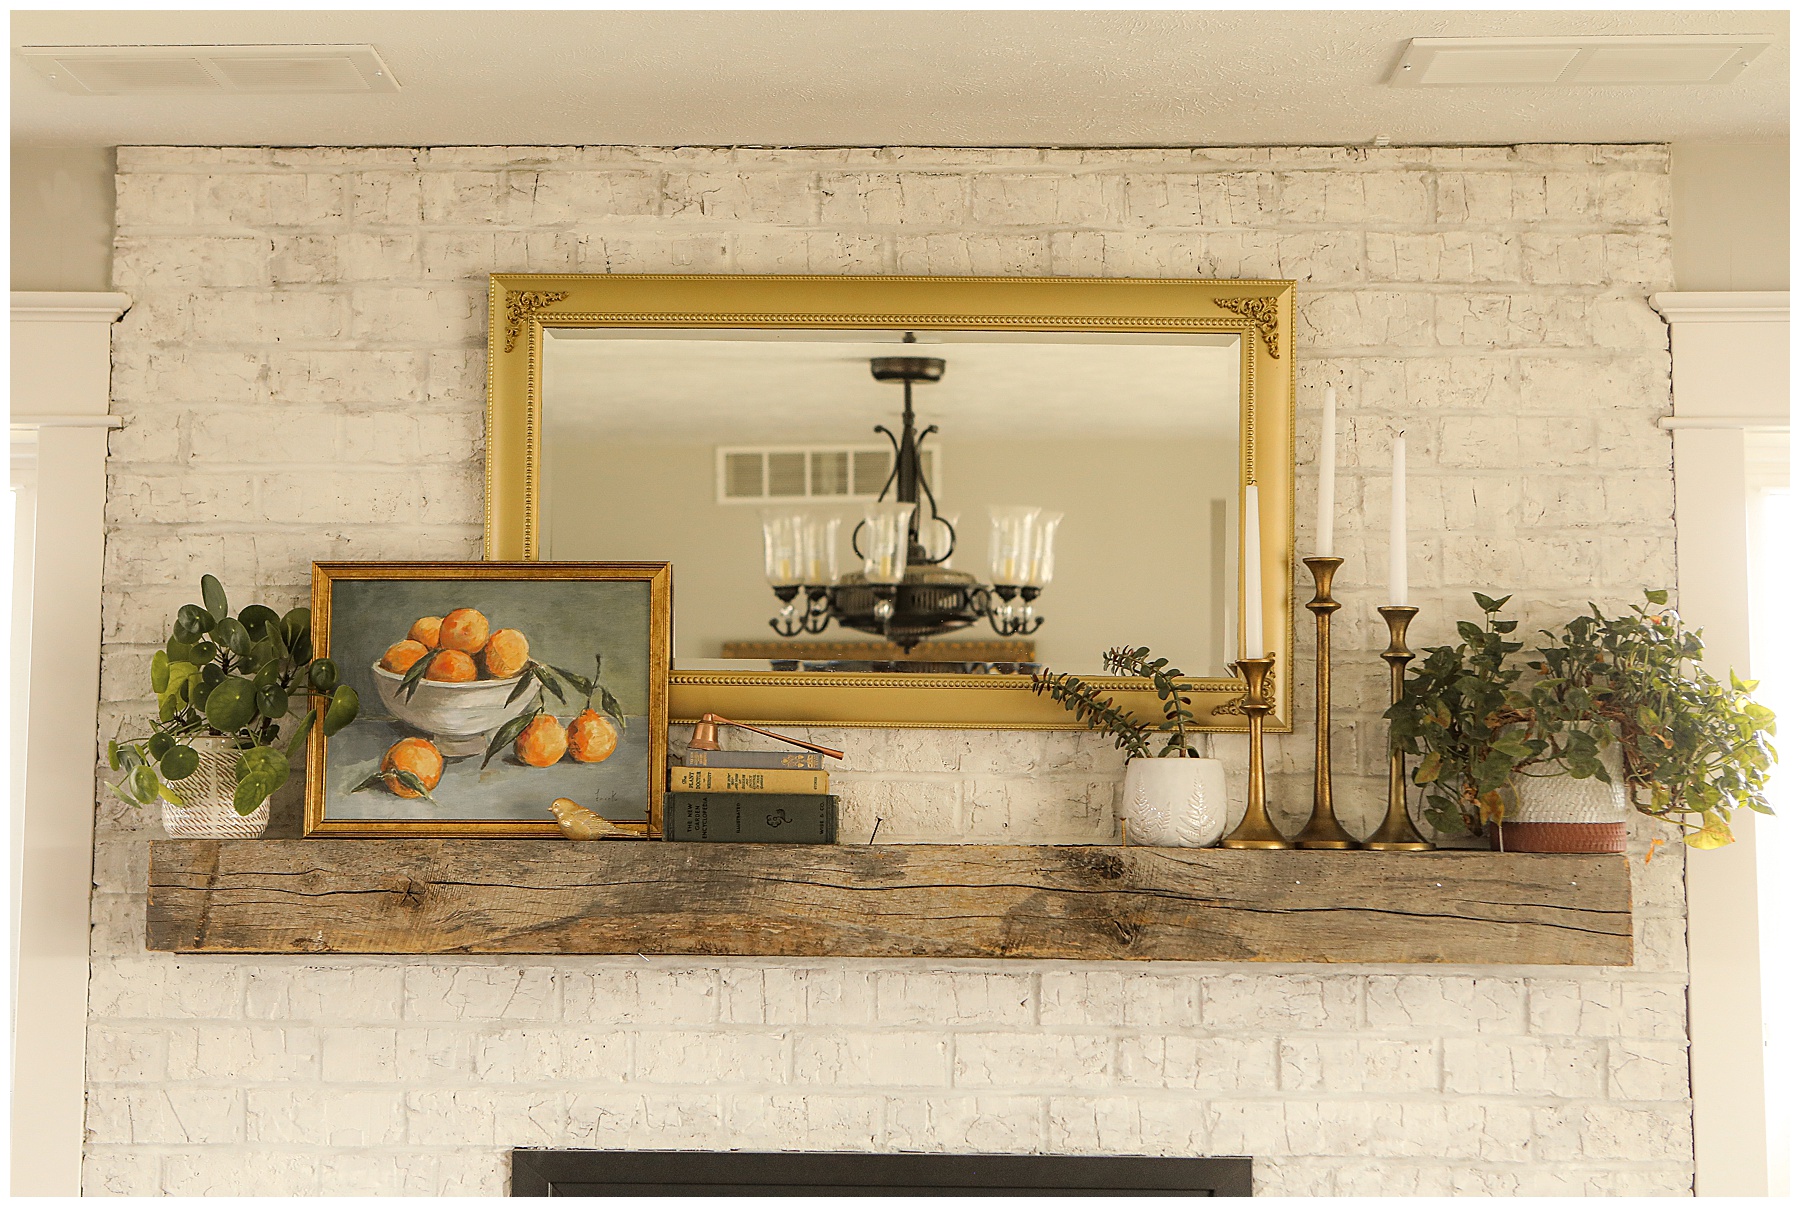
Lastly, I cleaned the mirror again and we hung it over the fireplace. What do you think of the outcome?
Looking for more easy Home Decor DIYs?
Check out these home decor DIYs if you’re looking to change things up in your home this season.
- Peel & Stick Wallpaper Tips {HERE}
- TV stand decor makeover {HERE}
- How to hang a gallery wall {HERE}
- Wood Basement Flooring Tile {HERE}
- Neutral Bedroom Makeover {HERE}
Thank you so much for stopping by friends! I hope that this post helped to inspire you and feel more comfortable with how to paint a mirror frame. And I hope you will come back again!




I’ve never thought about painting a frame personally. However, my sister has been redoing her home and she’s been looking to hang up some new mirrors and didn’t know how to revamp them. So I’ll pass this along to her! Thanks so much for sharing!
I love how this turned out. Everything looks fabulous. I wish we had a fireplace like that.
This entire post is inspiring and I cannot wait to try this idea! Thanks for sharing!
I love this! It turned out so beautiful. What a wonderful idea.
Wow! My Artist daughter does this a lot to give old frames new life and funky colors!
Ohh it looks great, and I love how you styled it above the mantle. Anytime you can repurpose an older item is a win!
I’m getting ready to put a frame around the mirror in my bathrooms. I was planning on using unfinished wood and painting it to match the bathroom.
Wow! This is a really great and cool idea! I’m gonna look my husband see this!
Wow! This is such a great help to paint our mirror frame at home and the result is just so satisfying and very mesmerizing! Loved it! Thanks!
The mirror looks very elegant! Love how the make over turned out!
This is right up my alley. I am all for re-doing things to make them your own. I have been seeing some similar projects but never the process, so thanks. Yours looks gorgeous, especially with the stacked still-life. Well done!
I love the way that you did this. I spray painted a mirror frame years back and that worked well. I must try this as it’s a great way to refresh a mirror.
Your advice are so precious! And now I know where to start from!
The look is so stylish and it goes with any decor of your home. Thanks for sharing this with us.
The step-by-step instructions are easy to follow, and the photos provide a good visual aid. It’s also helpful to have a list of the supplies needed for the project.
What a great color! I have nearly that exact mirror that also needs an upgrade. I followed these steps and it turned out fabulous.
This is brilliant. It turned out so beautifully. I never knew where to start, but this tutorial is super helpful!
Such a pretty mirror frame! I am loving this new look plus the whole setup 😍. It definitely has elevated the look of that fire space! Thanks for the tutorial ❤️.
This is great! I had the exact same situation where I had a mirror over my fireplace, but it was dark, and I wanted white or silver. I never got around to painting it, and we ended up buying a new one. I wish I had done this instead! The final product looks wonderful.
That is pretty! I also painted the frame of my son’s bathroom mirror and loved how it turned out.
The up cycled mirror turned out really well, the color and style fits the space that it’s in!
That mirror looks among and I would have thought you had purchased it just like the! I love repurposing older items instead of buying new…. very sustainable and much needed today!
I never thought of doing this. I have to say your mirror came out really good! I like how it looks above the mantle.