Learn how to hang a gallery wall the right way with our living room gallery wall layout that we made with art from Etsy!

When it comes to art in my home, I like to change it out frequently. In fact, I try to change it seasonally. To do that, it’s important that I find inexpensive ways to update it and go in with a plan for how I want it all to look.
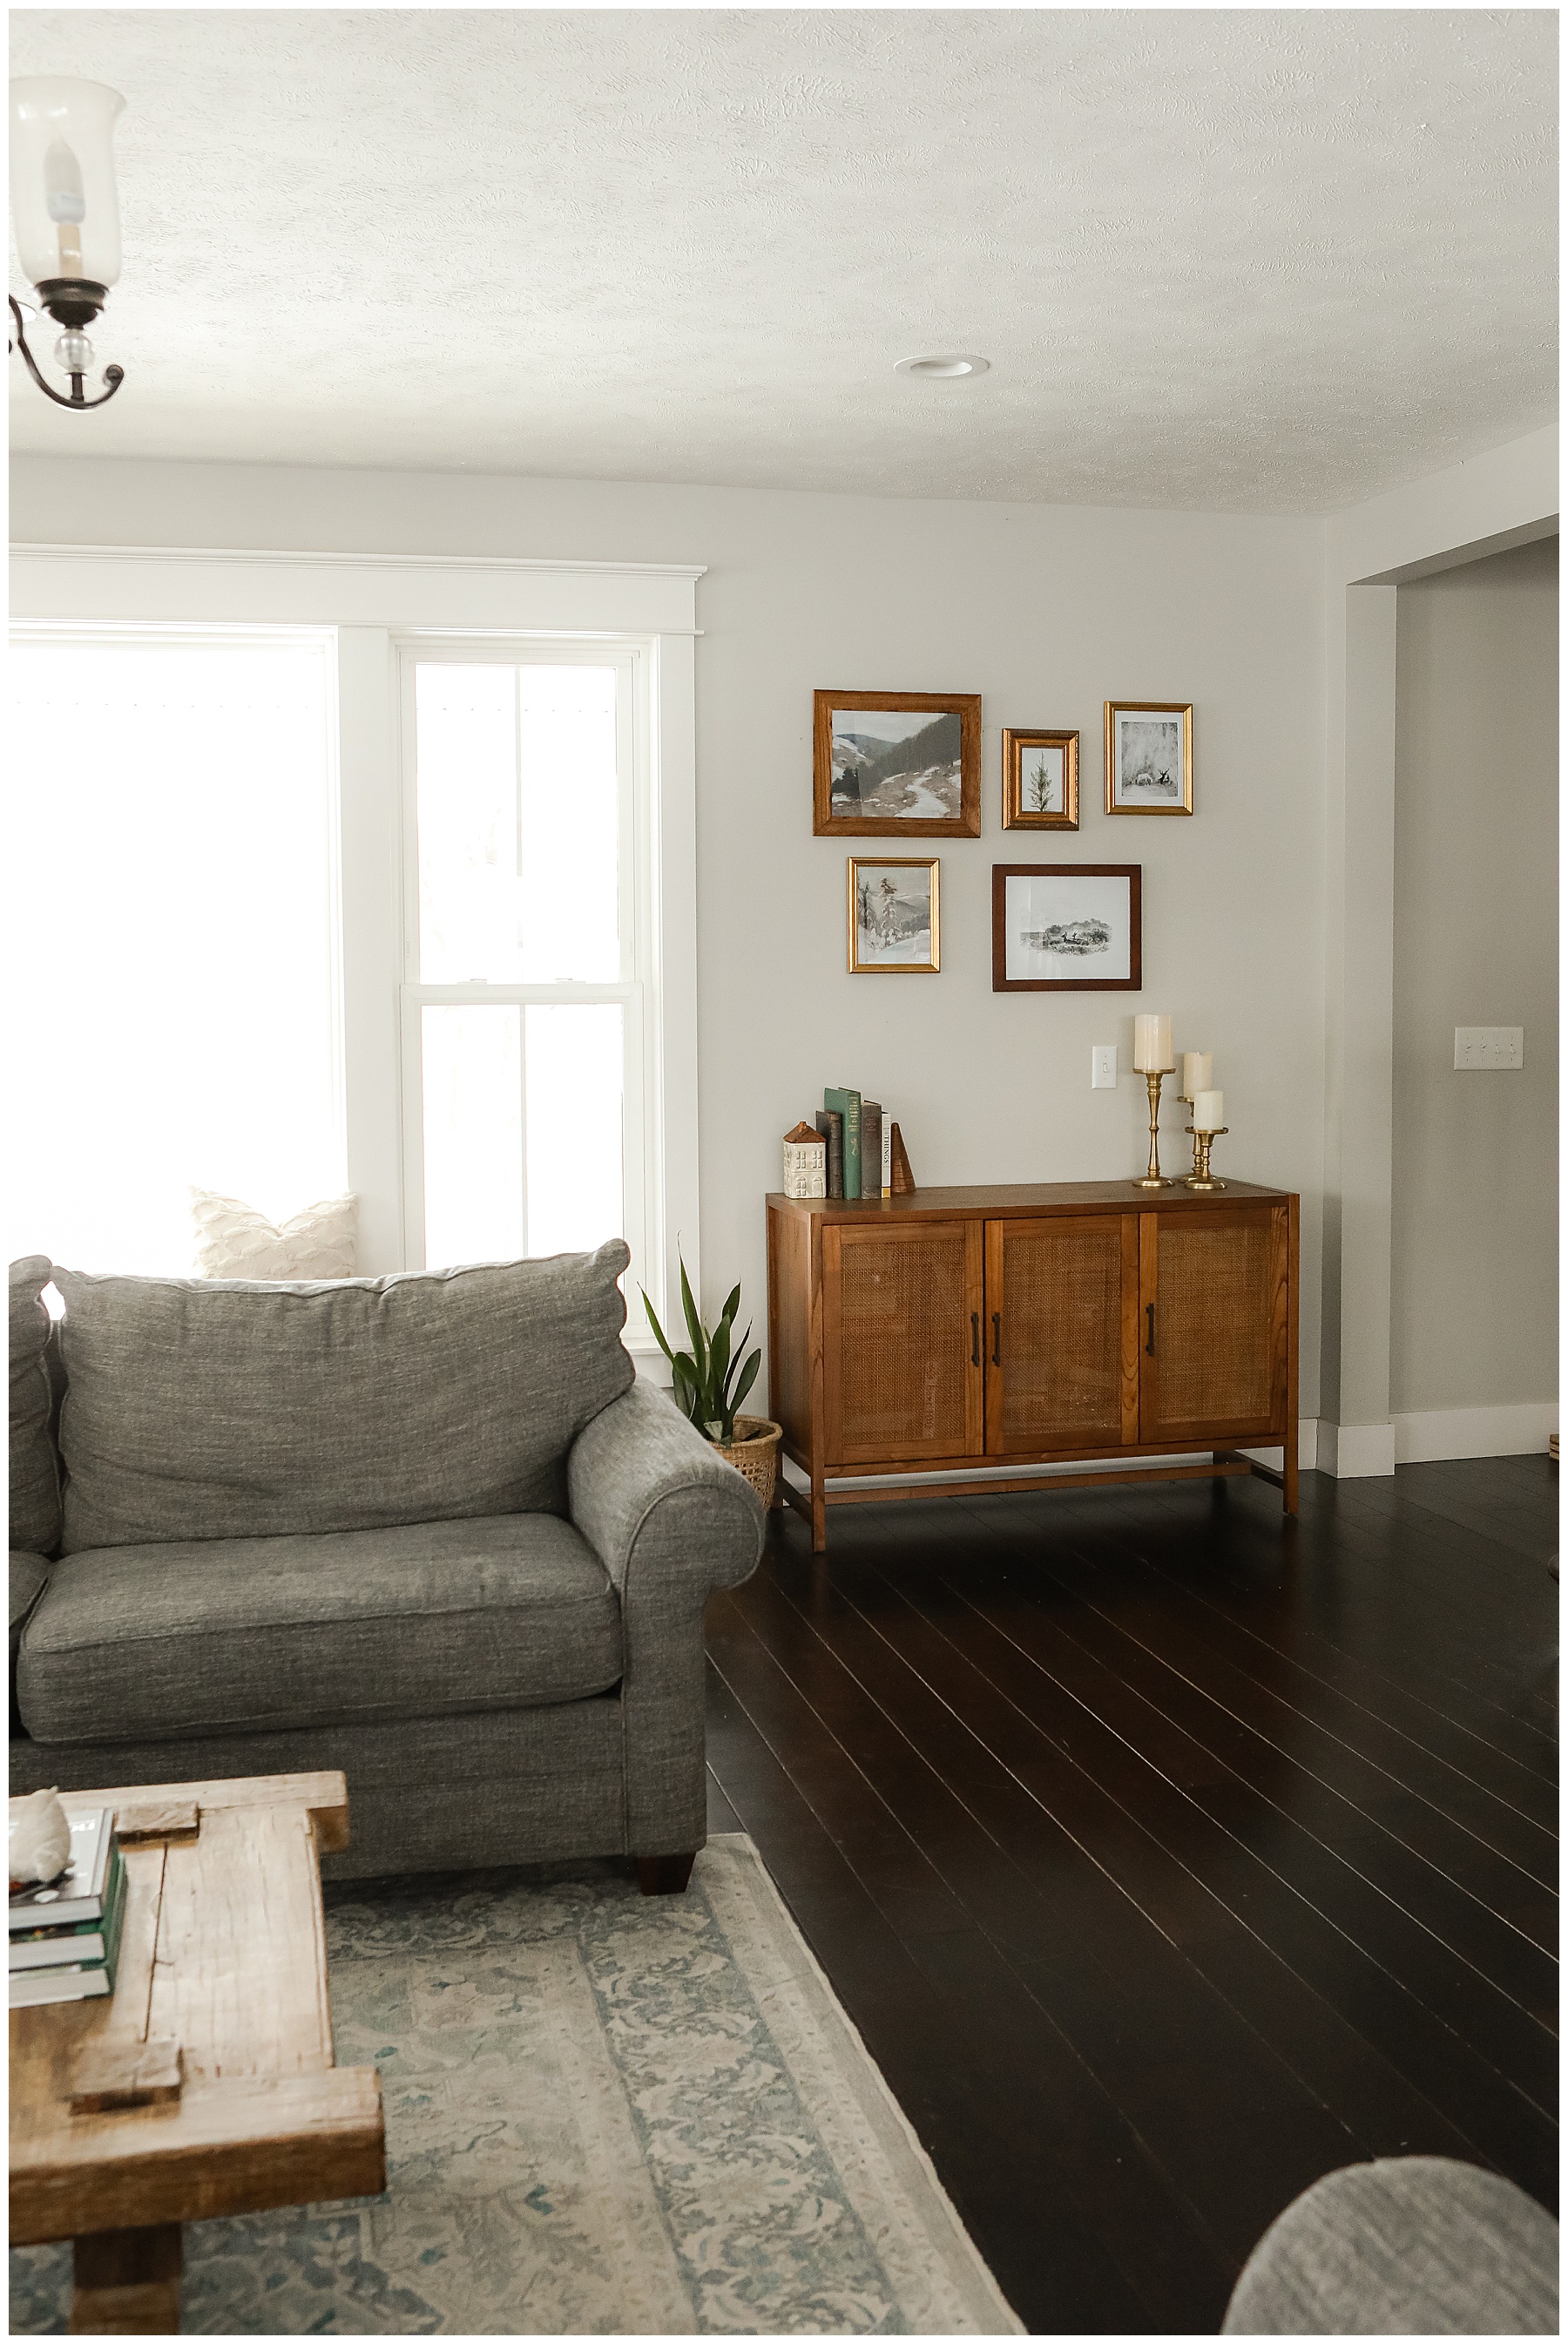
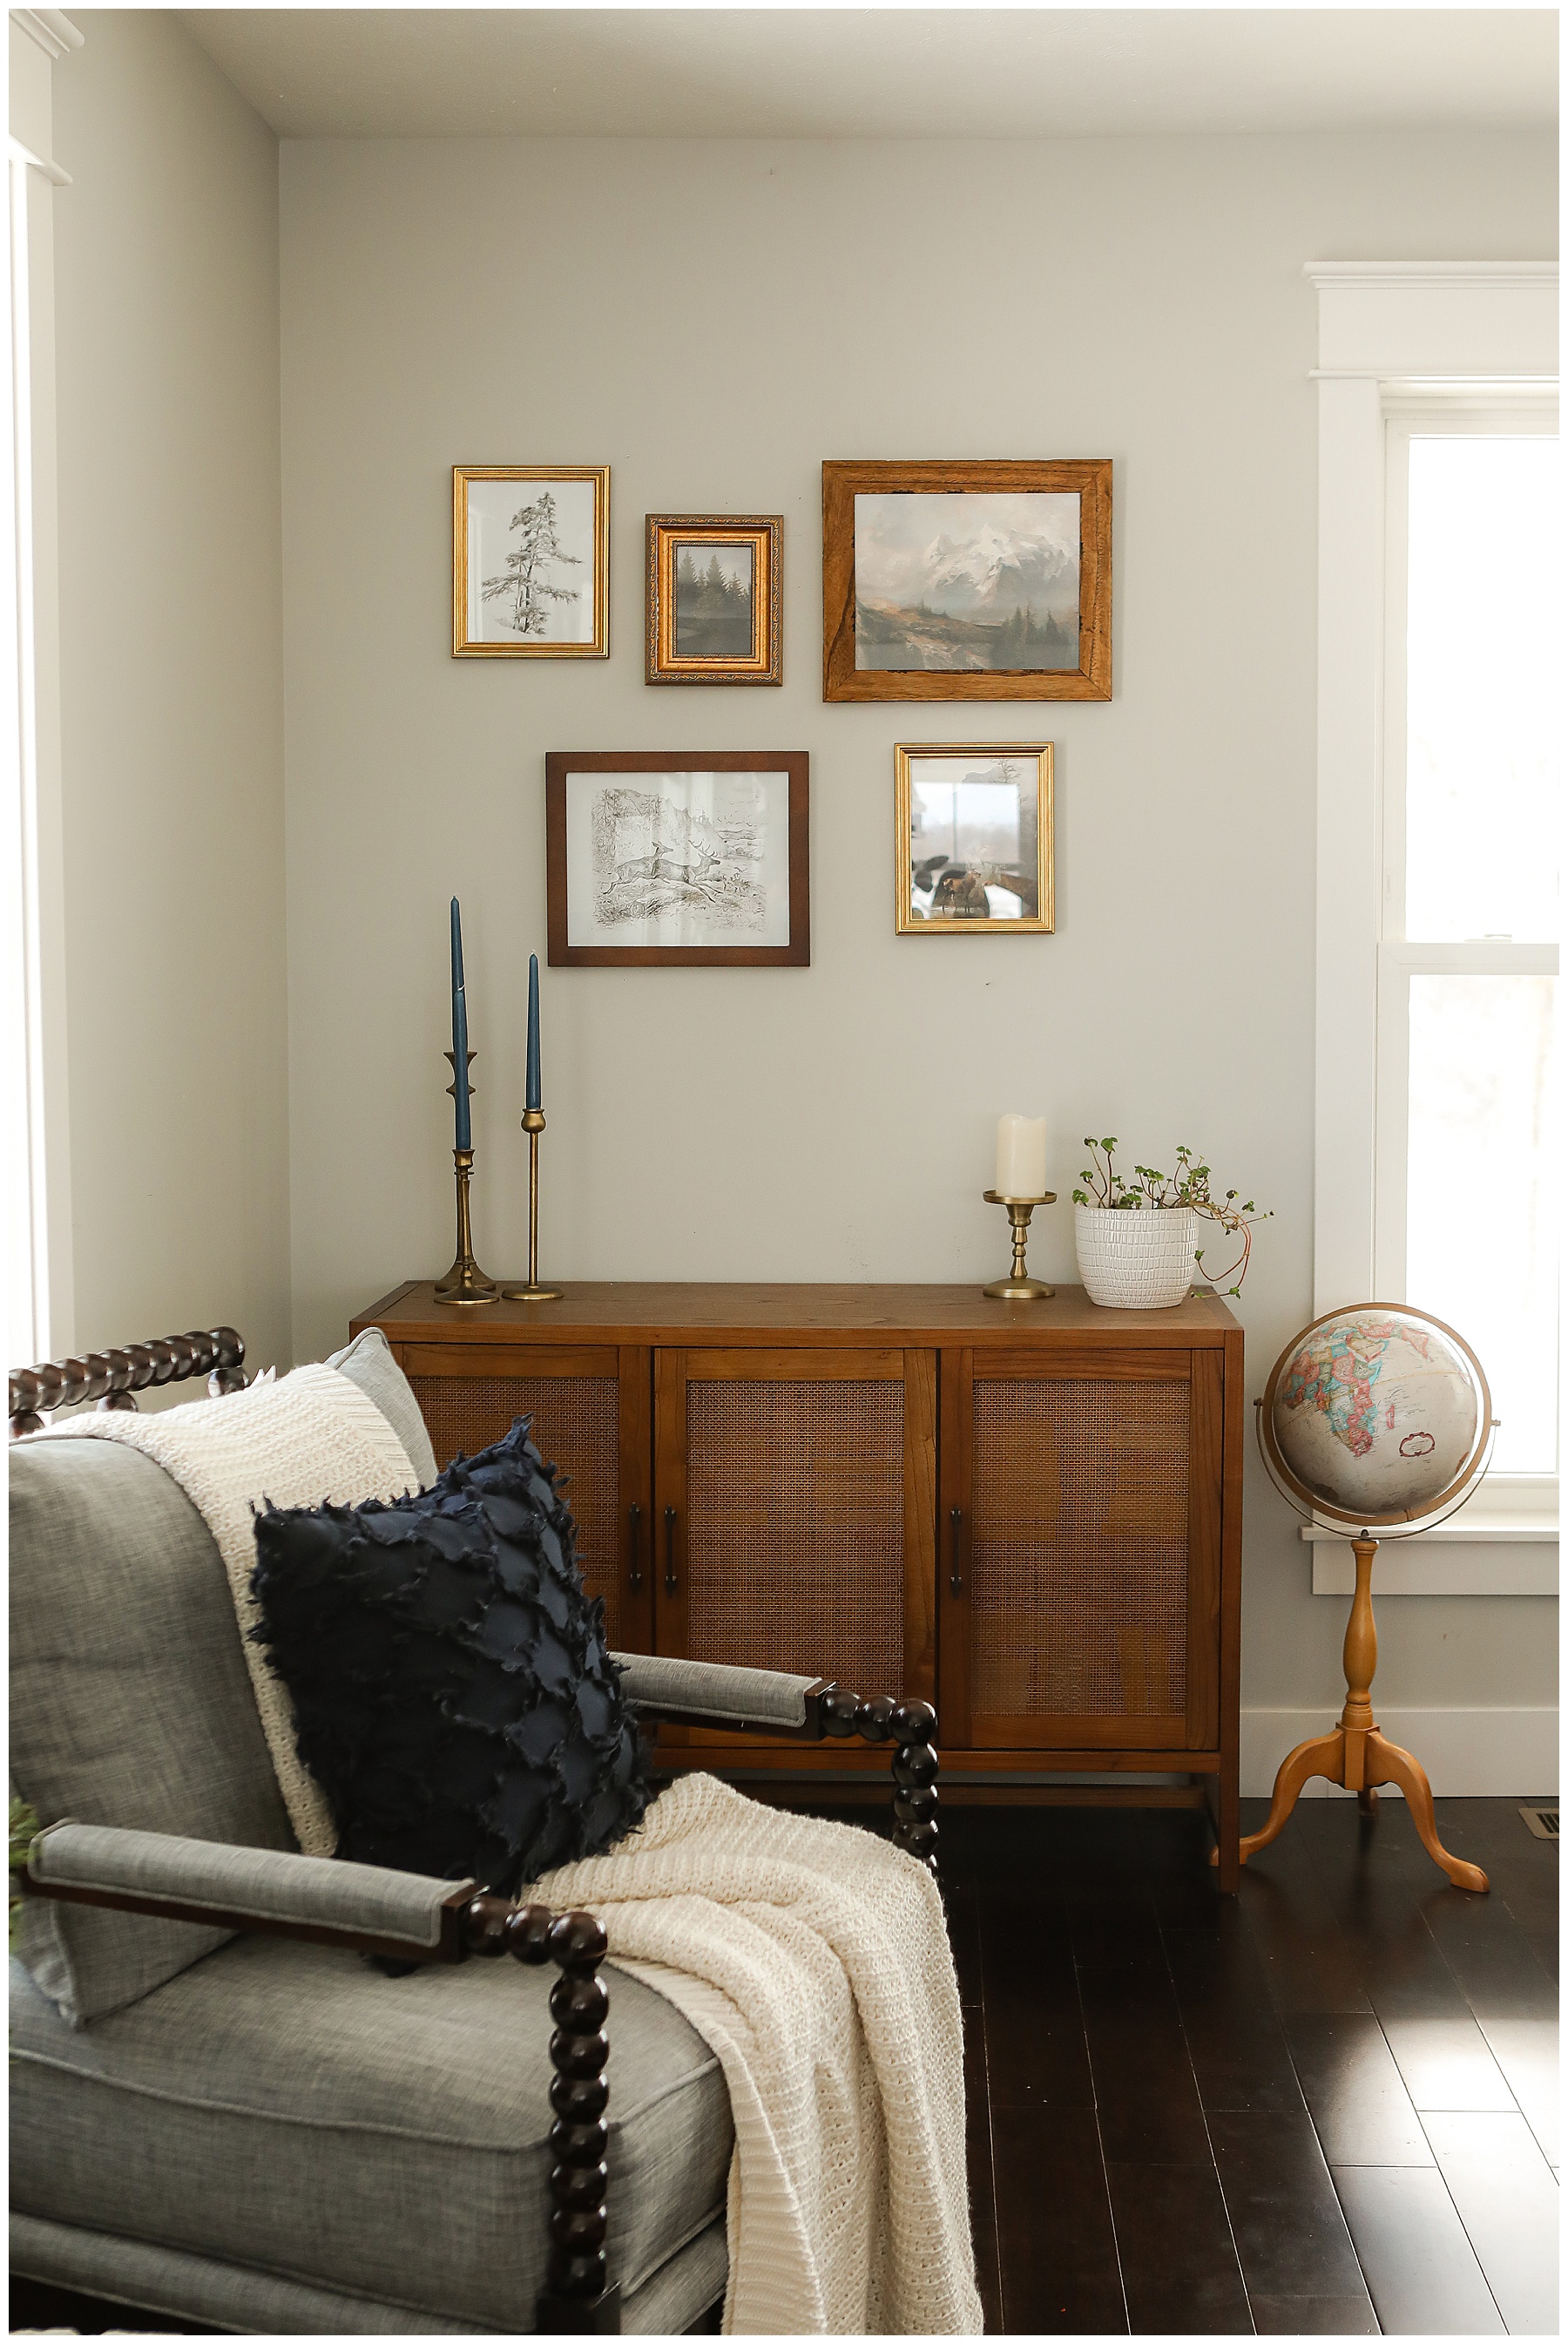
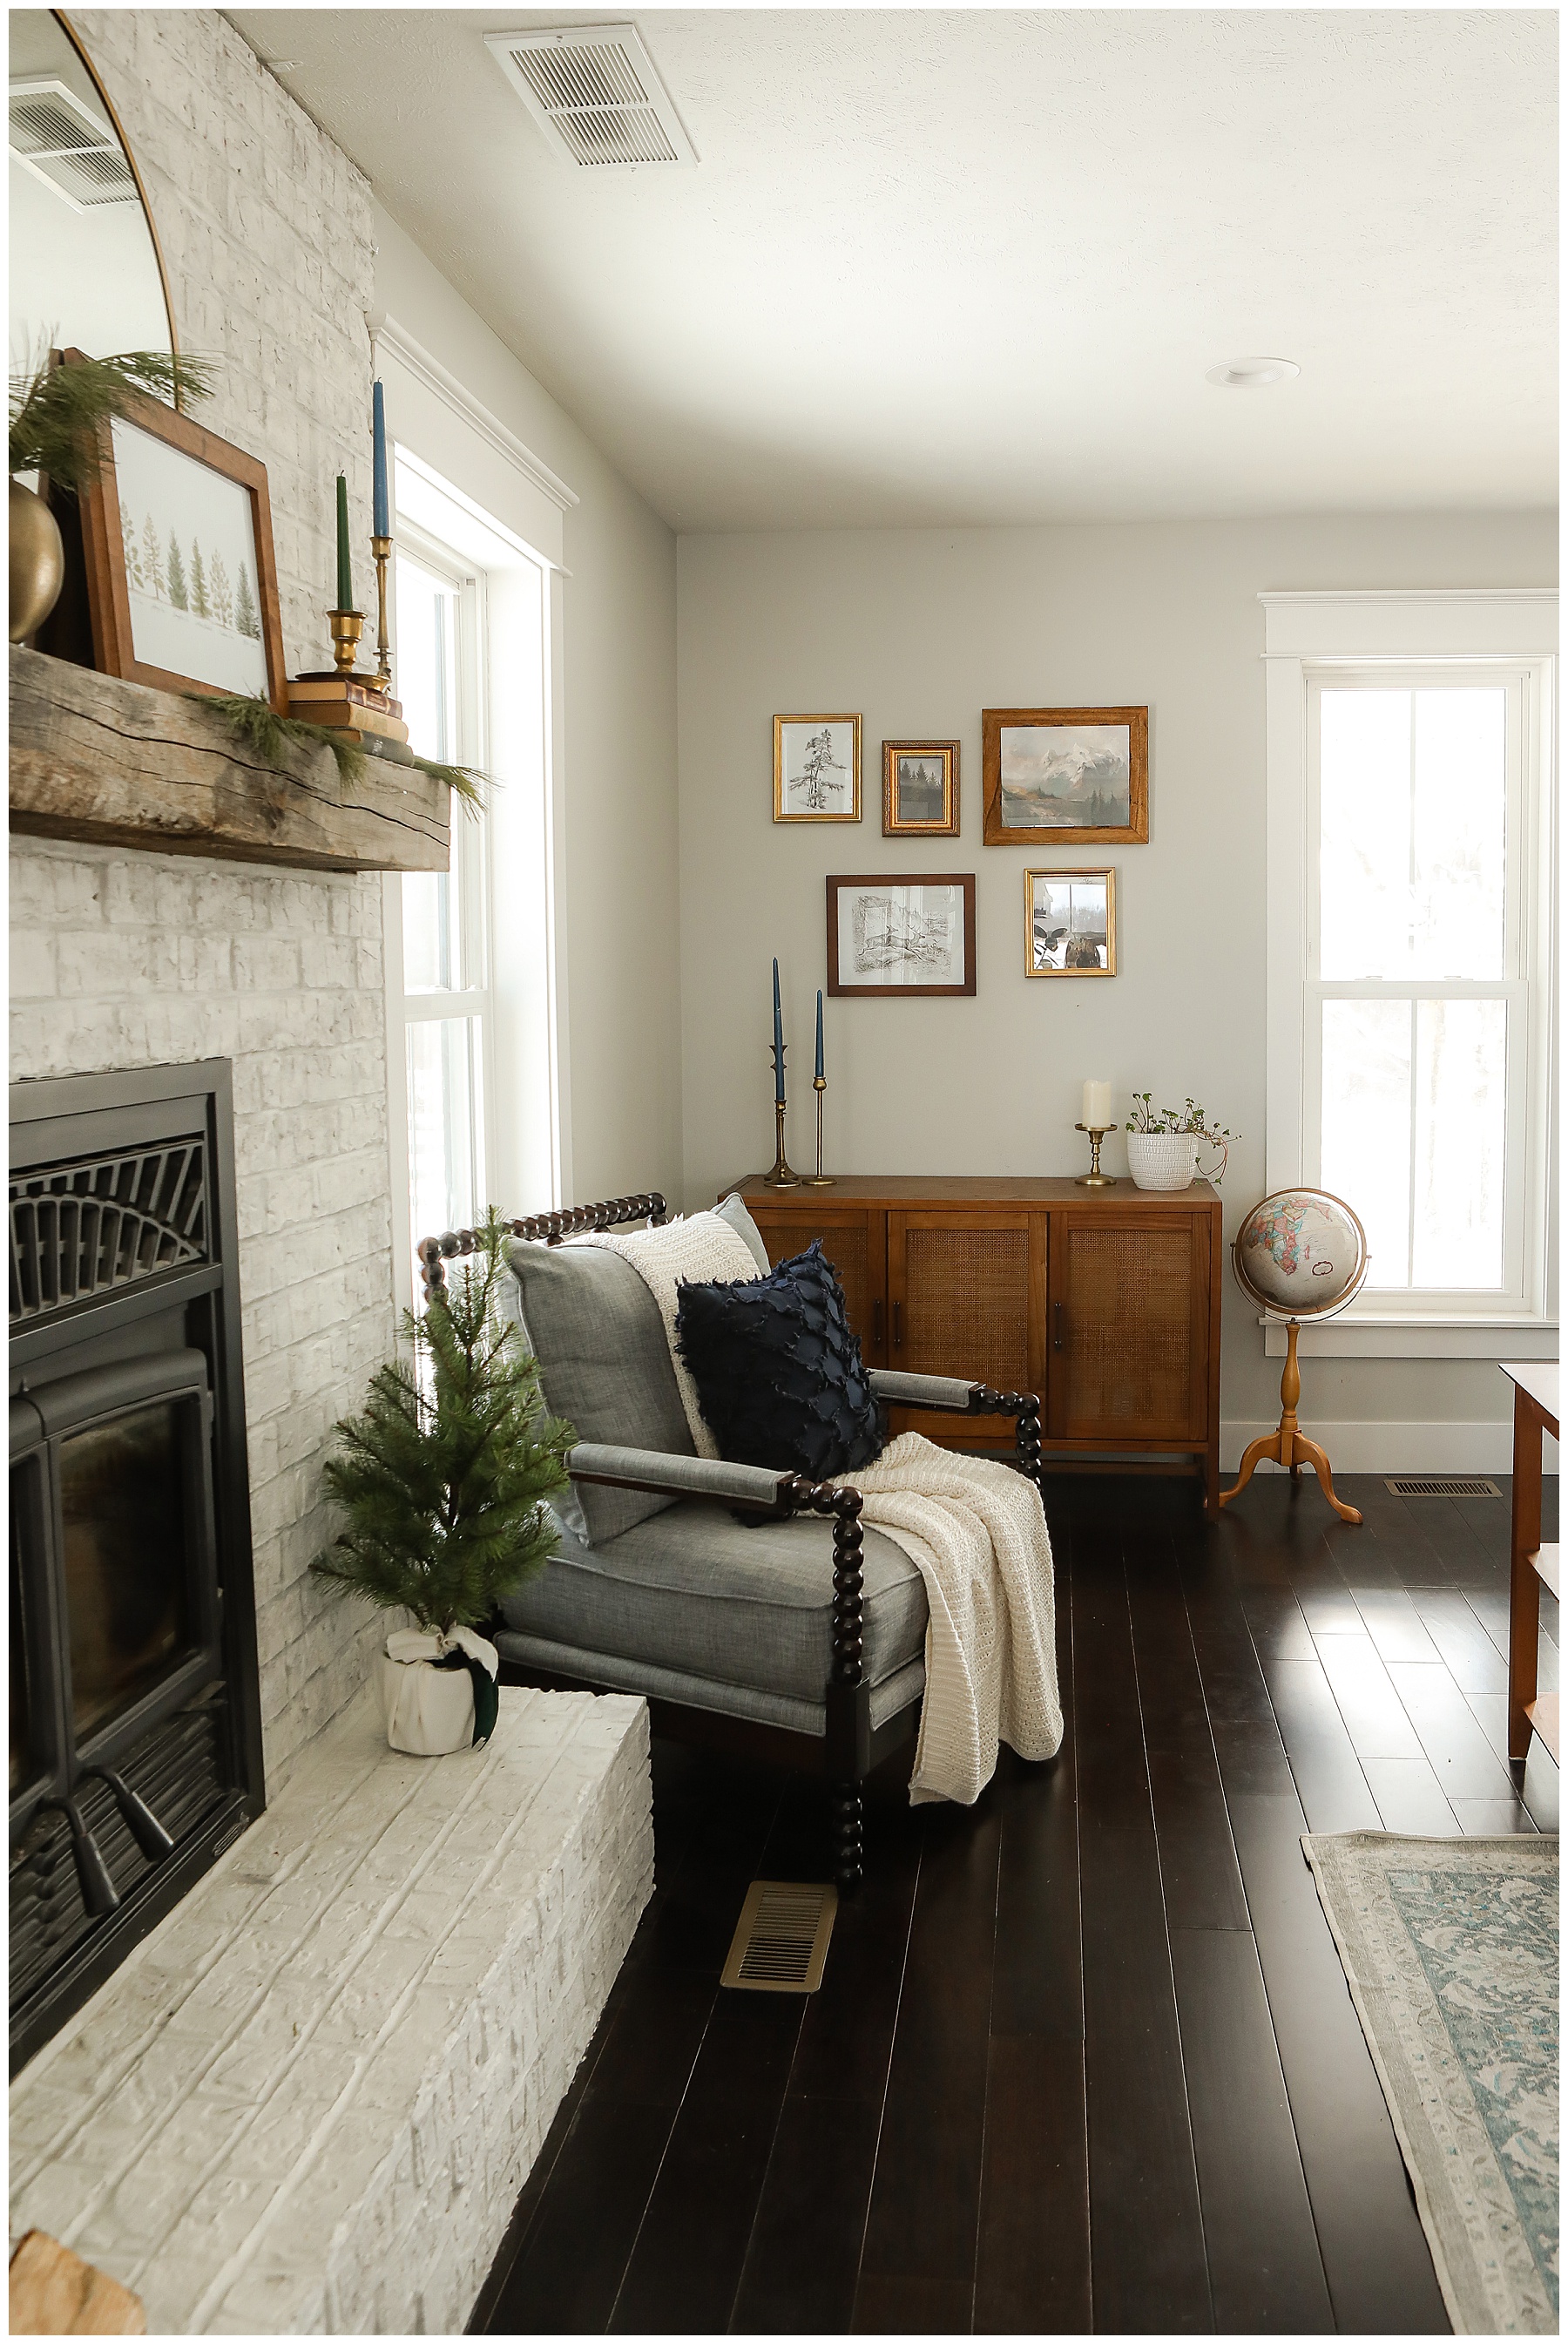
Recently we updated the artwork in the living room. I created a living room gallery wall layout that with art from Etsy and I love it! I wanted to show you the results, but I also wanted to show you how to hang a gallery wall the right way so that you don’t have to make a lot of different holes in your wall before coming up with something you love.
Here’s how Kevin and I did it.
How to hang a gallery wall the right way
Find the art
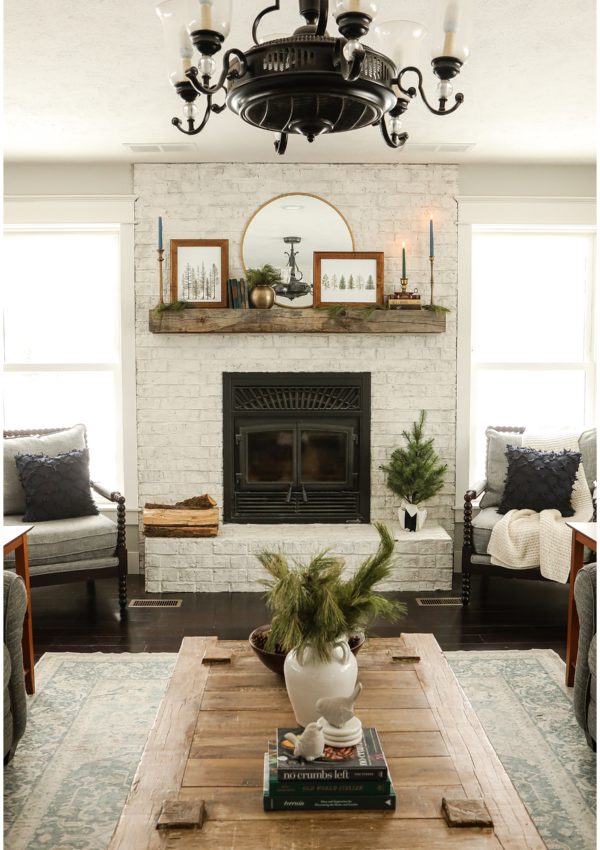
First, I recommend finding the art you want for your living room gallery wall layout. When we updated this it was January and I wanted to create wintery scenes for our living room gallery wall in the lull between the holidays and spring. You can see our full living room winter décor {HERE}.
Because art from the store can be really expensive, I purchased print art from Etsy and was able to get everything I wanted to create our living room gallery wall for about $20.
Here is the art I purchased from Etsy:
- One set for gallery prints {HERE}
- Winter landscape tree {HERE}
- Moody Winter landscape {HERE}
- Snowy Winter Landscape {HERE}
- Evergreen Branch {HERE}
- Rustic Deer Drawing {HERE}
- Vintage Deer Sketch {HERE}
- Vintage Tree Sketch {HERE}
- Winter Landscape Vintage Print {HERE}
Find the frames
When learning how to hang a gallery wall the right way, the frames are an important component. You might want to hang a series of 8×10 photos on the wall and you would think you could just line those up.
However, if you don’t have the right frames, your measurements will be off. This might not be a huge deal if you are using the same sized frame in your living room gallery wall layout. But, if you are using different sized frames then not using those exact frames could throw everything off.
Create templates with the frames
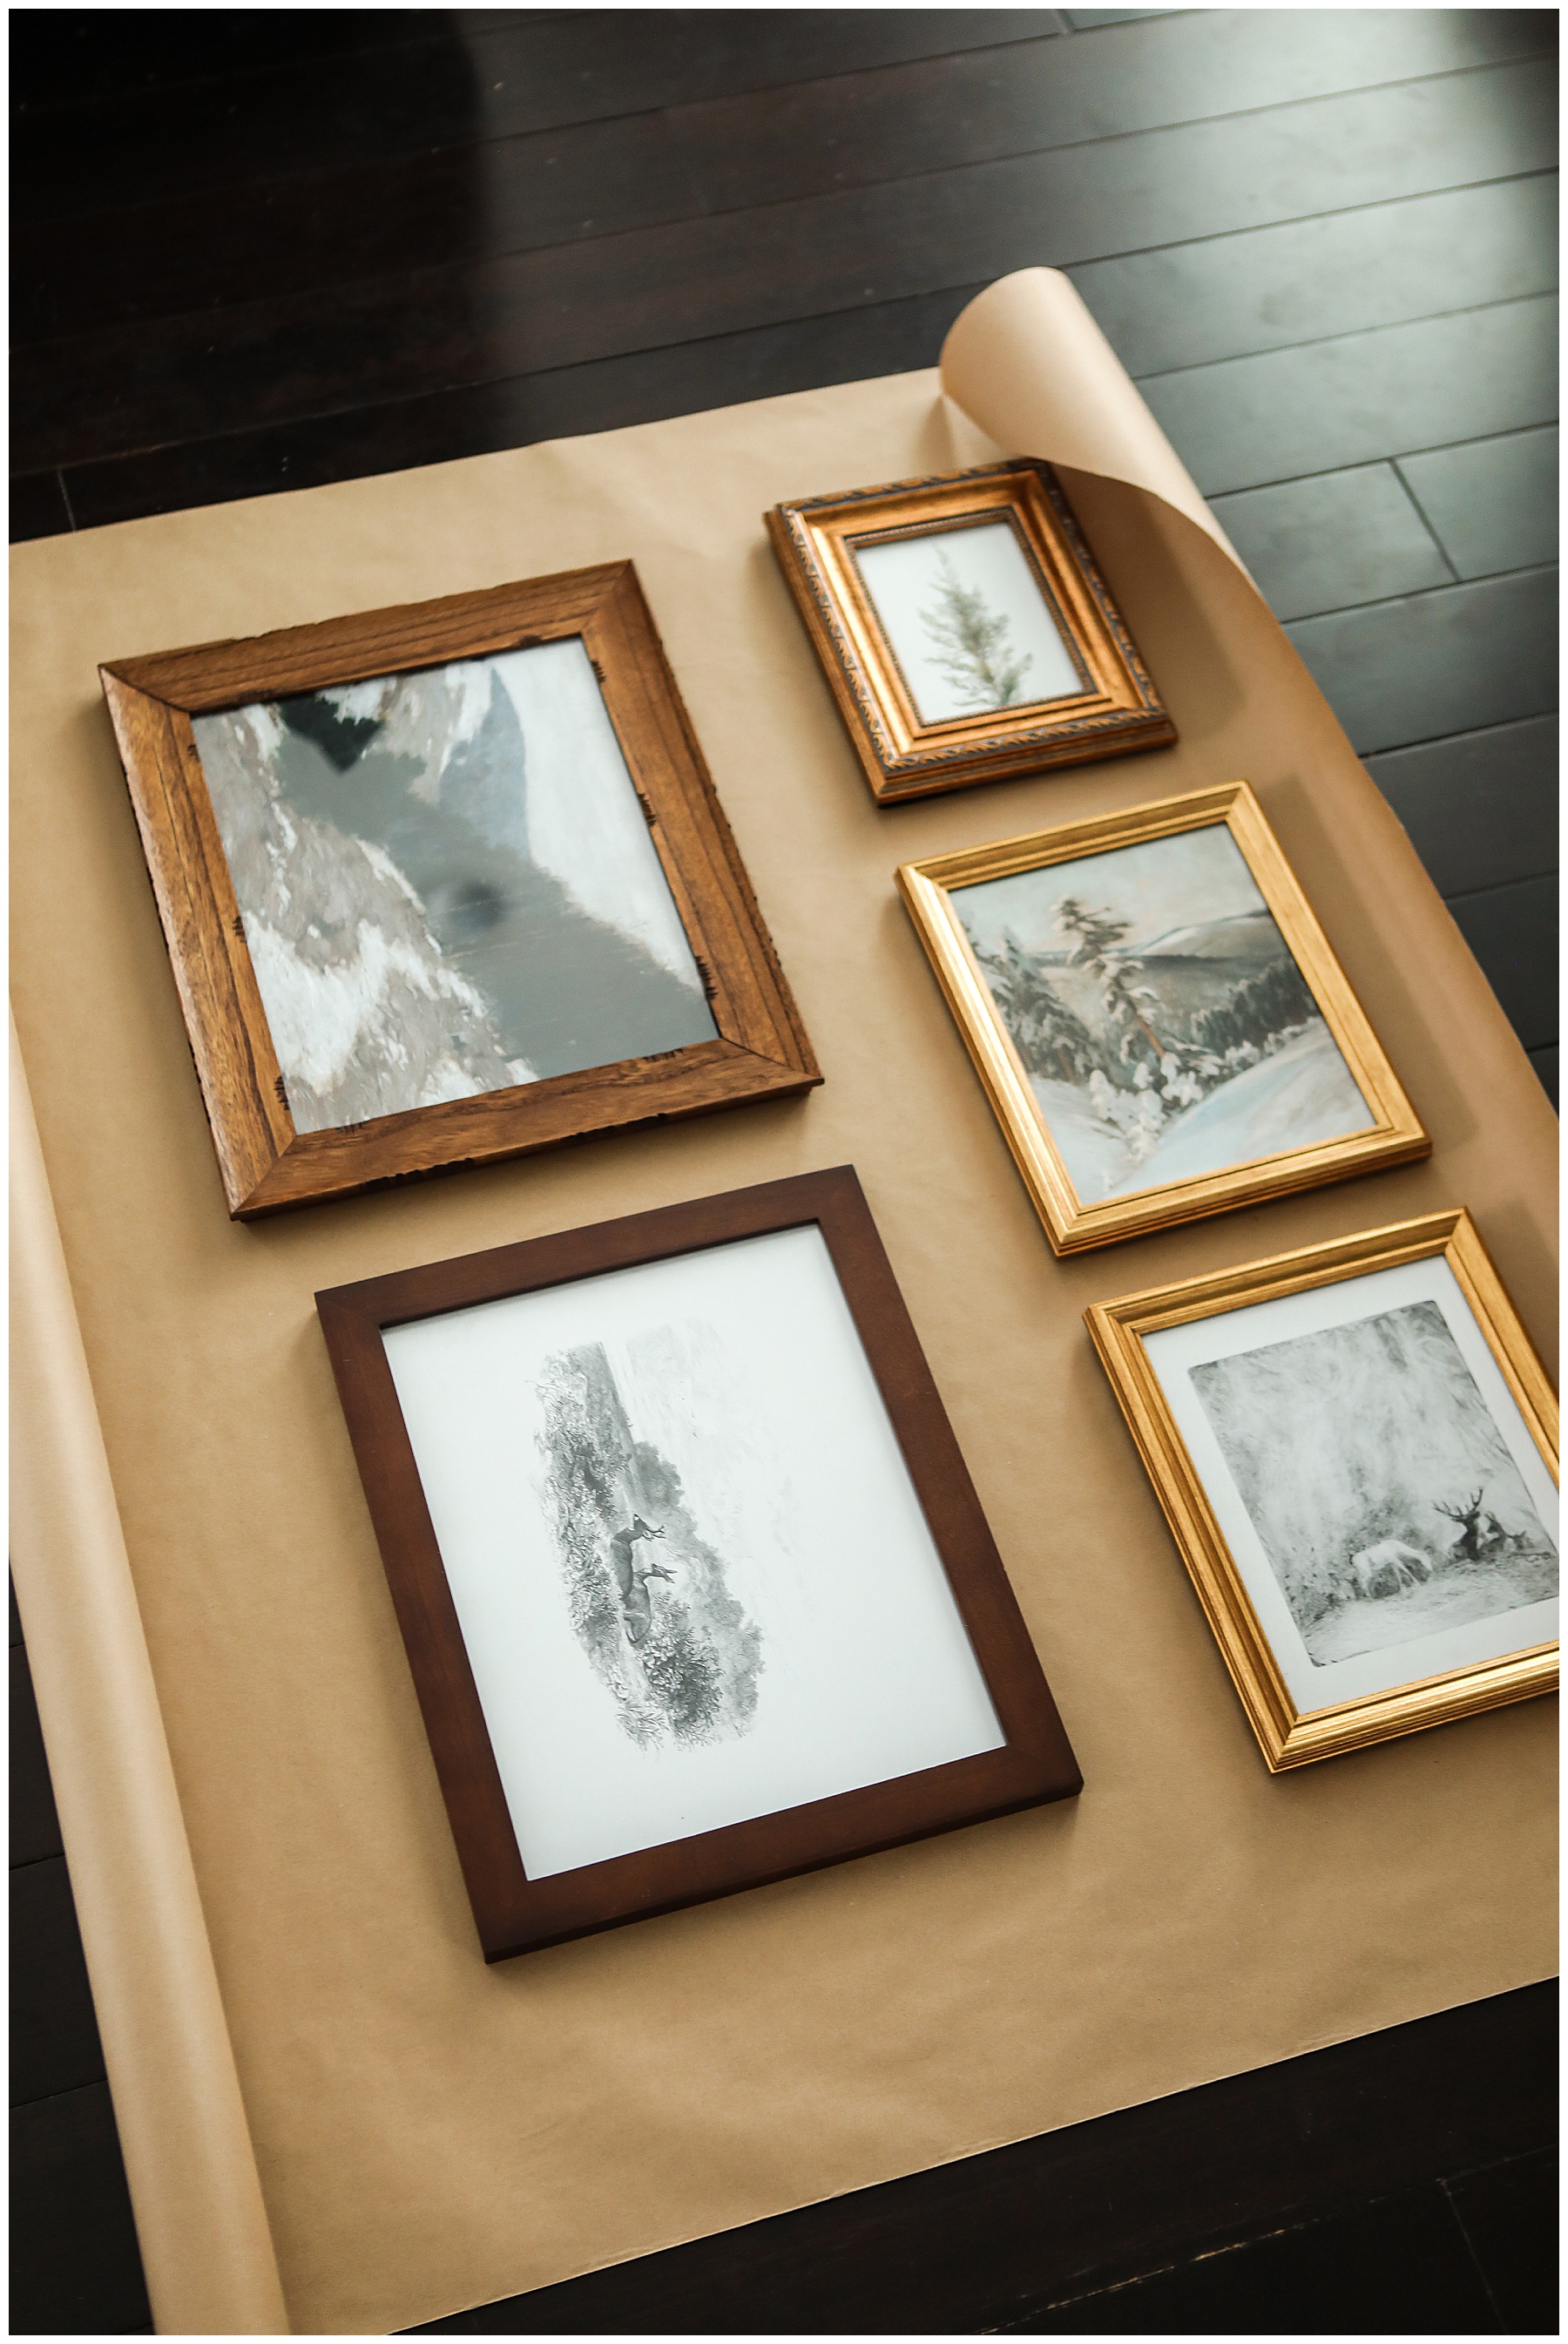
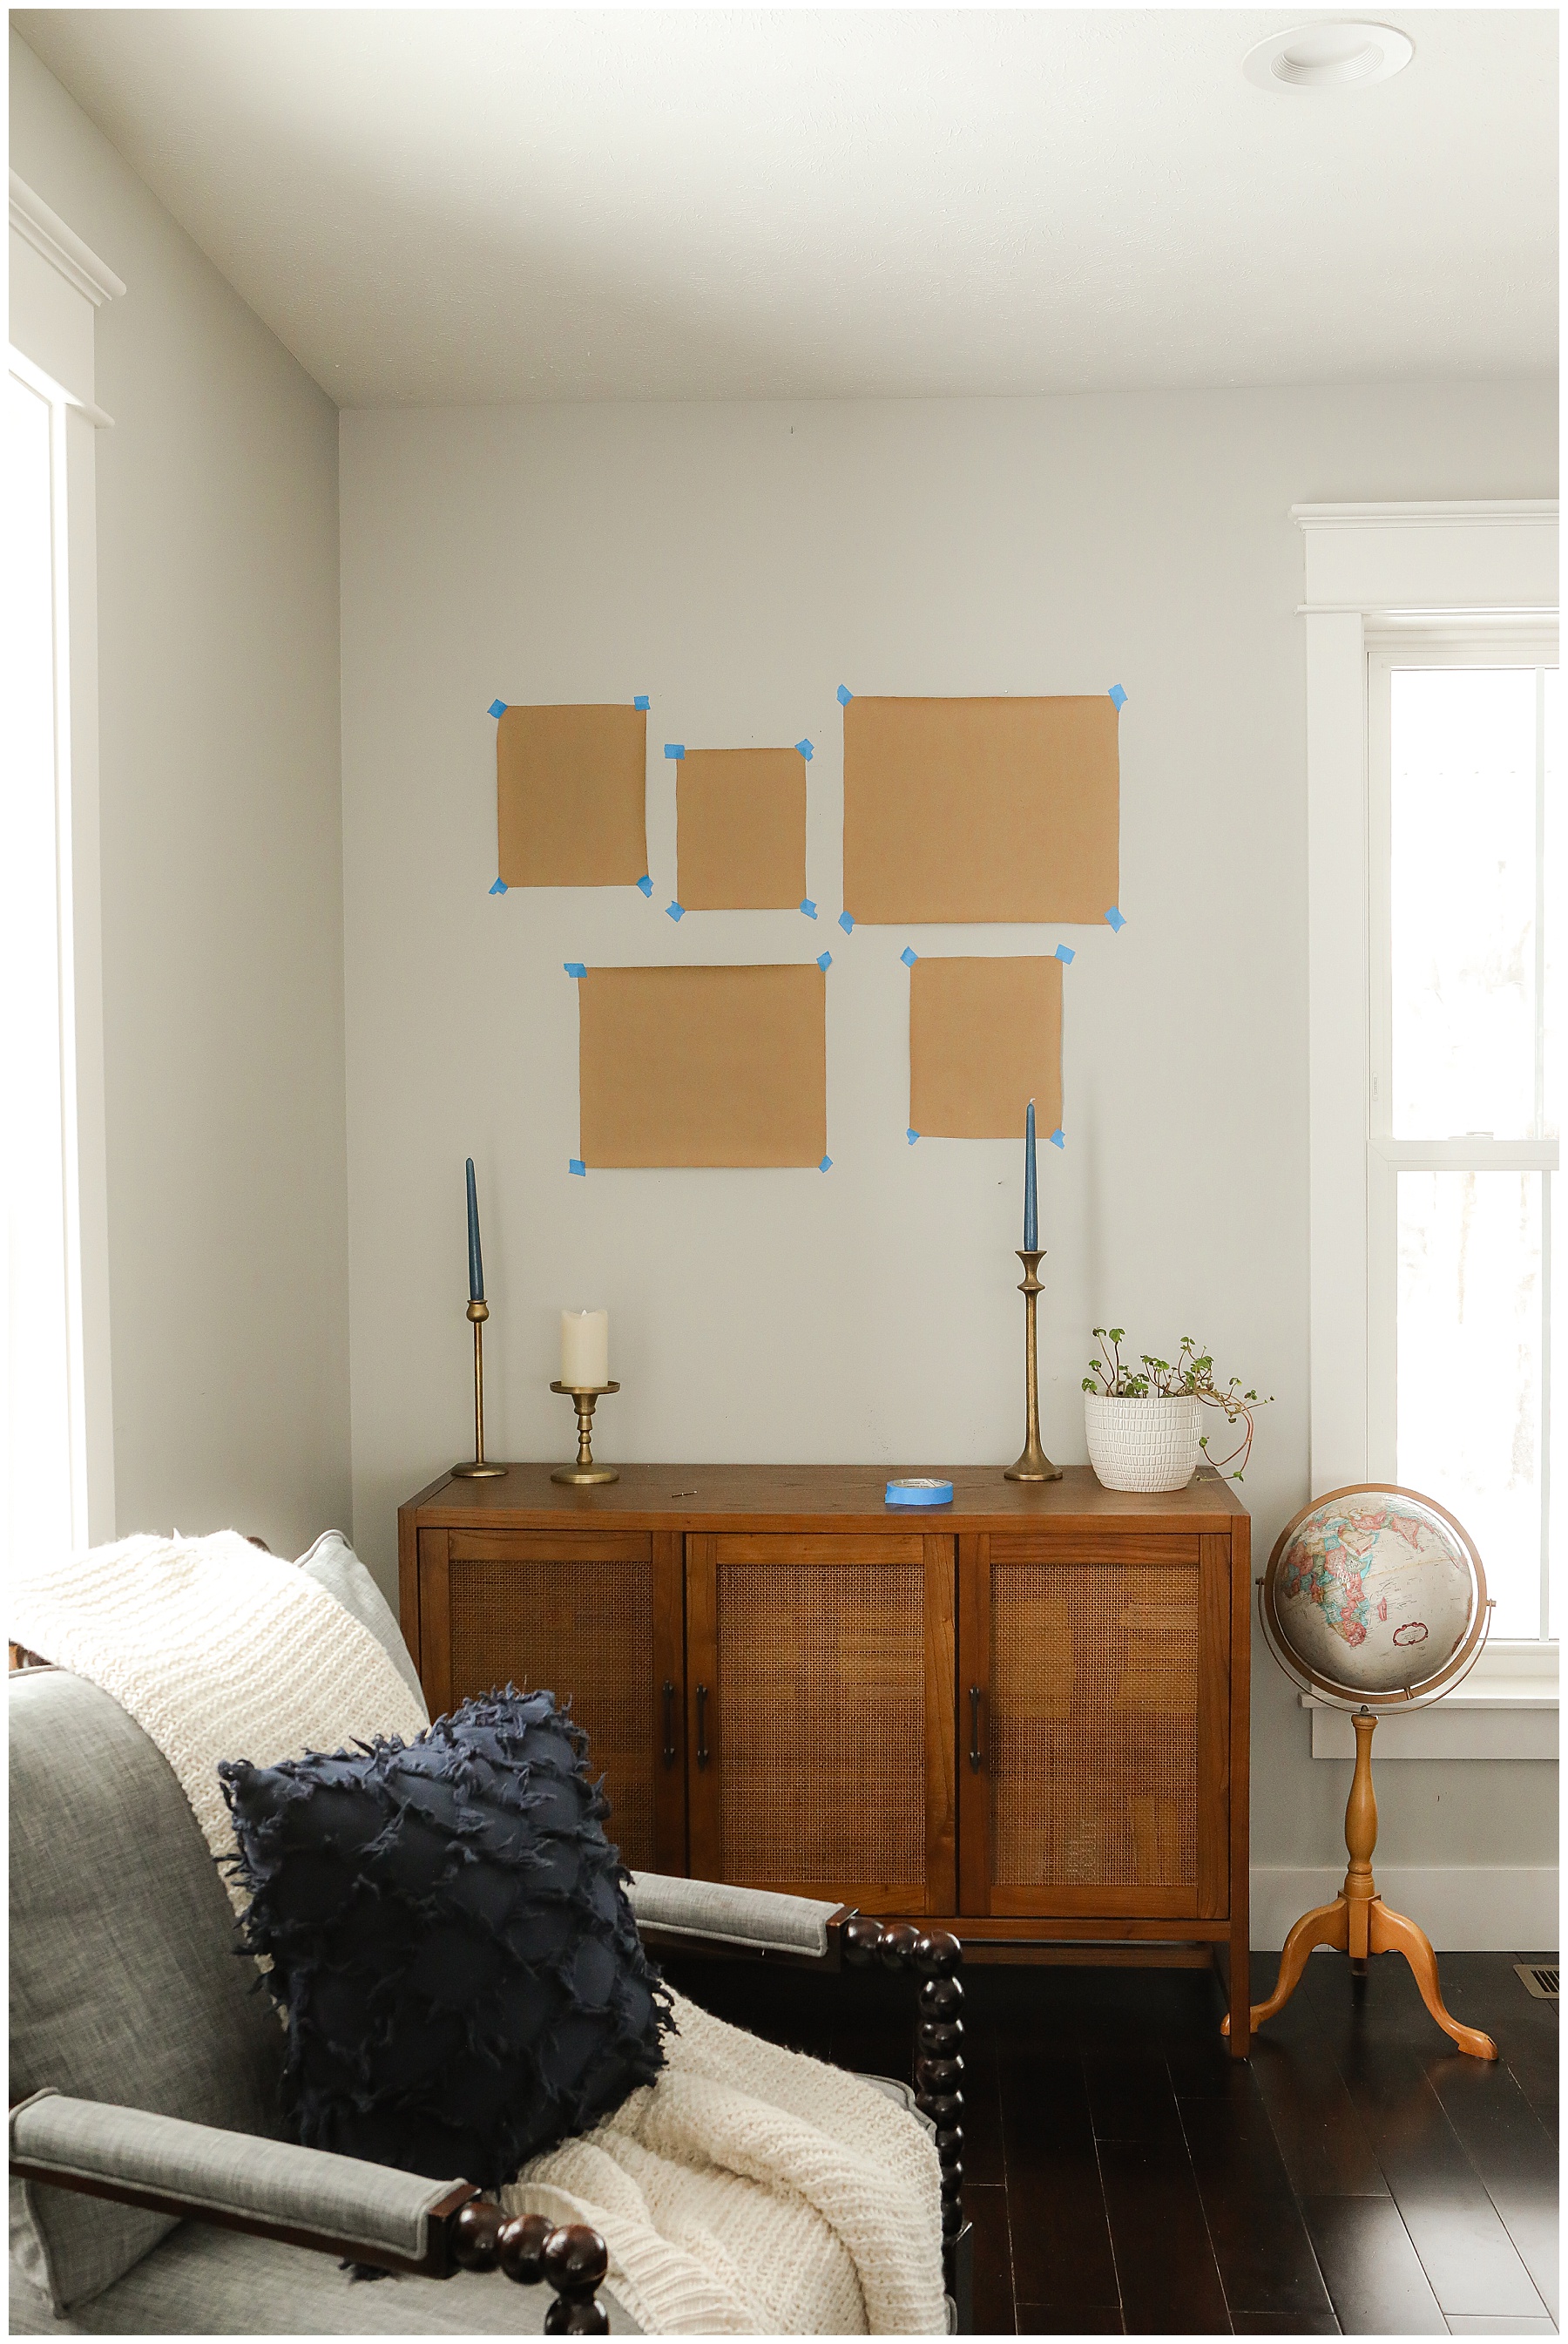
When it comes to learning how to hang a gallery wall, you want to use the exact frames to create templates to tape to the wall. This will give you the most accurate reflection of the final look versus just hanging 8x10s or 5×7 pieces of paper. Some frames are bulkier than others so this is the best way to get the exact results you’ll see for the end project.
To do this, I like using this craft paper {HERE}. We always keep a roll of this on hand for any of our kids’ art projects or any of my messy DIY projects like these Vintage Mason Jars.
You can find the gold frames I used {HERE} and {HERE}. The wooden frames I used are from Michael’s {HERE} and {HERE}.
Hanging the templates
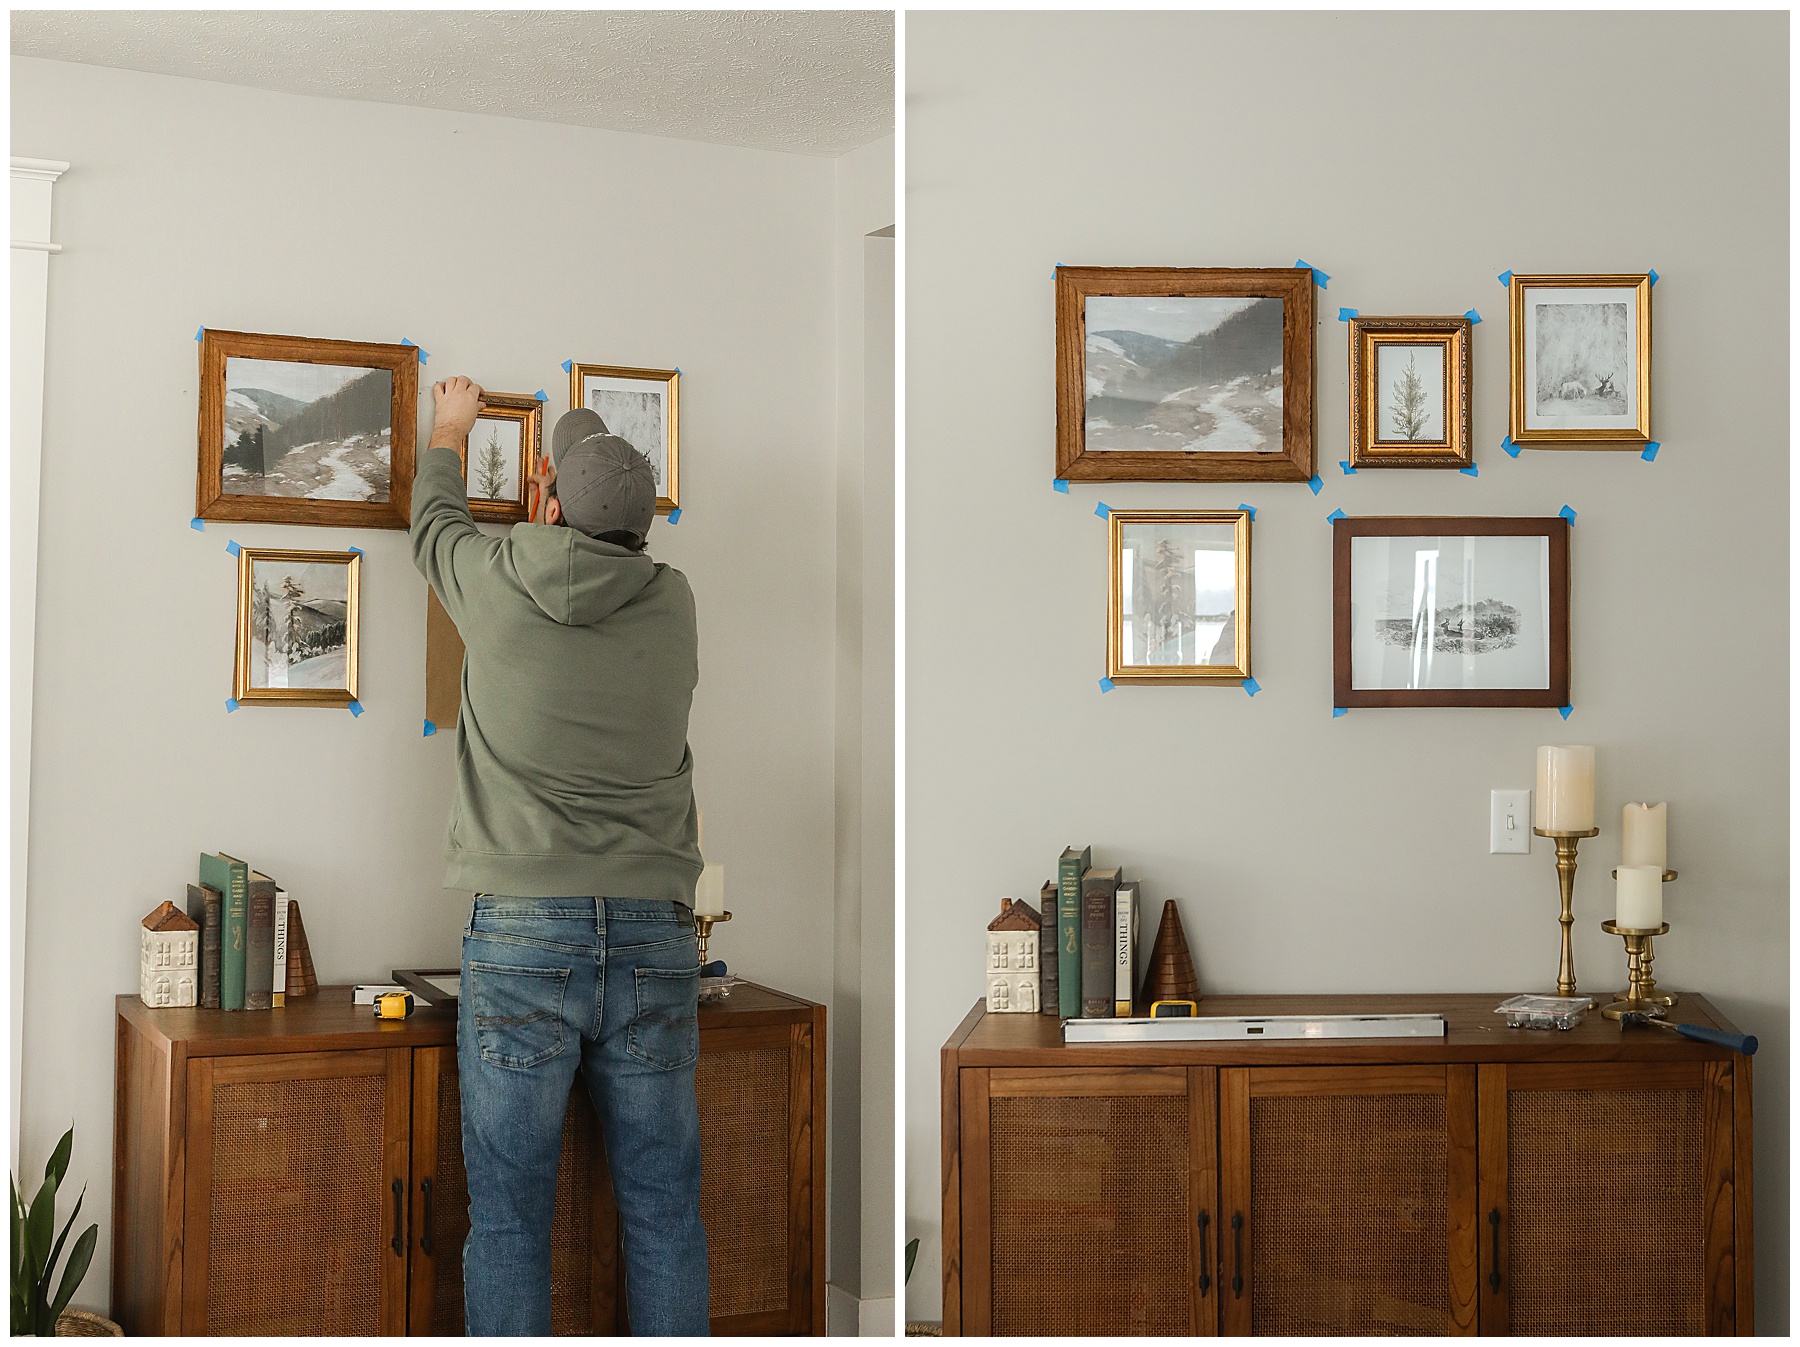
Use painters’ tape and adjust the templates until you come up with a living room gallery wall layout that you love. I always like to hang or design things in odd numbers so for my wall(s), I used five photos and frames for each wall.
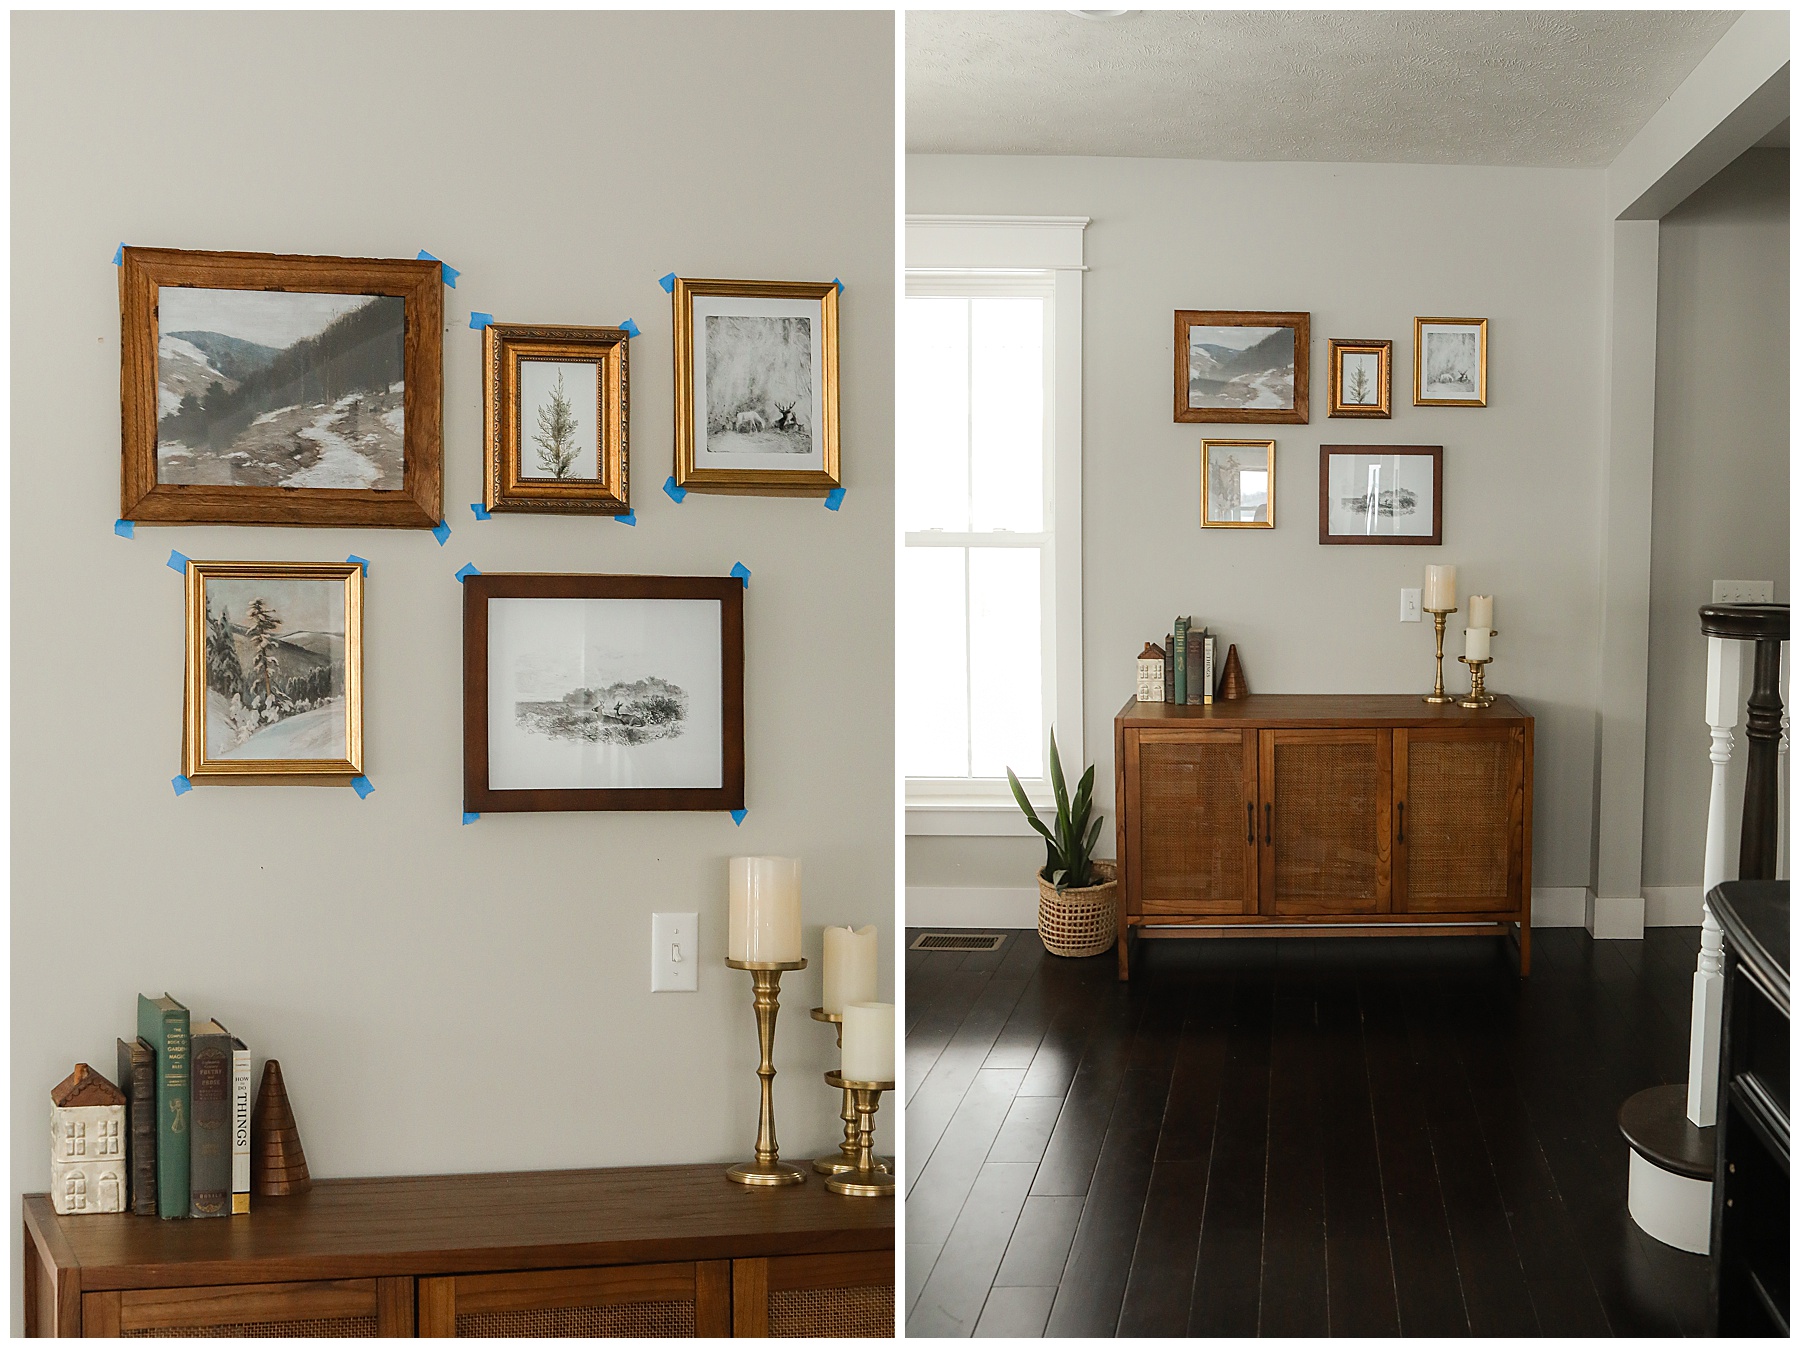
We were actually hanging the living room gallery wall layout on two walls that are on either side of a large window. I used a total of 10 frames and print art from Etsy to give our room a cohesive look.
I played with the templates until I came up with a design I loved on one wall and then duplicated the same design on the other wall.
A general rule of thumb is to space each art piece 3-6 inches apart from one another on the wall. A lot of people will use the same spacing around each piece. However, I don’t always think that is necessary. If you’re working in smaller art pieces with larger ones, I believe it looks better with more eclectic spacing. Also, if you’re using oddly shaped items intermixed, you will just have to eyeball the layout.
Let the templates be your guide for hanging
When hanging the frames for the gallery wall, we leave the templates stuck to the wall and add the nails over them.
At this point, you want to make sure that the templates are level and make sure to measure twice before you start nailing into the wall. This helps to avoid excess nail holes in the wall.
Remove the templates
Once the art is all hung, remove the templates from the living room gallery wall layout. We don’t even take the photos down to do this. We simply peel off the tape and then tug the paper off the walls
Thank you so much for following along today and learning how to hang a gallery wall! I hope that this was useful or at the very least inspirational to you! And, hope to see you again here at the farmhouse. For more home décor, click {HERE}.








I love how the wall turned out, I need to do this. Your living room is so pretty.
It turned out beautiful! We did a similar thing where we arranged our frames on the ground and then drew where they would go on the wall with a pencil. My husband took it a step further using his leveler to make sure everything was level.
I like the templates that we could use for decorating the rooms. Beautiful idea and implementation!
I love this idea, I have a gallery wall in my room.
I need so much help with this. We have a bunch of family photos that we need to hang.
I’m slowly remodeling my bedroom and I’m planning a gallery wall so thank you for the tips
I love the idea of having a gallery wall, thanks for the great tips, I may have to put my husband to work!
Super helpful! My husband and I have been talking about doing this for YEARS and haven’t done it yet because we couldn’t figure out how to make it look right!
I love adding personal touches to my home. These are a great way to breathe life into your space.
Excellent ideas on how to hang wall gallery art. I never have thought about doing it that way. The painter’s tape is also such a great idea. Your gallery turned out beautiful! Thank you for all of your tips.
That’s a BRILLIANT idea to tape up the shapes first before banging away with the nails!! I’ve done 2 wall galleries, they’re alot of work but so worth it!! I love ikea for cheap but interesting assortment of frames.
Creating a template before hanging the actual frames is a smart move! I’d love to throw in some colors on my white wall soon and this will really help!
I totally agree with the craft paper method it is the best way to see the layout if visualization is not a strong suit.
This will be super useful in making a wall collage! Your wall turned out great! 👍
I love the idea of using templates. It makes it easier for you to place your images.
Wow! That was a really great idea! I will surely gonna try that! Thanks for sharing this with us!
this is actually timely for I have been planning to add more to my walls.. but was not sure how to go about it and how to design things
Those rustic colors in the frame are really beautiful! 🙂 This inspired me to have a living room makeover.
Perfect timing. I am planning to decorate my Living room with a Gallery wall layout this Spring. Thank you for sharing.