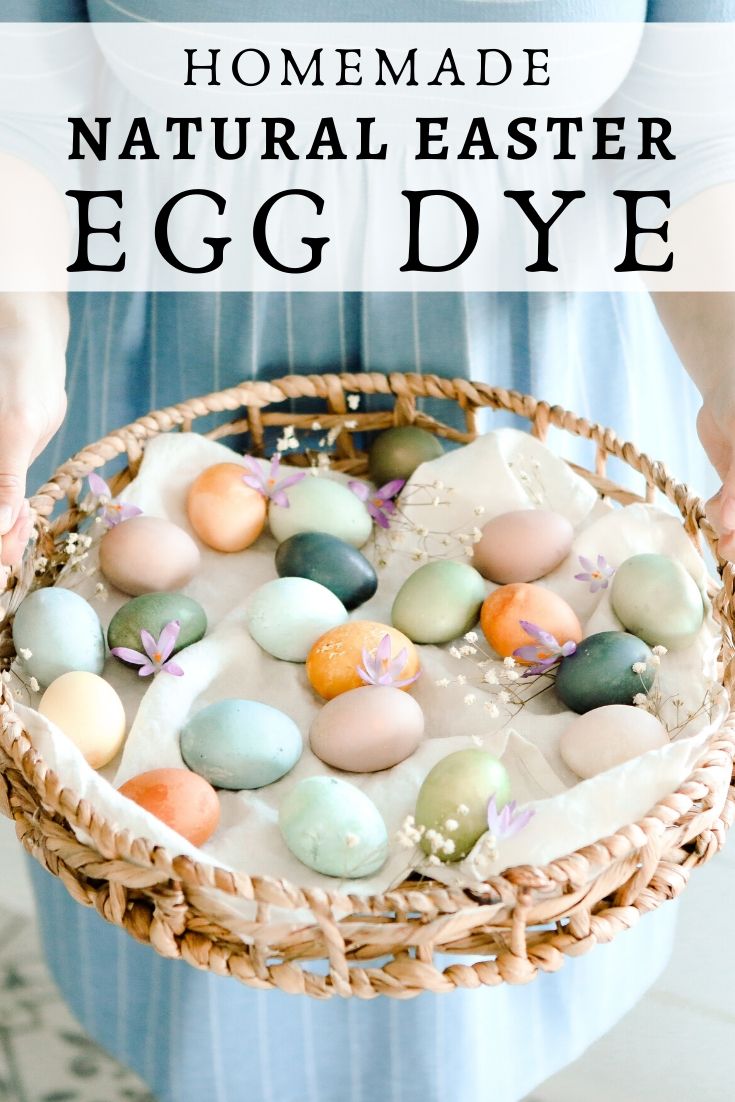
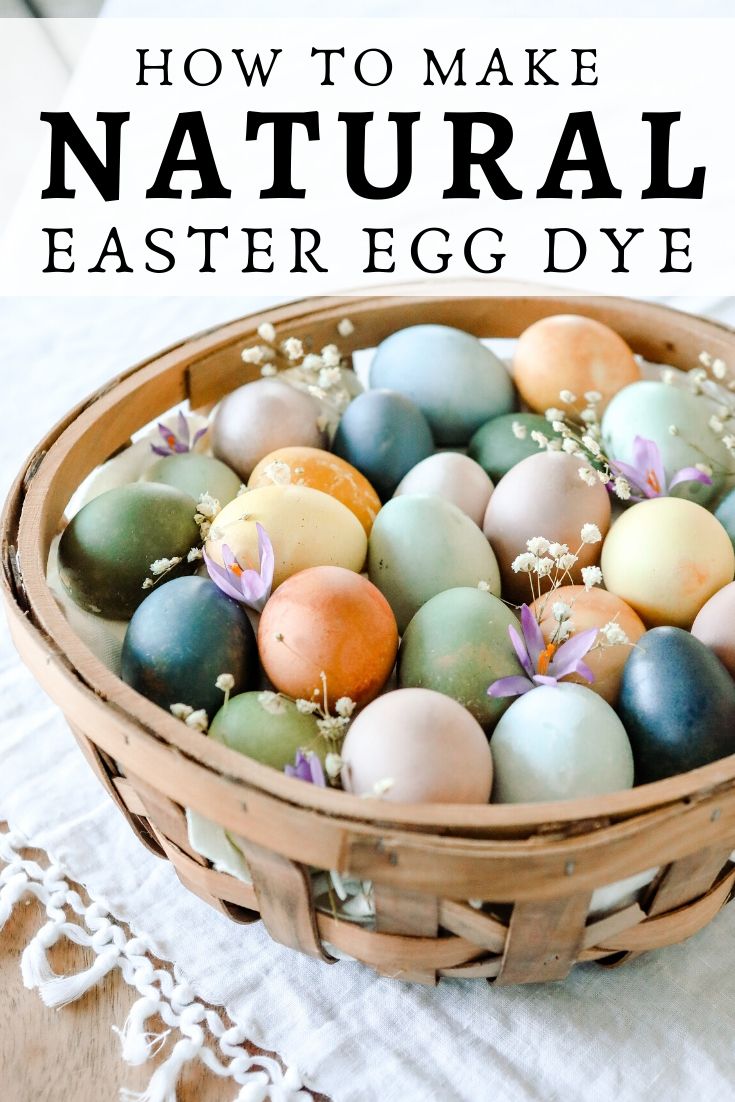
Come and learn how to make natural Easter egg dye and see the fun you can have with the different color combinations! Save this to Pinterest for your Easter egg decorating season!
I learned how to make natural Easter egg dye a few years ago now. I love the pretty, muted colors that you can make with a variety of household foods and other natural ingredients. It has become my favorite way to dye Easter eggs ever since. When I first started, I tested and tested again – playing with color combos and dipping eggs multiple times. When I finally found a few recipes that I loved, I wanted to share them with you so you could enjoy the gorgeous colors too!
Why natural Easter egg dye?
Natural Easter egg dye has been a trend for a couple years and it is becoming more prevalent as people search for more natural solutions in their everyday lives. For me personally, using natural Easter egg dye has been about three things:
- I want to create a more natural and sustainable life for my kids.
- Making things safer for the planet
- Ensuring that any from-scratch cooking that I do contains real, wholesome ingredients.
Creating natural Easter egg dyes can be about all of those things. My kids tend to be messy egg creators and these are safe for their little fingers and faces. They are also safe for my septic tank and to cook with (as long as they have been refrigerated) once you are done using them for the holiday.
Things I love about natural Easter egg dye
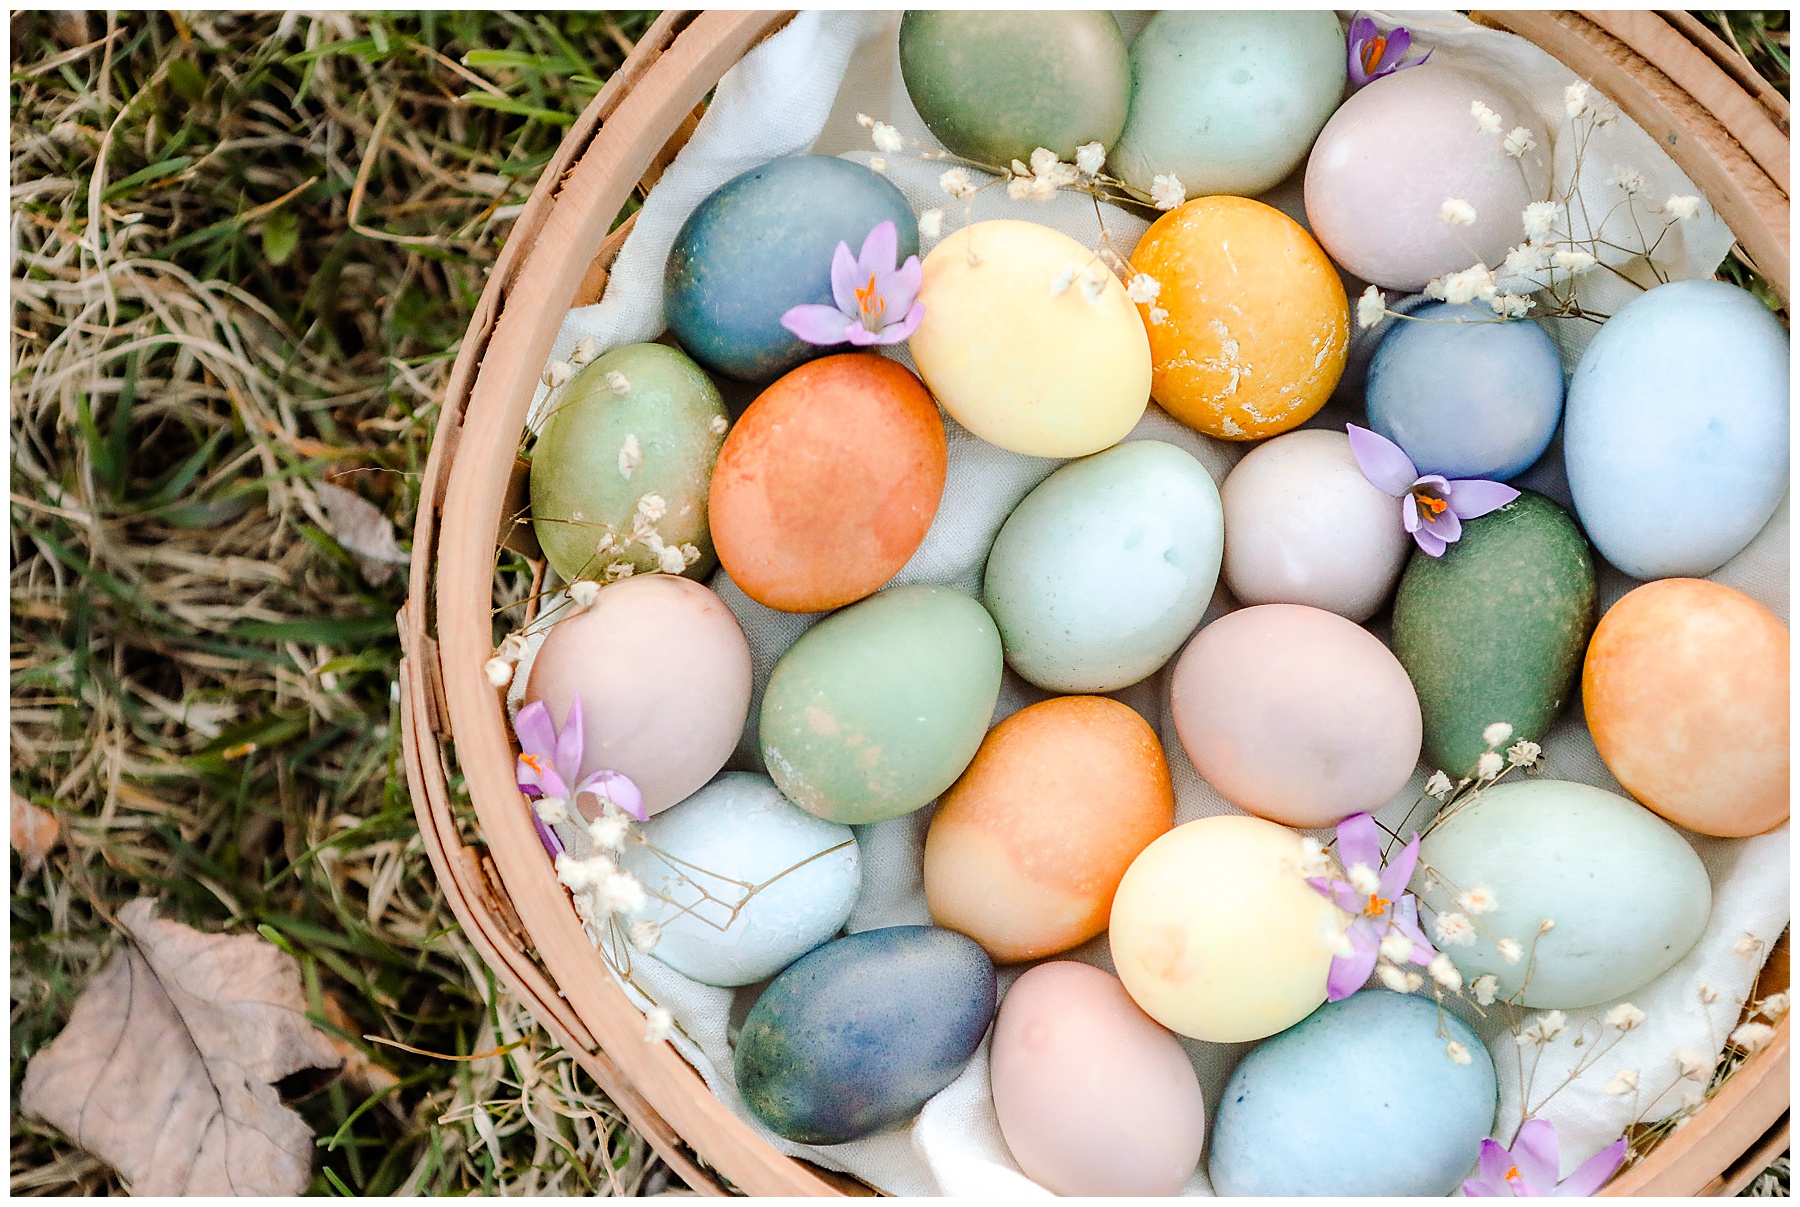
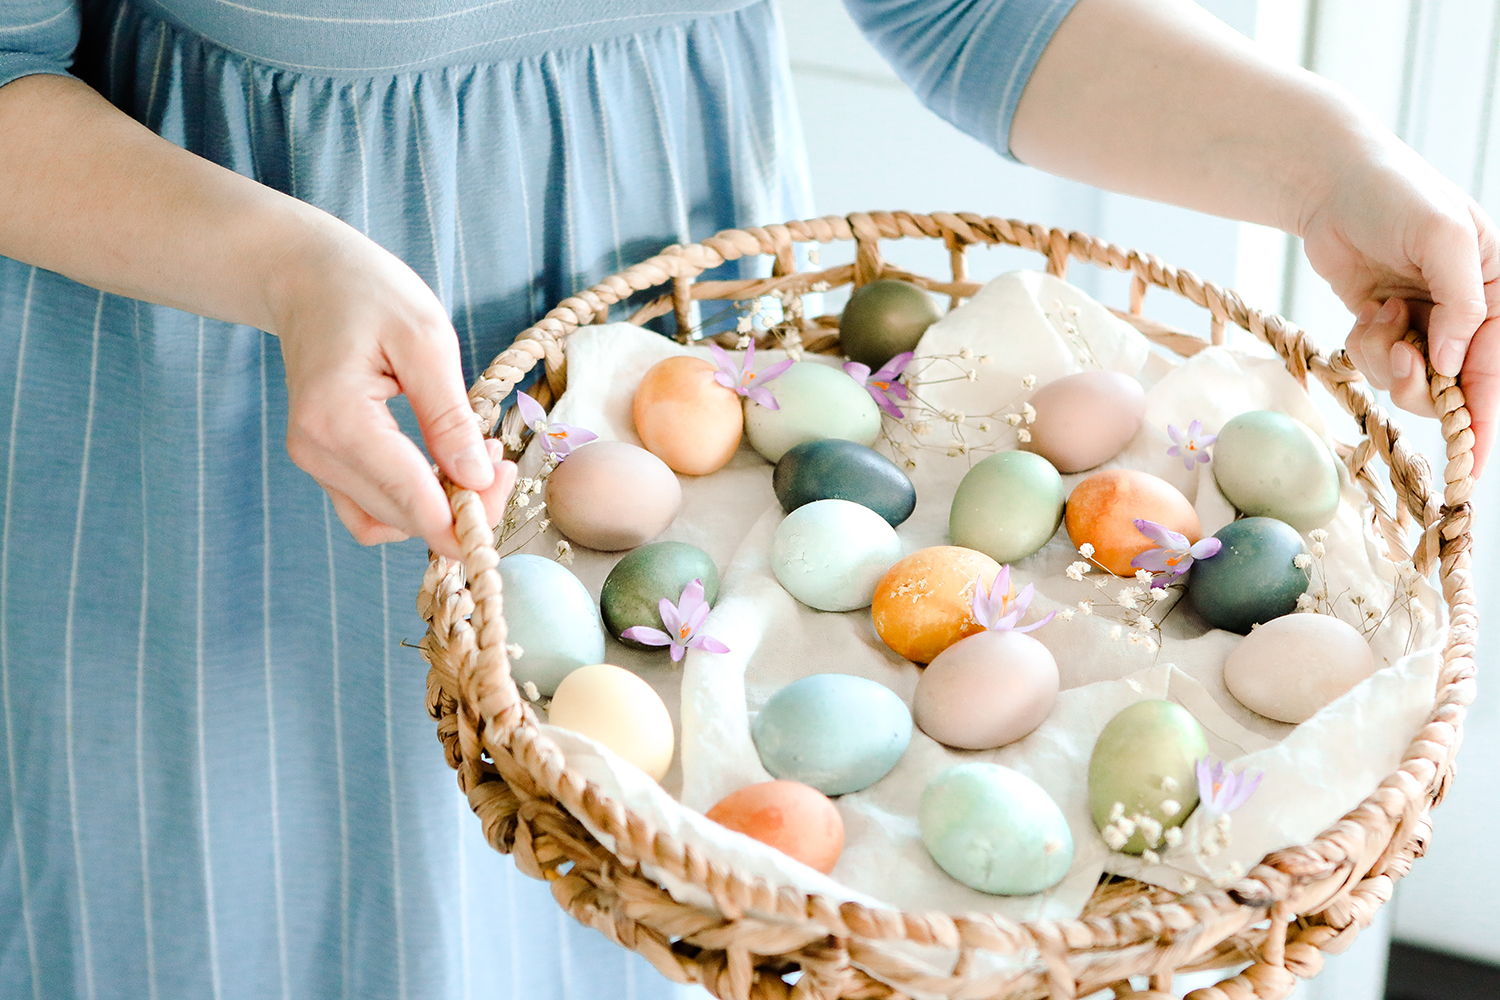
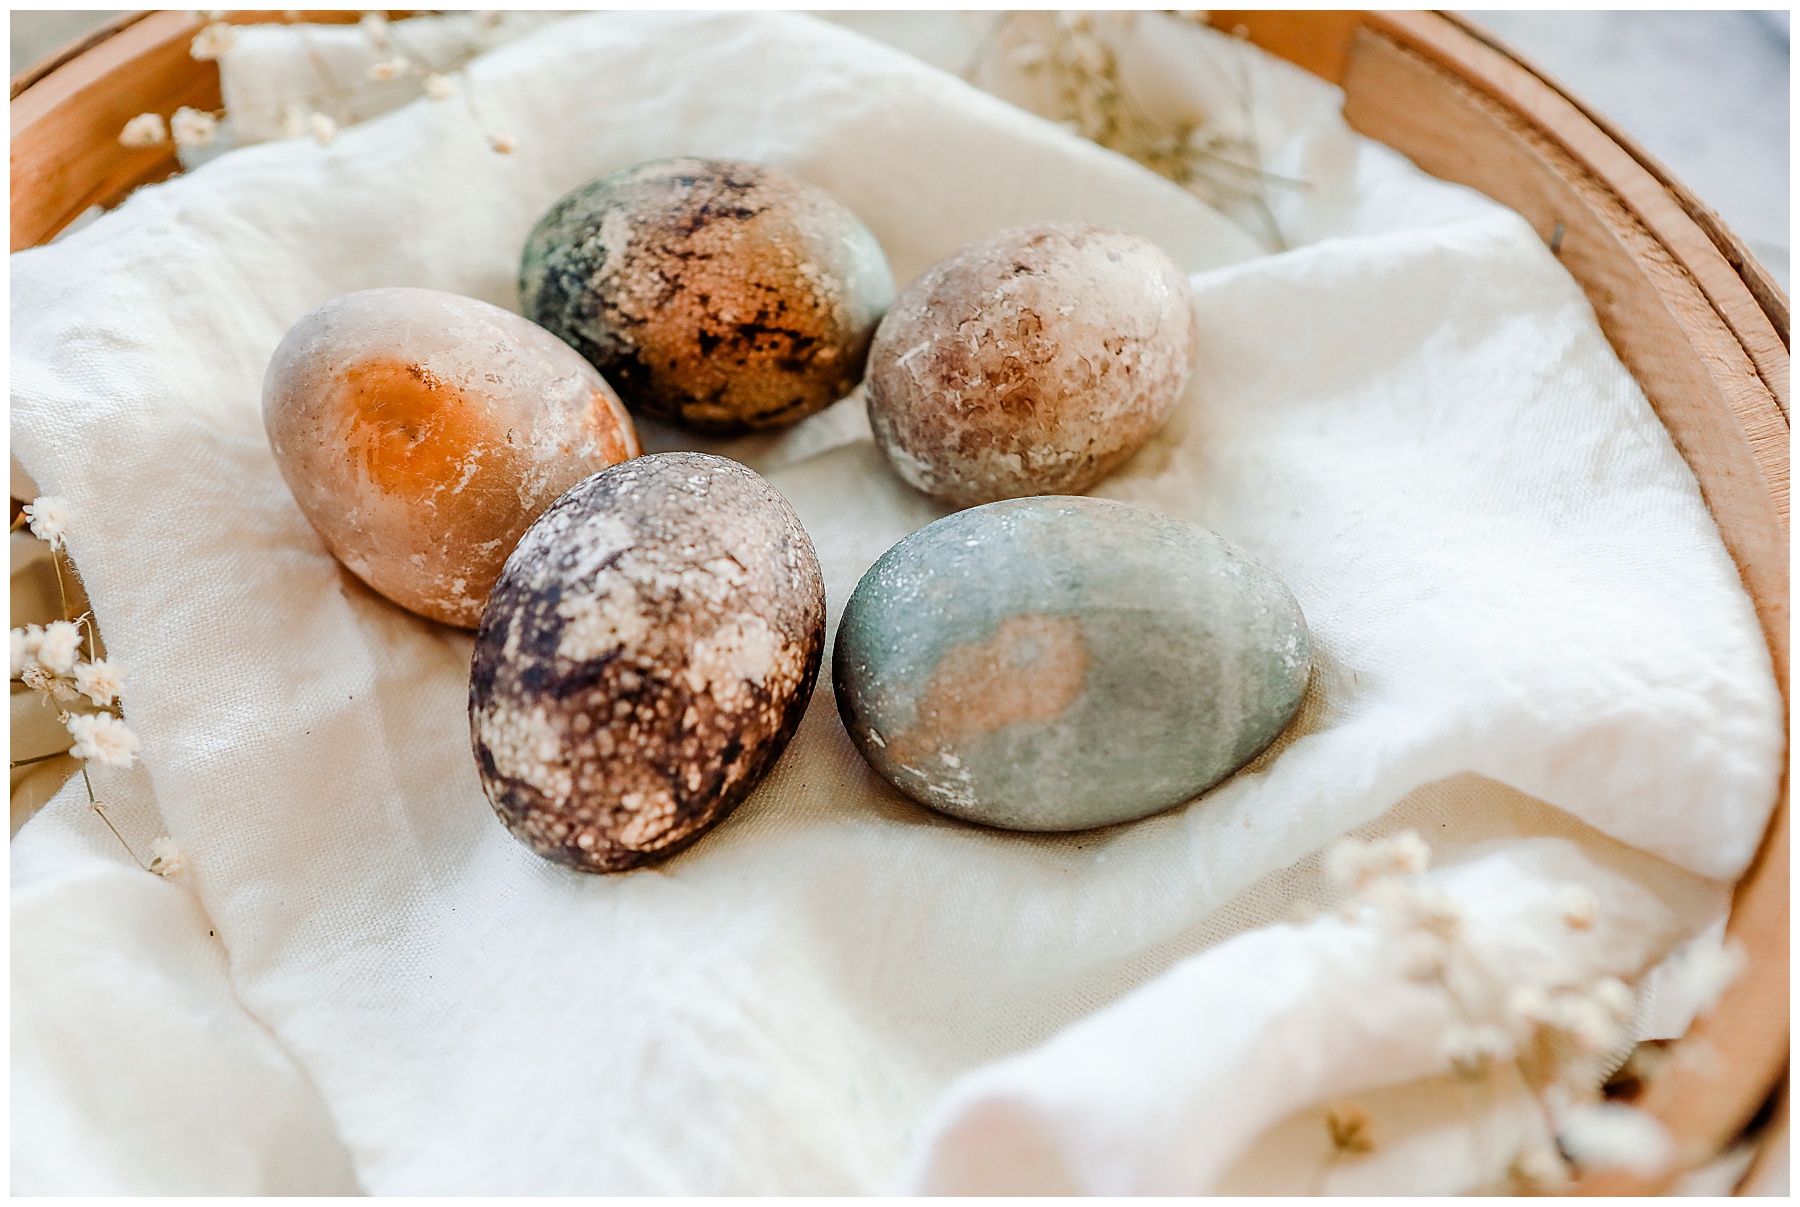
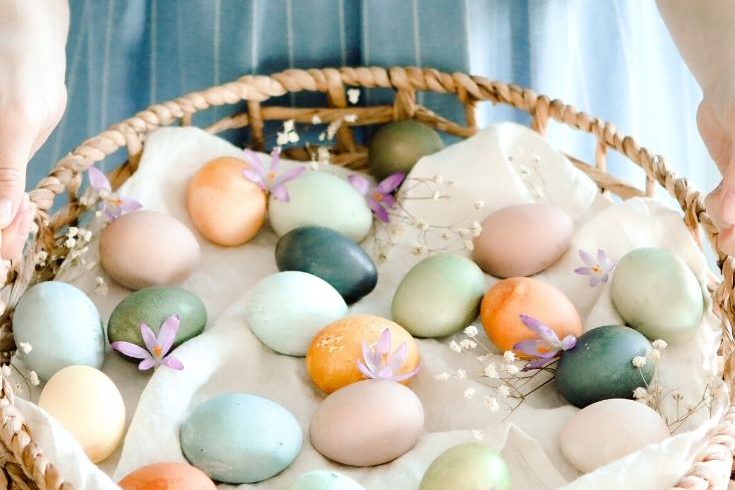
One of the most beautiful things about using natural Easter egg dye is that there are limitless color combinations. It can be fun to try them year after year and see what new ones you can create. We created green by combining two colors. We also created black on accident. They’re what I like to call “Emo eggs” and I still think there’s something beautiful about them.
One of the most fun things about Natural Easter egg dye is that no two eggs will look the same. Even if you dip them in the exact same solution and let them sit for the same amount of time, you will probably still get different results. You have to be okay with the variation and the beauty in the imperfection.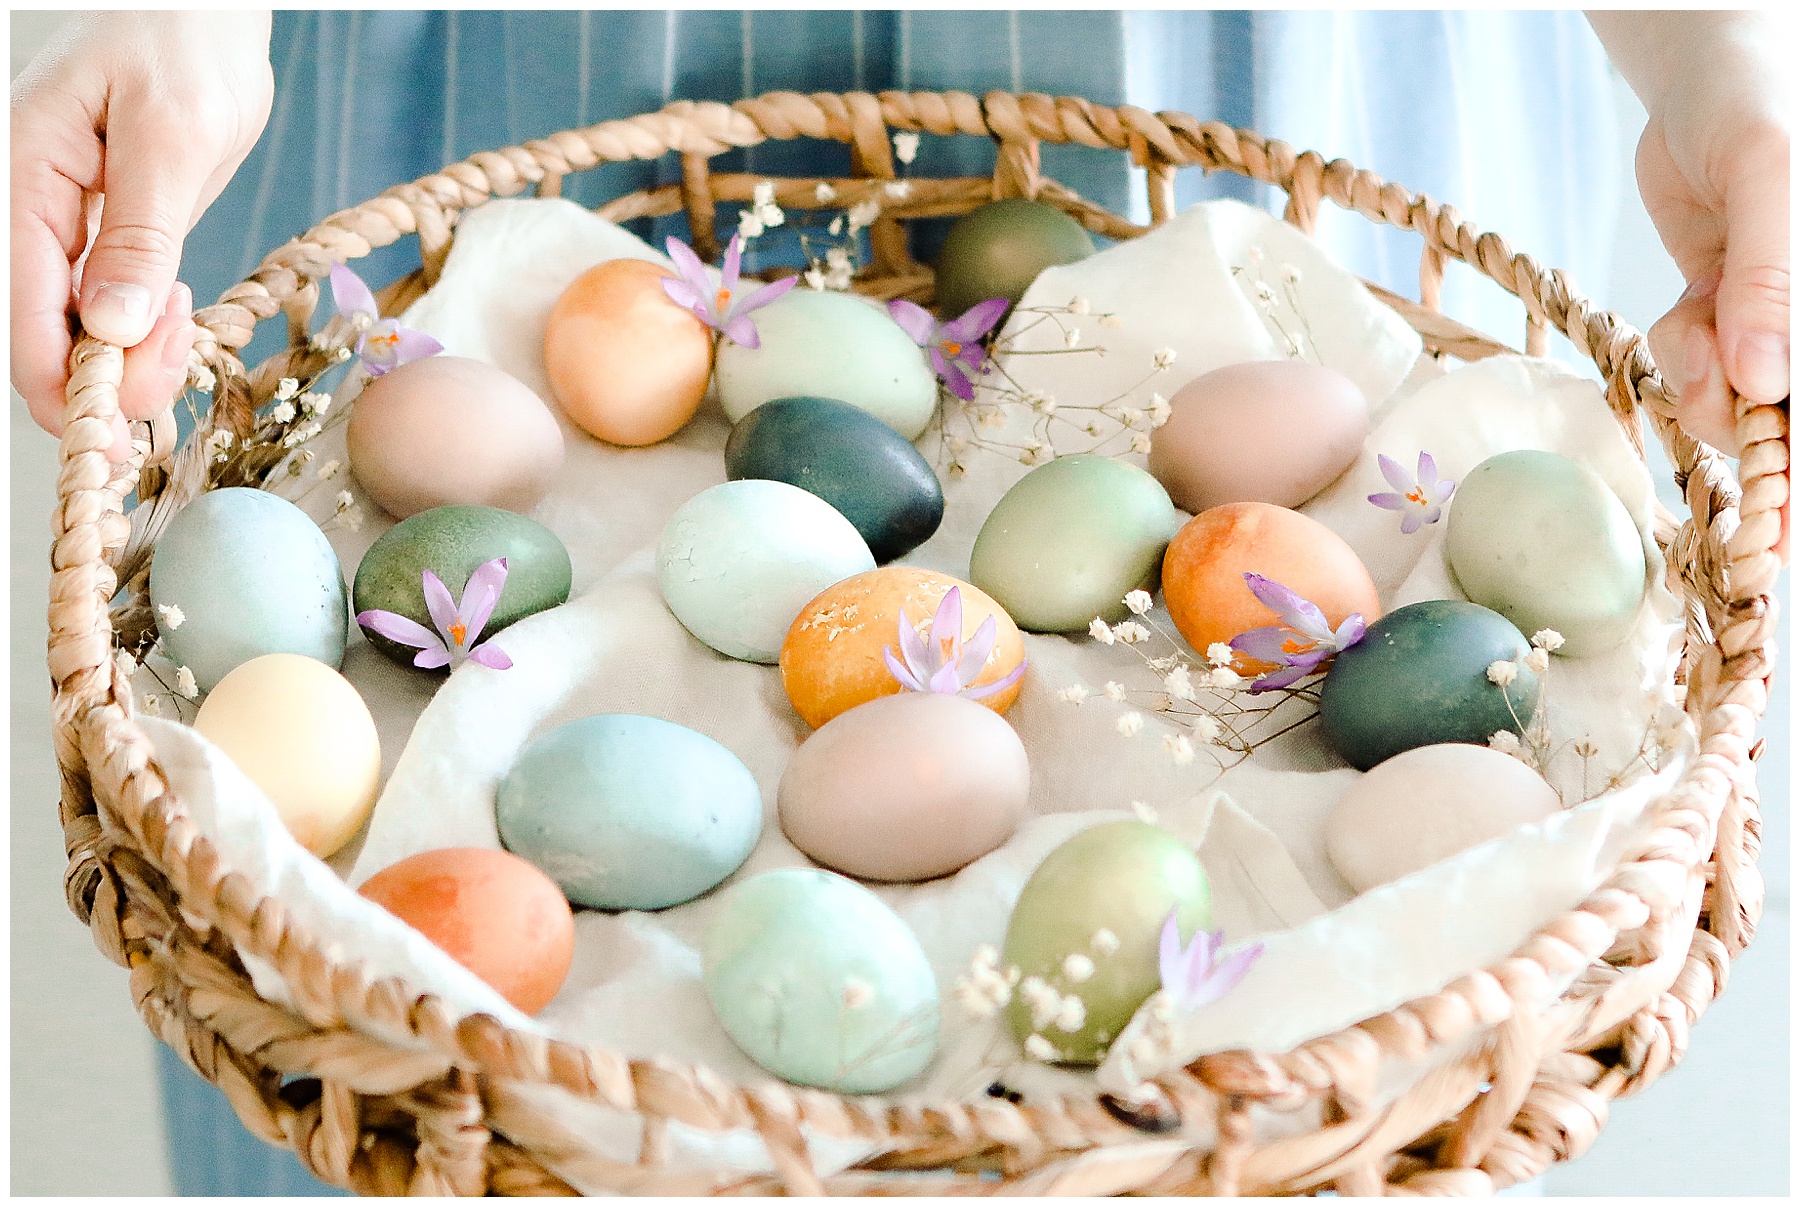
A key factor
As I just mentioned, using natural Easter egg dye can be inconsistent. It can be difficult to get beautiful, even, solid colors. You need about 1 – 1.5 tsp. of vinegar per half a cup of water to get consistent color – something I’ve found most blogs and instructions for creating natural Easter egg dye will not tell you. I’m not sure why they would leave out the most important part ot making this work. However, the vinegar is vital here just as it is in any egg dying process.
Patience makes the best colors
Through it all though, creating Easter eggs with natural egg dye is a fun experience. It takes a little patience because you cannot plop them in one color and expect brilliant results in 5 minutes. Unlike the boxed Easter egg sets, Natural Easter egg dye needs to sit longer to give you really bright eggs. In fact, the longer you leave them in the color, the brighter the eggs. If you leave them in 5 minutes, you will have very light pastel eggs, which might be perfect if you want them that way.
Tips for making and using natural Easter egg dye
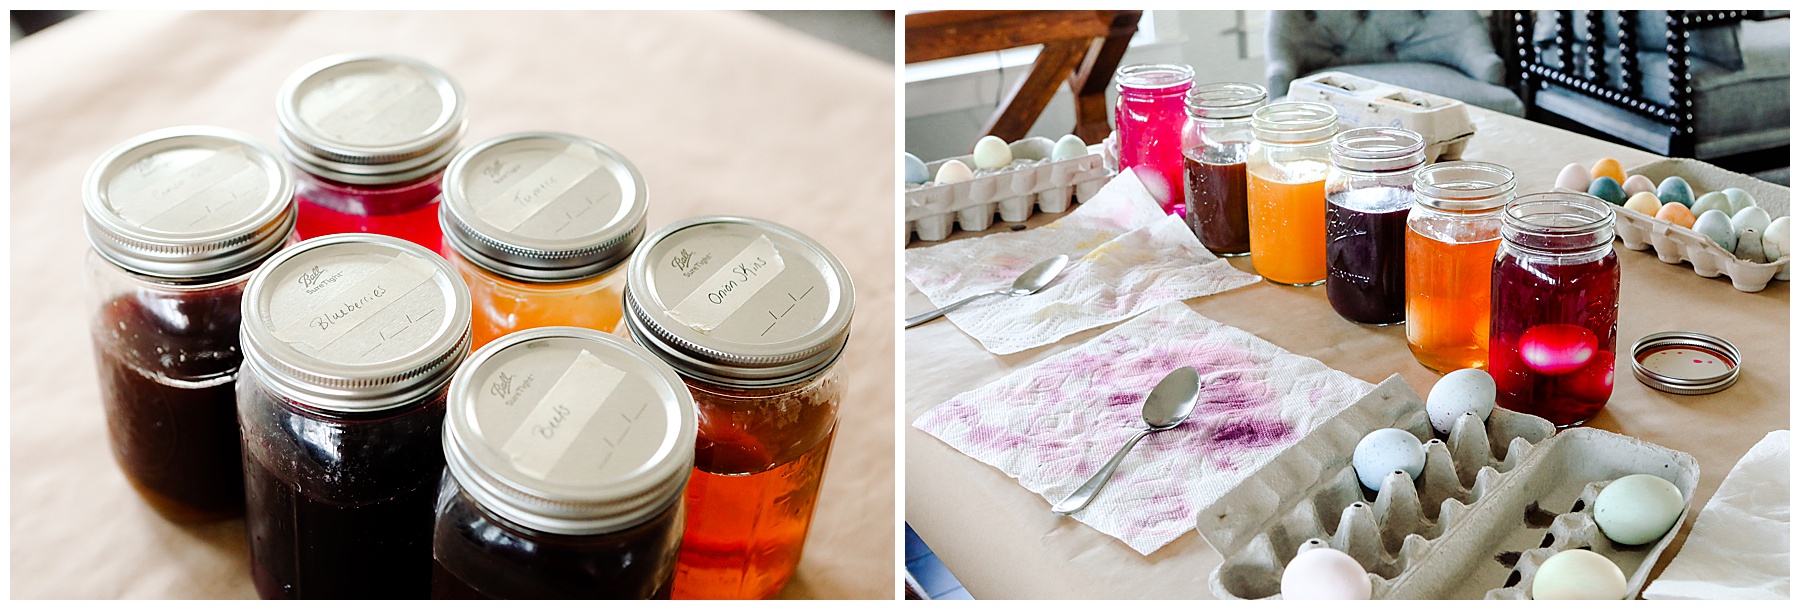
- Please, PLEASE use a heat safe container for your water and ingredient boil. I love using Ball Wide Mouth Mason Jars because the eggs fit into them nicely. In fact, you can fit more than one egg inside them at a time and you can use a regular spoon to lower and lift the eggs.
- Again, the longer you leave the eggs in, the better the color will be. To get the really dark colors I like to leave them in overnight.
- You should make the dyes one day and then dye the eggs the next day. I recommend this because it can feel like a lot of work to make the dye and boil the eggs. It will take a lot of pots being used at once. If you don’t have a lot of pots, you need to plan it out.
- Another bonus to using Ball Wide Mouth Mason Jars is that you can store the dye in these containers in the refrigerator. You can actually keep these for weeks in these containers and use them to dye fabric too.
- That said, once you add the vinegar, these mixtures WILL DYE ALL THE THINGS! I got some on my kitchen cabinets and spent 30 minutes trying to clean it off. Use something to cover your work surface like cardboard from a box. You want something the dye won’t soak through.
- We used both white and brown eggs. I think the brown eggs actually work the best for this and look the prettiest at the end. They tend to turn deeper colors than the white eggs.
Our favorite natural Easter egg dye recipes
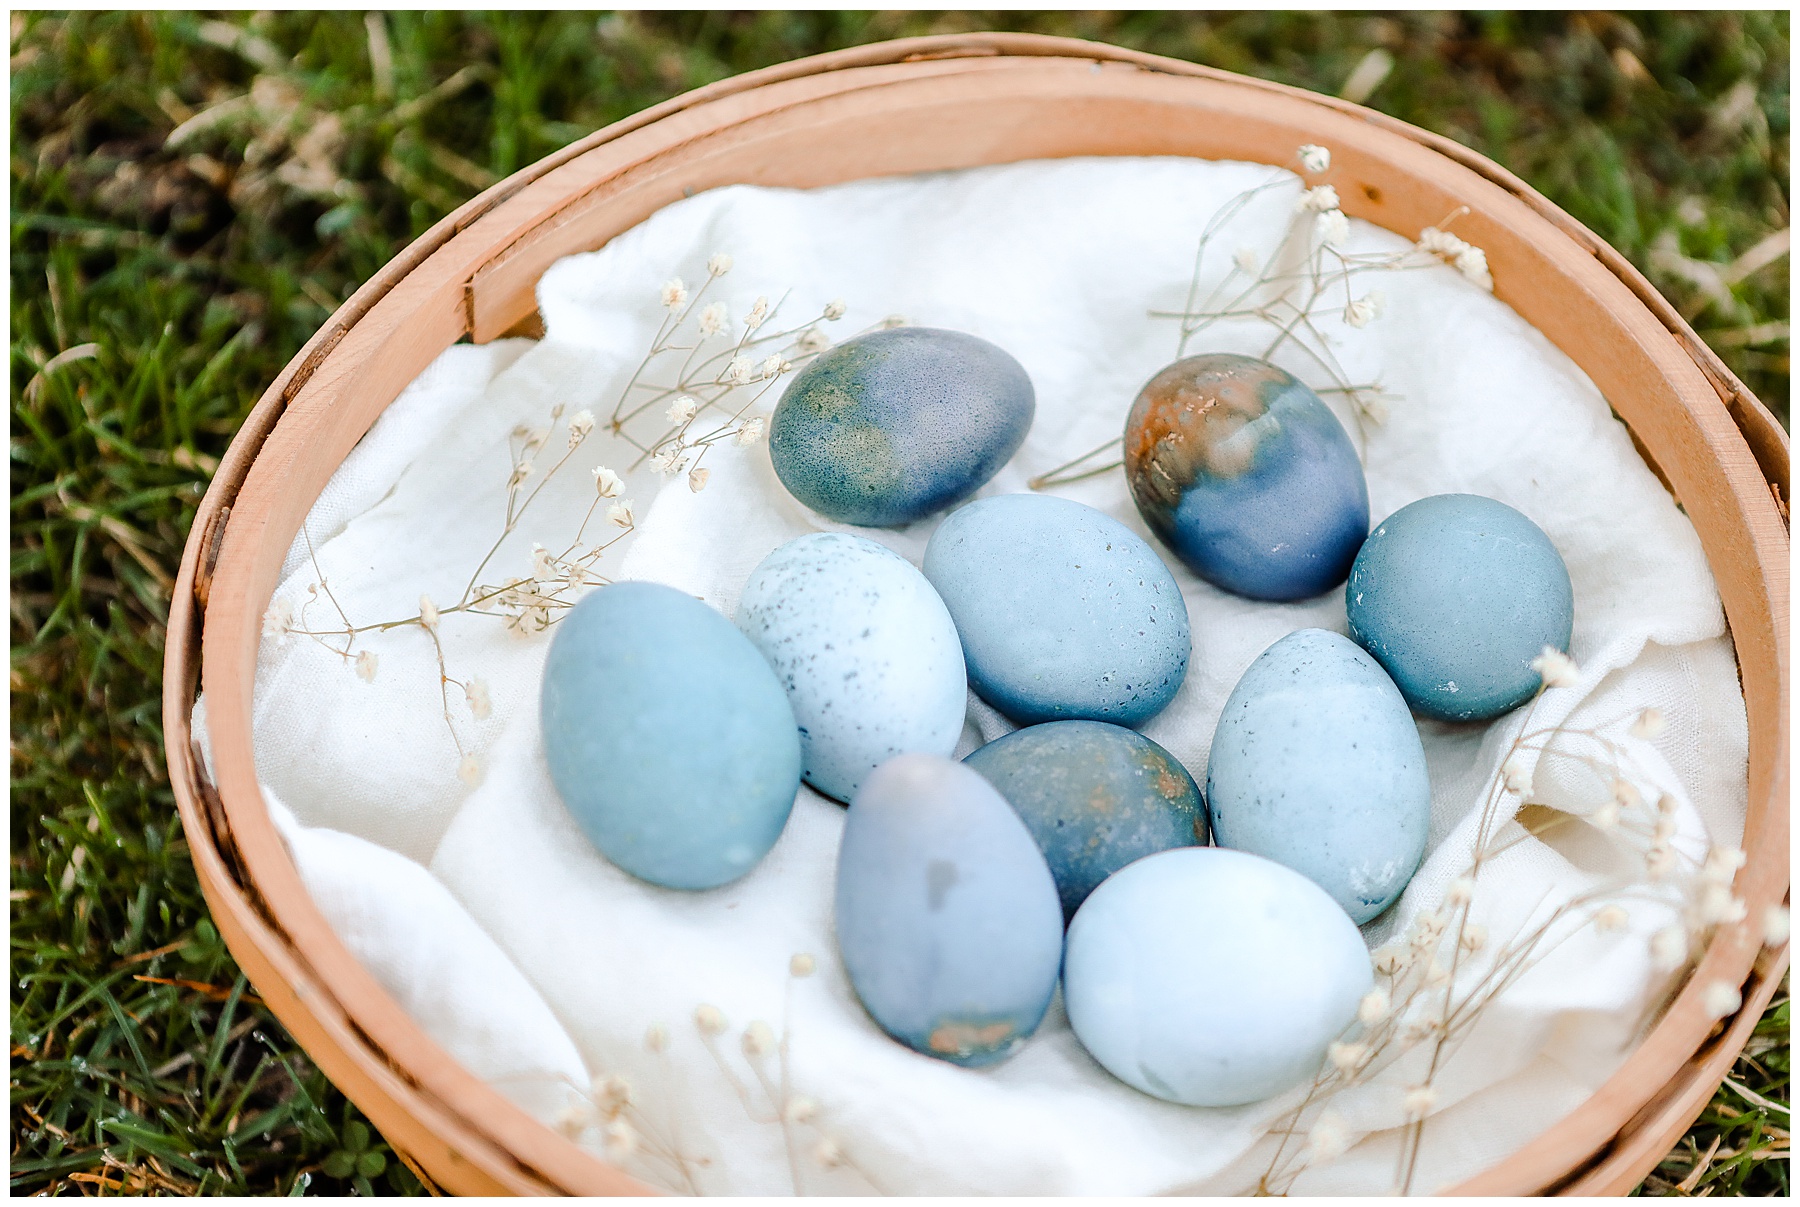
Blueberries – Makes blue
- 5 cups of water
- ½ pint of blueberries (fresh)
- 2 Tbsp of vinegar for lighter pastels. 1/4 cup vinegar for darker or brighter colors
Beets – Makes rose or pink
- 5 cups of water
- 4-5 small beets or 2 large beets
- 2 Tbsp of vinegar for lighter pastels. 1/4 cup vinegar for darker or brighter colors
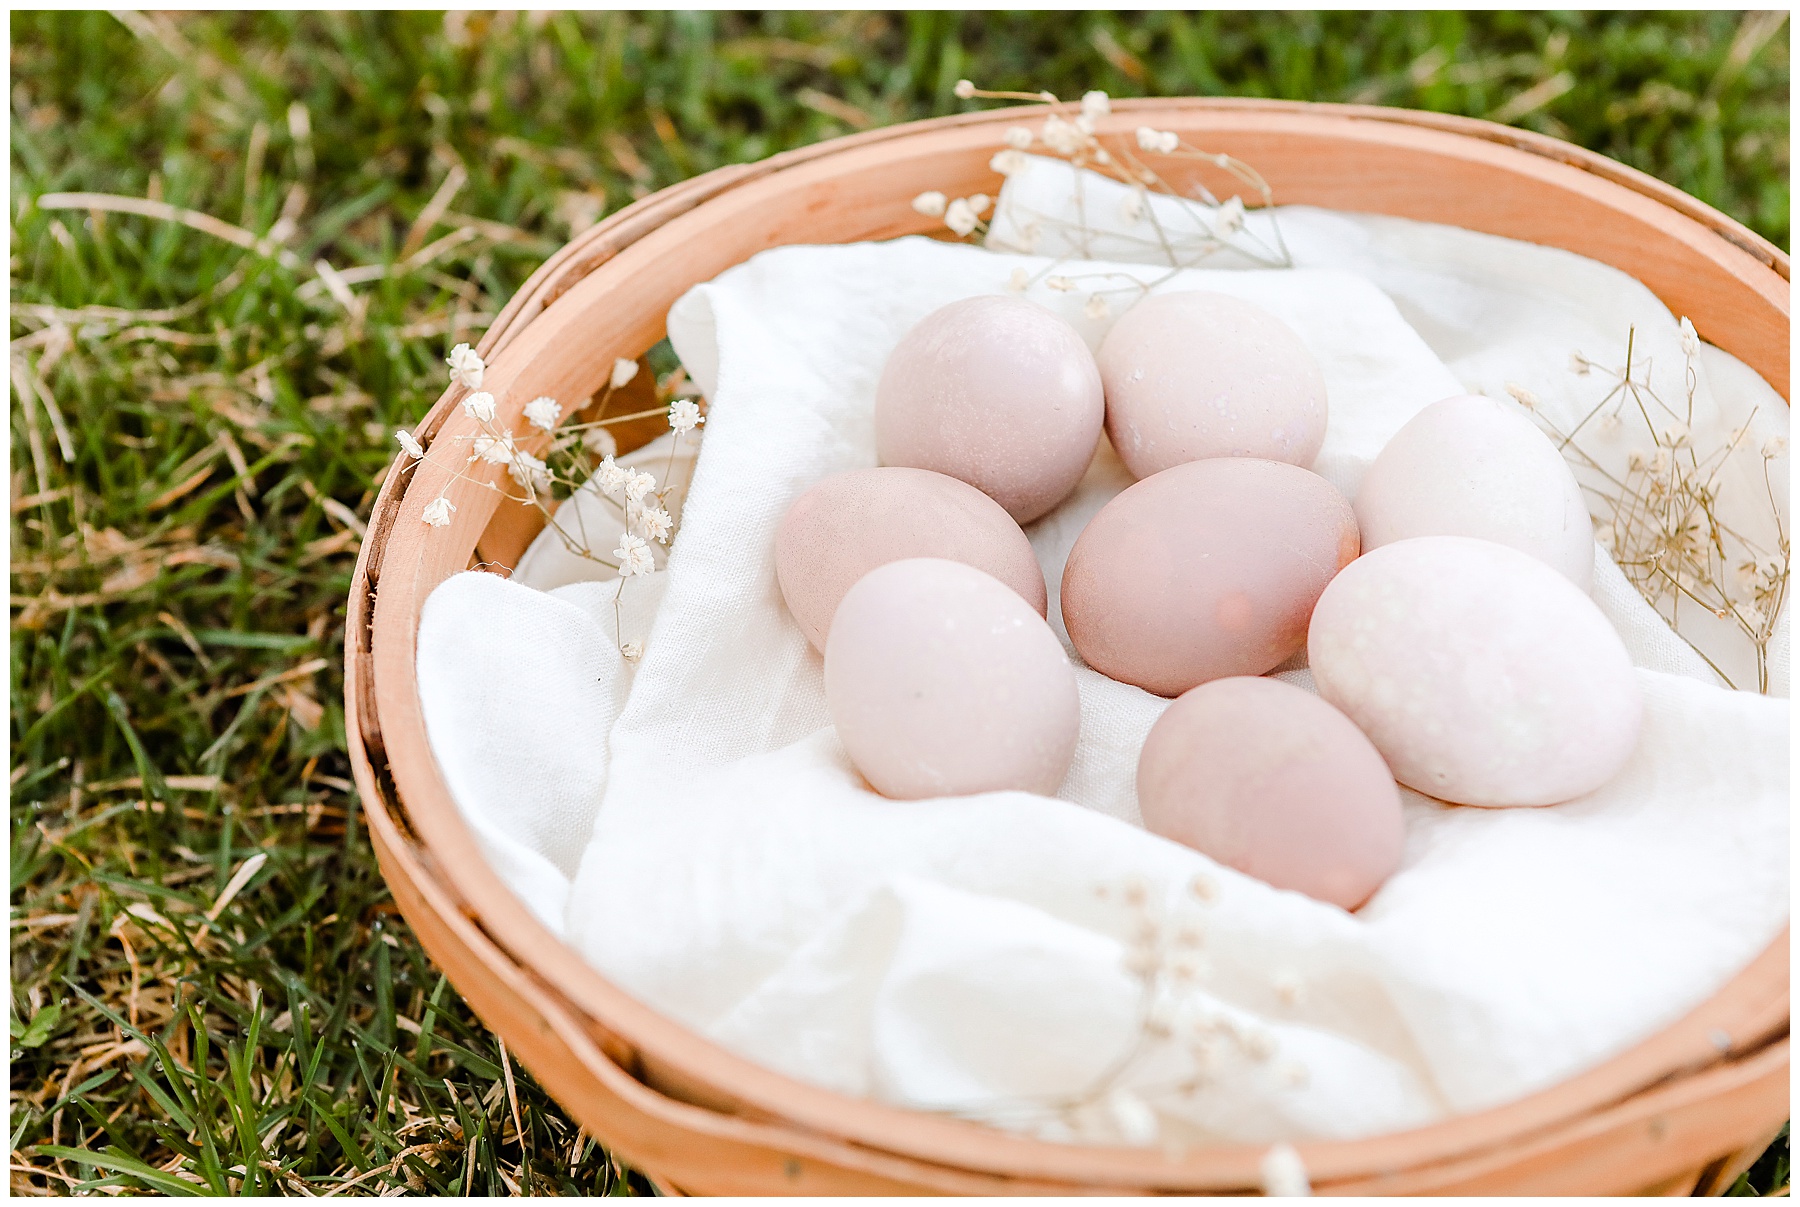
Turmeric – Makes yellow
- 3 cups of water
- 1.5 Tbsp. Turmeric
- 2 Tbsp of vinegar for lighter pastels. 1/4 cup vinegar for darker or brighter colors
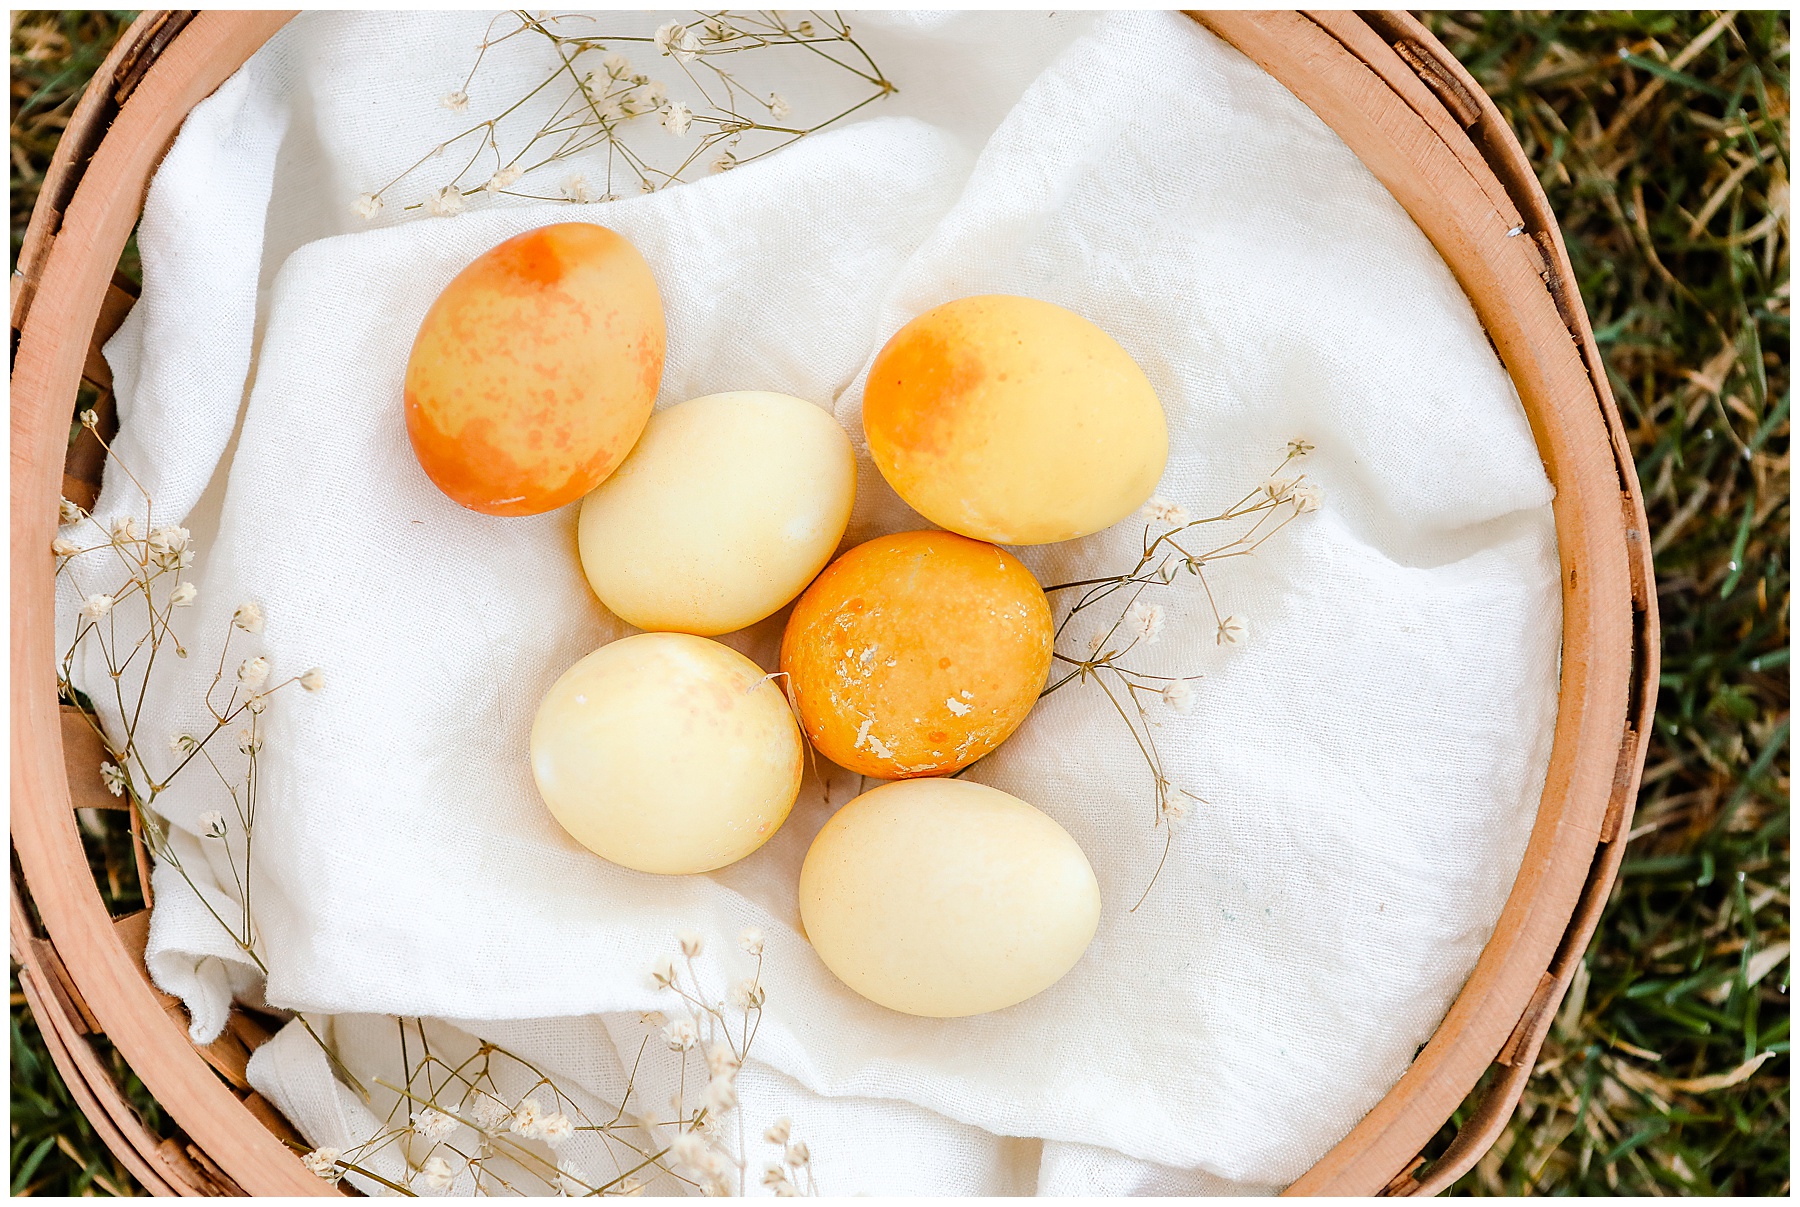
Onion Skins – Makes orange
- 3 cups of water
- Skins from two yellow or Spanish onions
- 2 Tbsp of vinegar for lighter pastels. 1/4 cup vinegar for darker or brighter colors
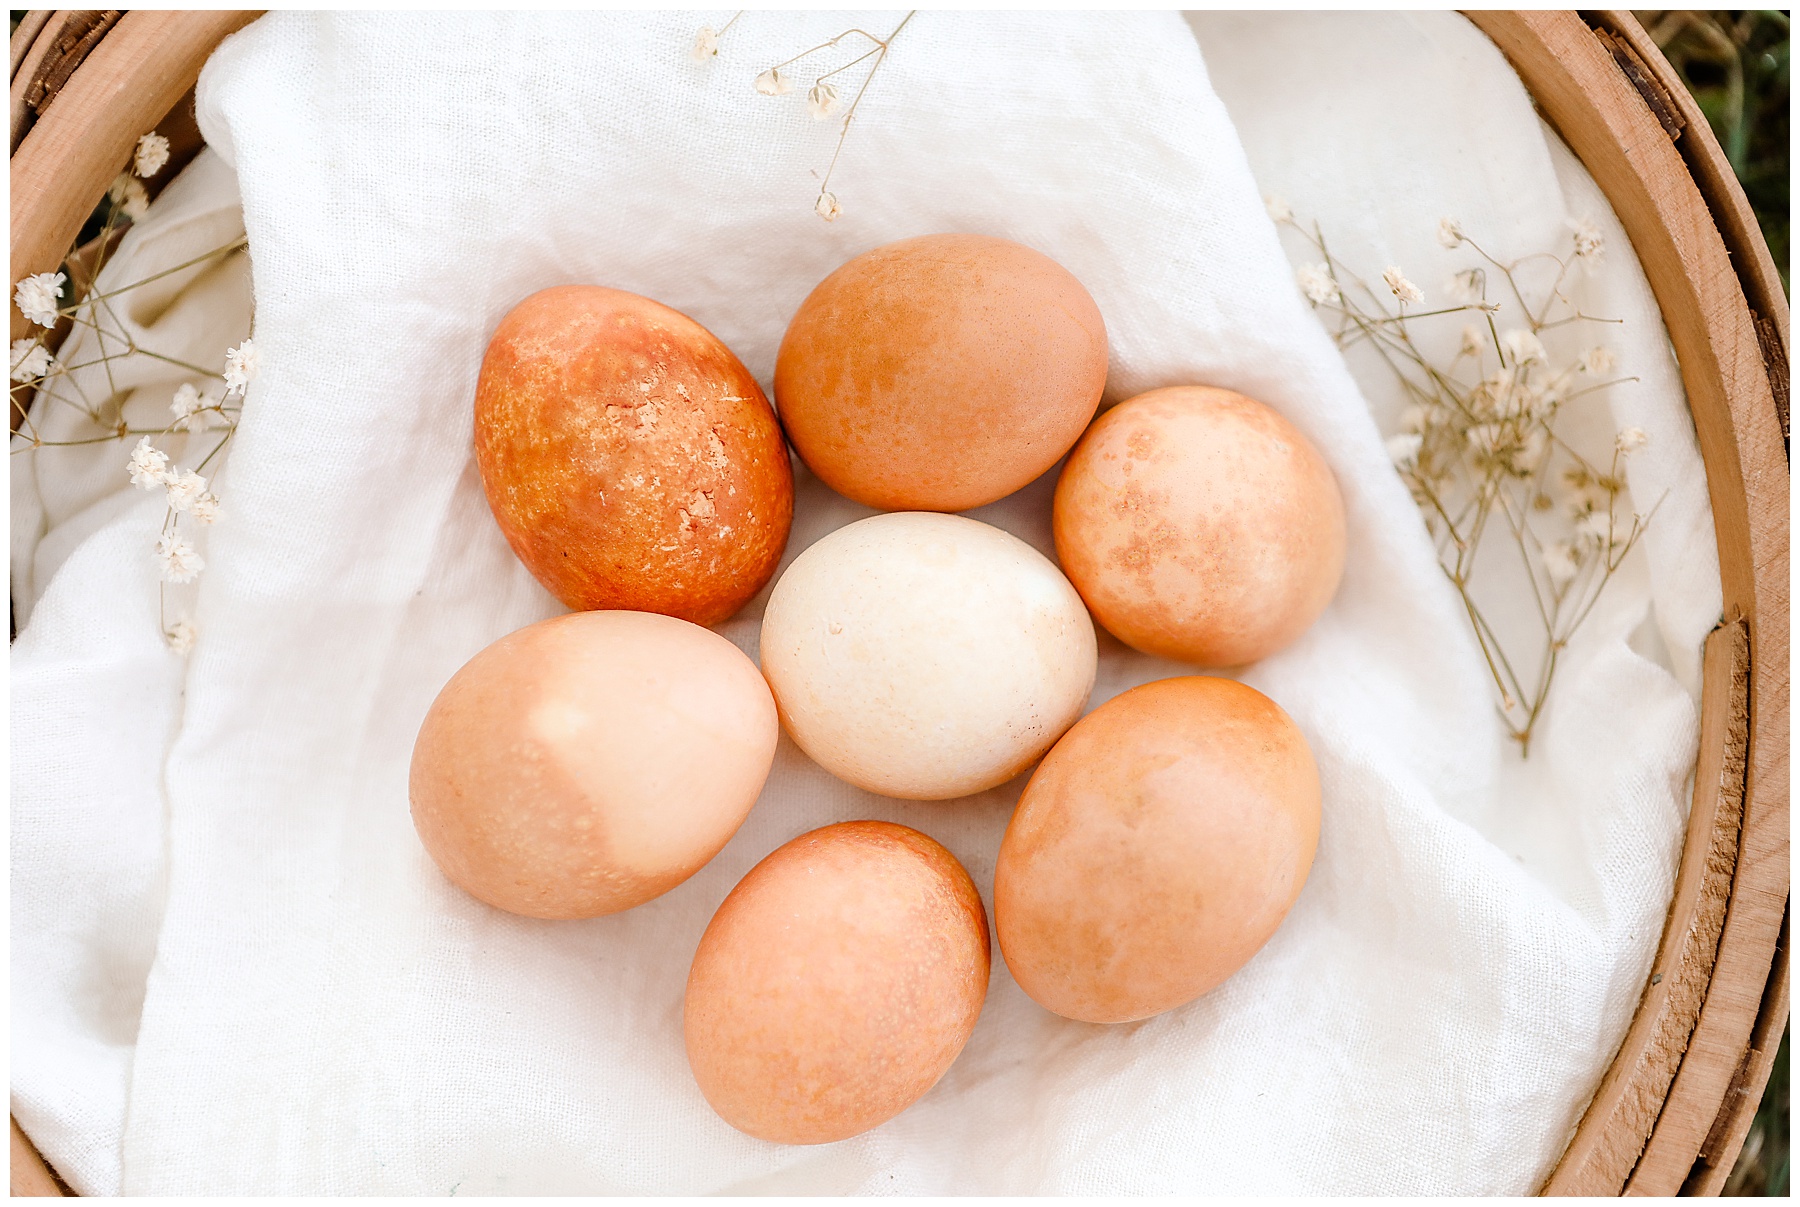
Cabbage – Makes a light blue color
- 3 cups of water
- ½ red/purple cabbage
- 2 Tbsp of vinegar for lighter pastels. 1/4 cup vinegar for darker or brighter colors
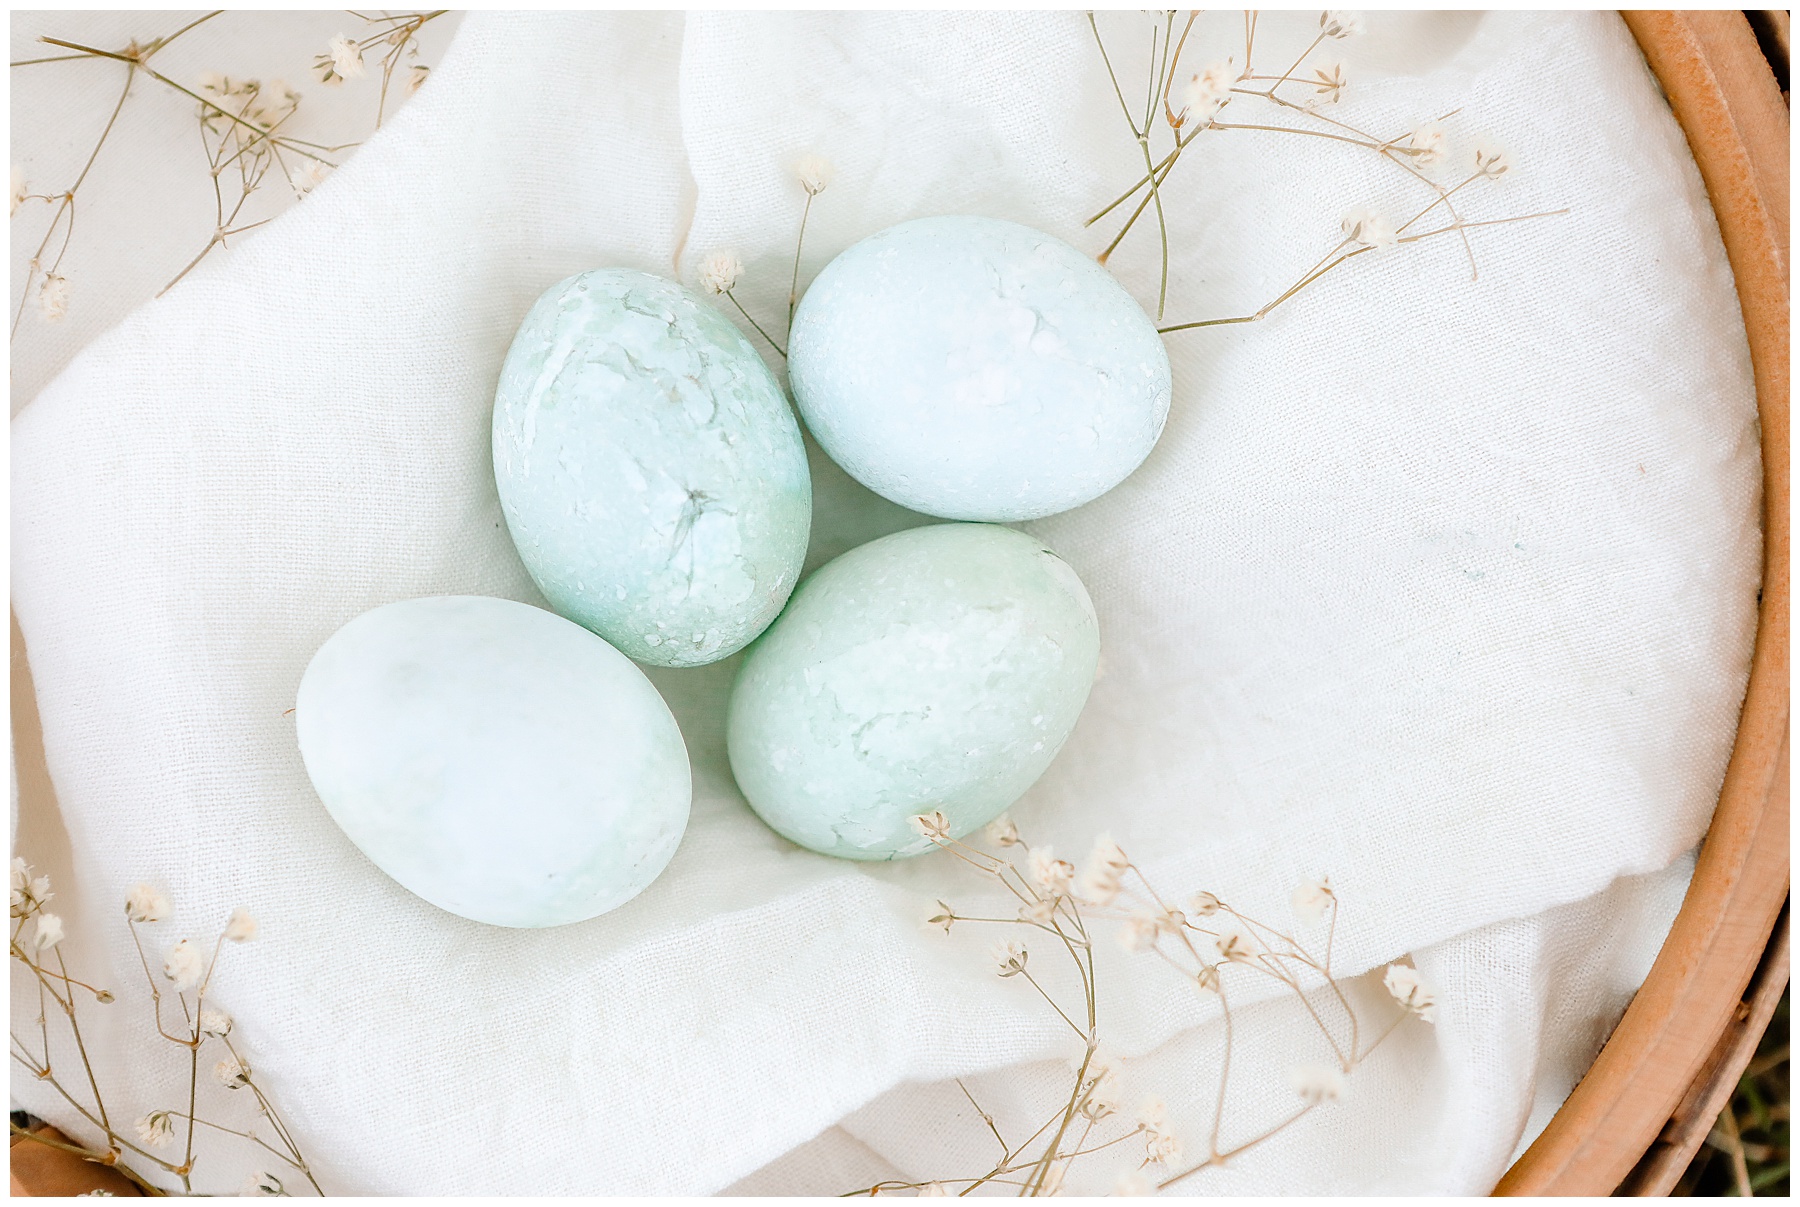
Combo color – Makes green
If you want to make this boil extra of the Blueberry and Turmeric.
- 1.5 cups of the blueberry boil
- 1.5 cups of the turmeric color boil
- 2 Tbsp of vinegar for lighter pastels. 1/4 cup vinegar for darker or brighter colors
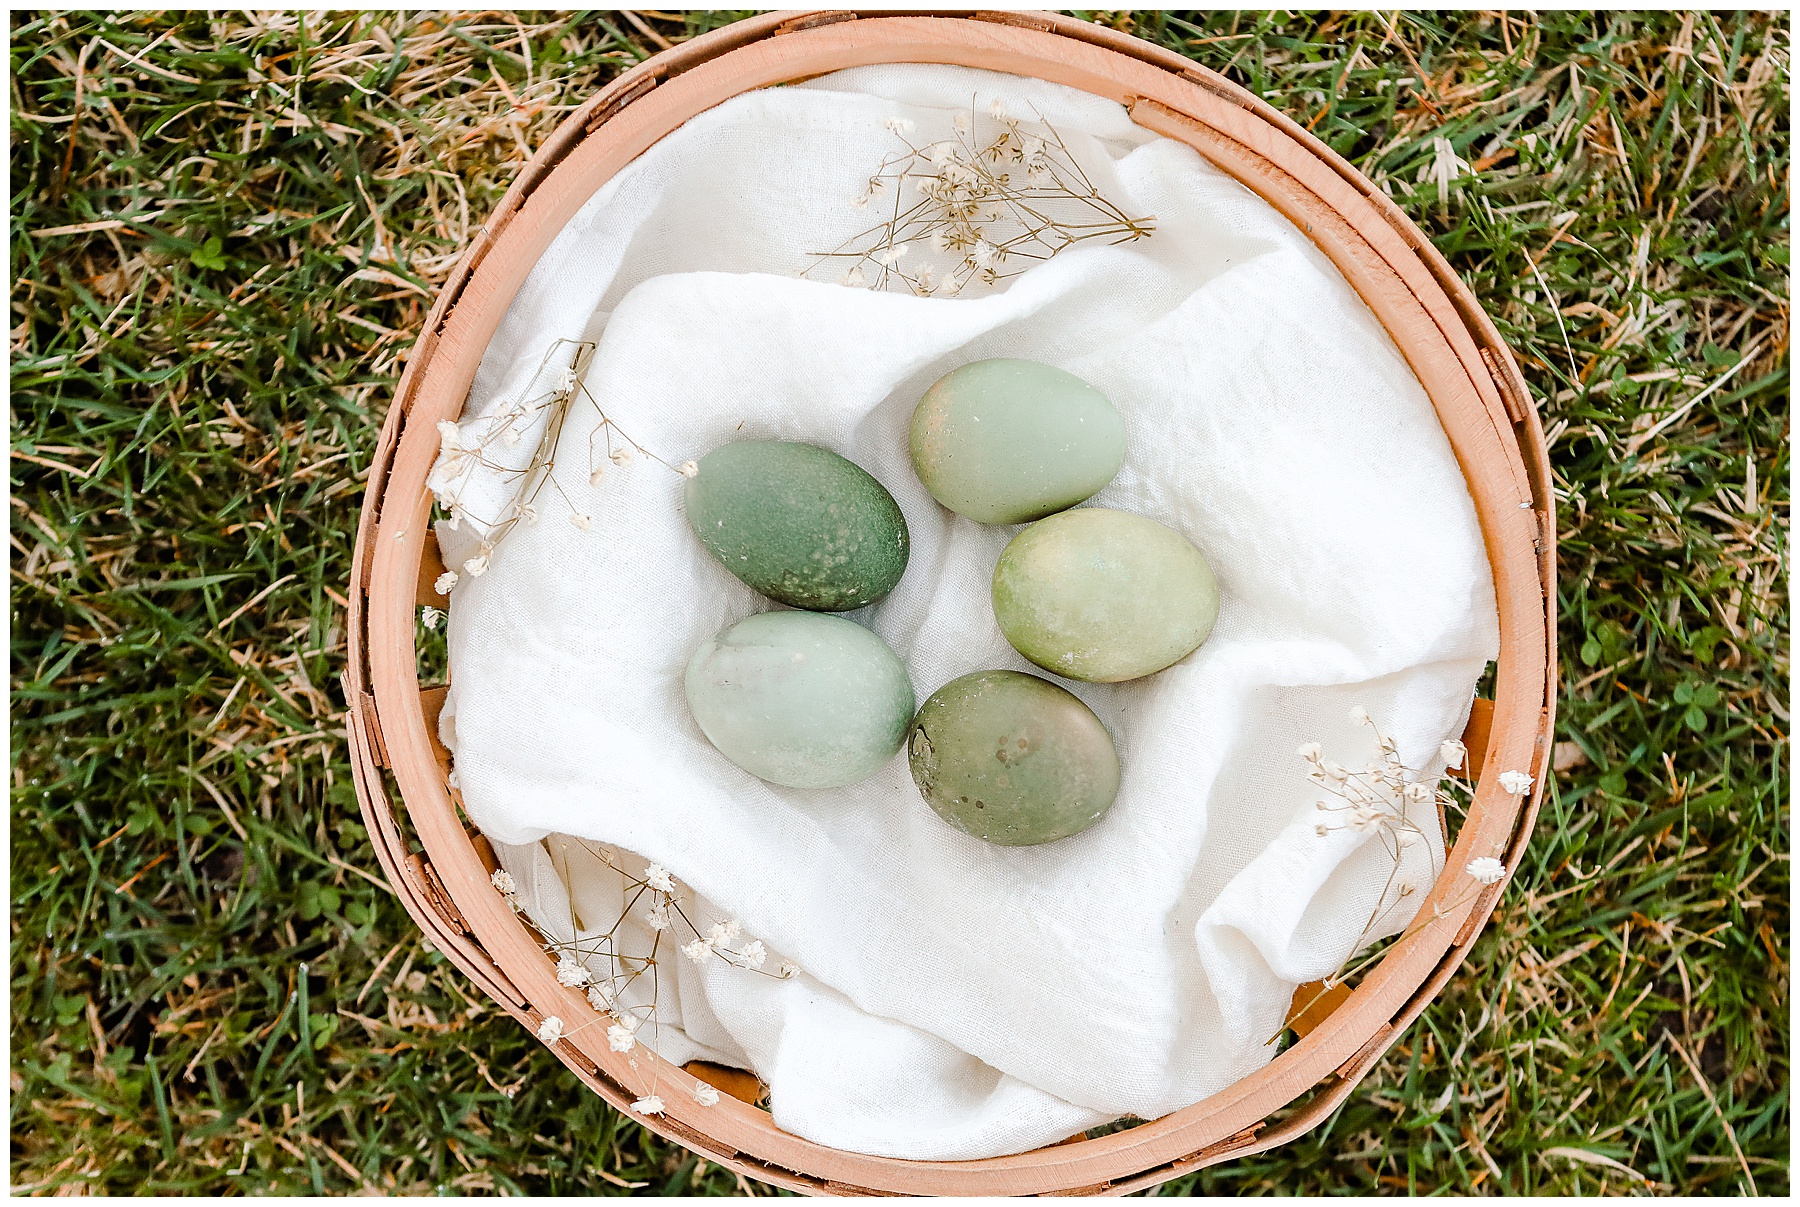
Emo eggs – Black and brown
- 2 cups of grape juice or red wine
- 2 Tbsp of vinegar for lighter pastels. 1/4 cup vinegar for darker or brighter colors
Steps for making natural Easter egg dye
- Boil the water and the color ingredient in water for about 15 – 20 minutes.
- * If you want to make the Emo eggs, you don’t need to boil the grape juice or wine. Just put it in a cup.
- When time is up pour your mixture into a heat safe jar or bowl. I used these wide-mouth Ball canning jars.
- Let it cool for about 20 minutes and add your vinegar.
- Hard boil your eggs or steam them like I do in the video above.
- Dip away and see what fun color combinations you can come up with!
- You can leave them in for about 15 minutes for very light, pastel colors. If you leave them in an hour or more you will get deeper colors. We left some in a few hours and overnight for the boldest and most beautiful moody colors.
Items in this post
I used Ball Wide Mouth Mason Jars for all the dyes. I bought them last year for pickling cucumbers and they are always helpful to have around. I’ve even made vintage farmhouse vases out of them that were just darling. You can find them {HERE}.
- Round Rattan Woven Serving Tray with Handles (Least expensive)
- Creative Co-op Bankuan Braided Tray with Handles (Square)
- Pottery Barn Seagrass tray ON SALE!
- 3R Studios Round Braided Bankuan Tray with Handles
- Brown Johnathon Braided Bankuan Ottoman Tray
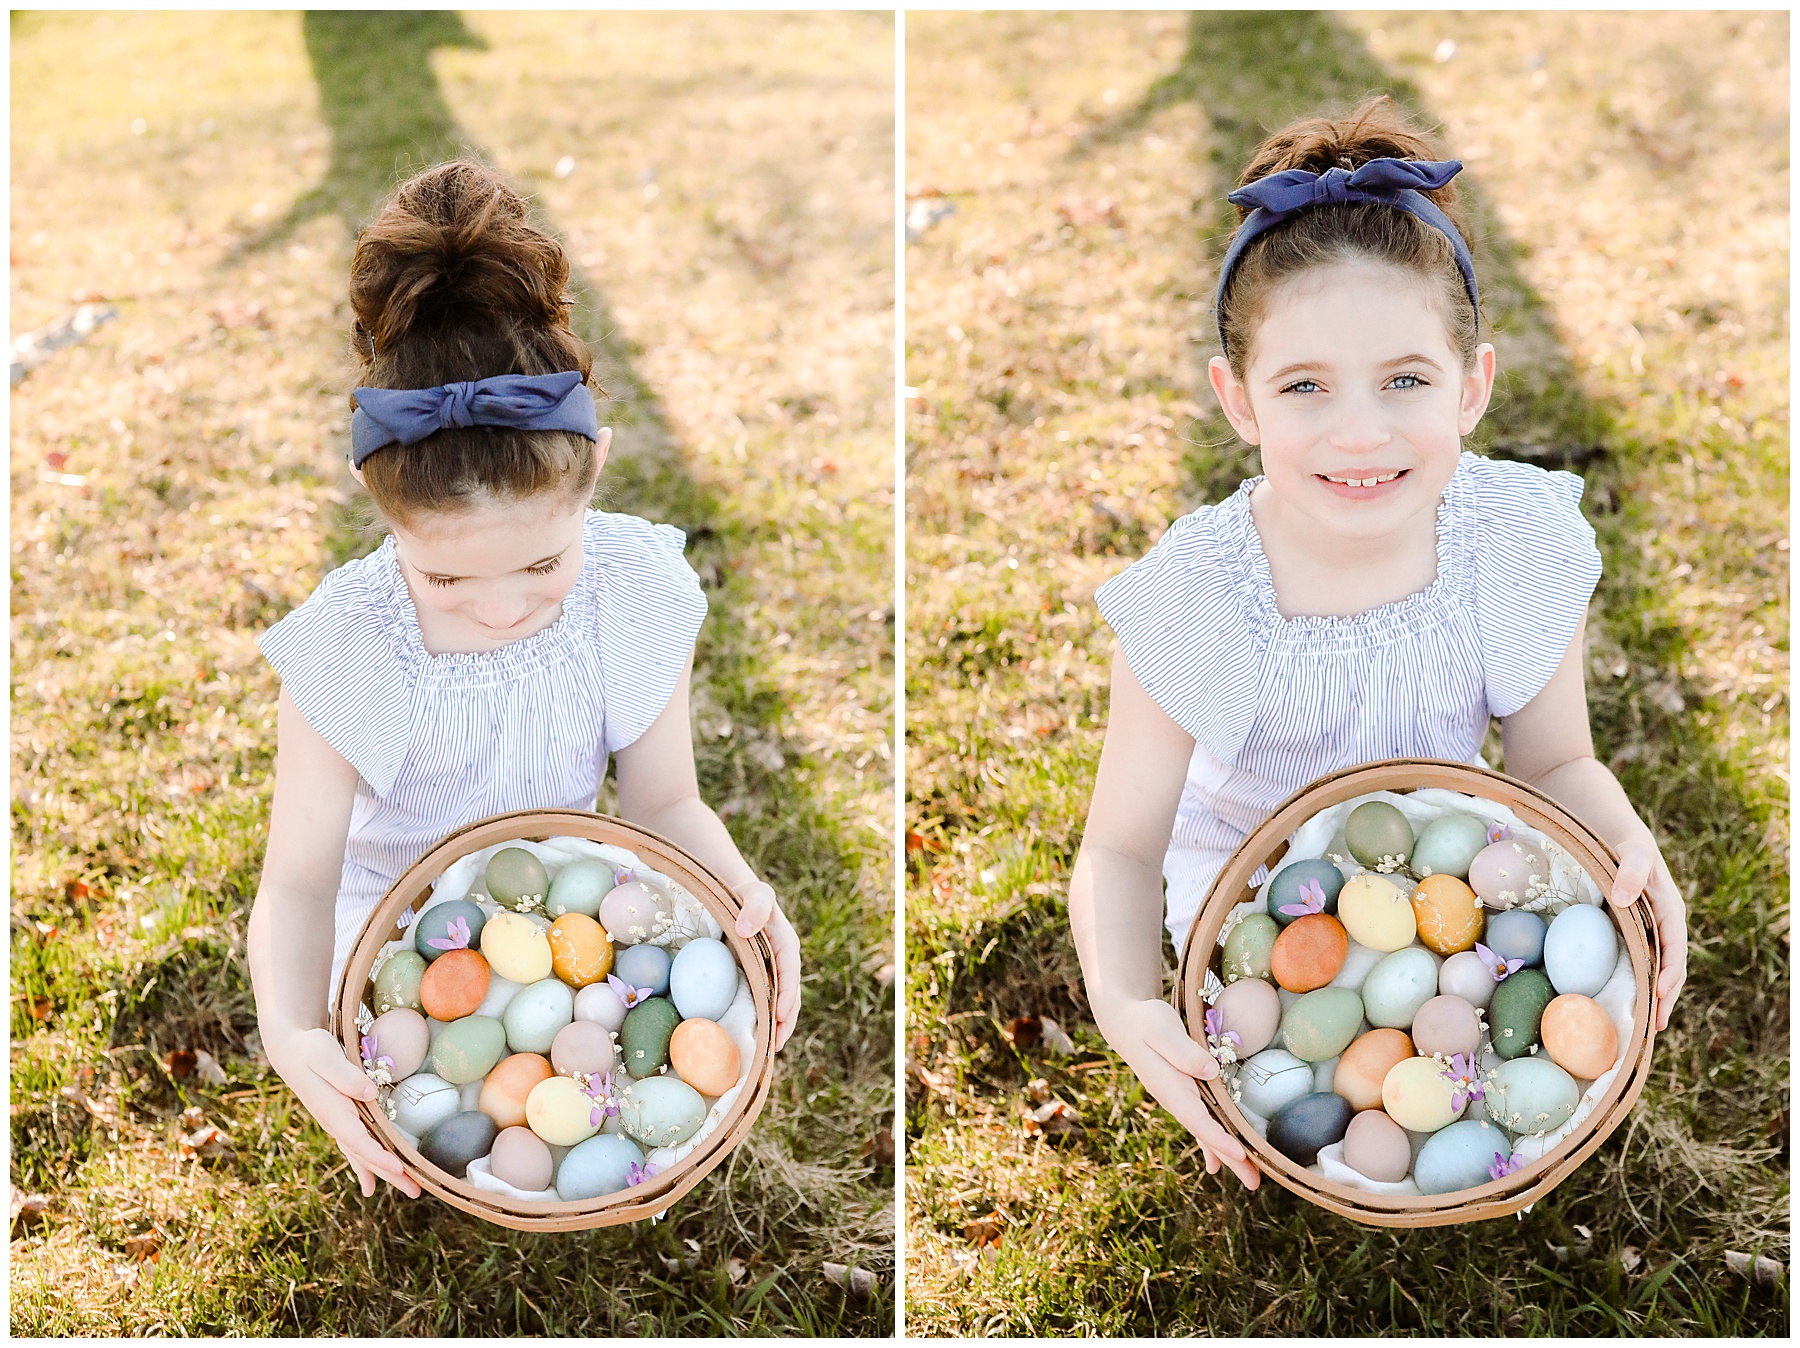
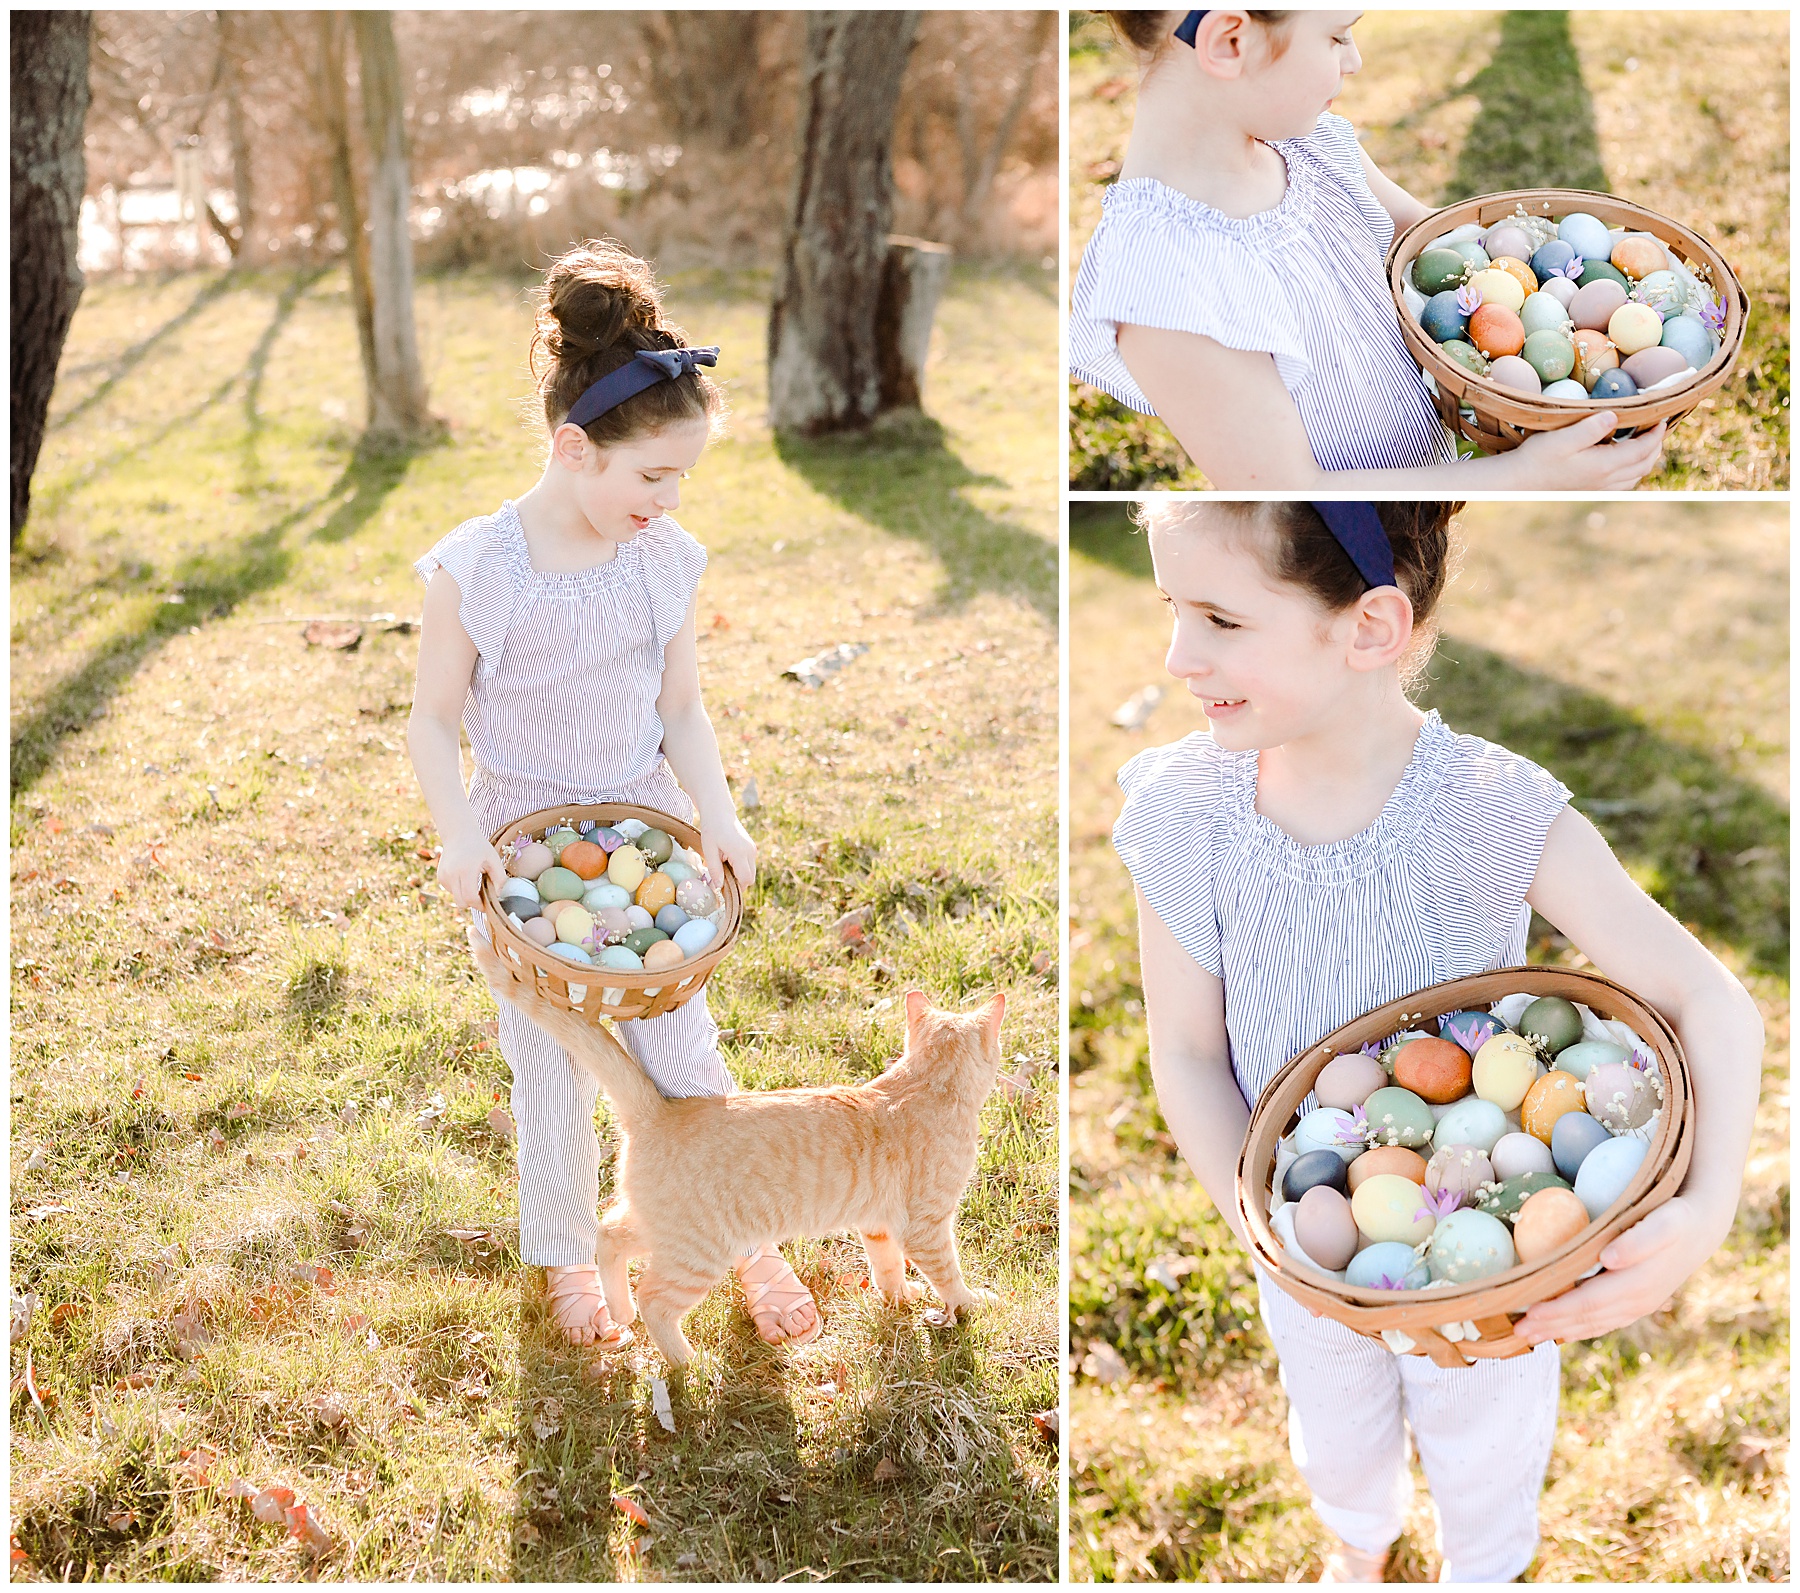
The basket with the eggs that my daughter is holding is just from Michael’s!
Looking for more Easter ideas?
If you are looking for more ways to celebrate Easter, try these articles too!
- Gold Leaf Easter Eggs {HERE}
- Whipped Cream Easter Eggs {HERE}
- DIY Birds Nests {HERE}
- Honey Glaze for Ham {HERE}
- Mini Blueberry Lemon Bundt Cakes {HERE}
- Homemade Angel Food Cake {HERE}
- Classic Carrot Cake {HERE}
More natural projects
If you love natural projects, try these ones too.
- DIY Lotion Bars {HERE}
- DIY Beeswax Wraps {HERE}
- Dried Flower Fire Starters {HERE}
- Pressed Flower Bookmarks {HERE}
Visit on our Social Channels!
- Instagram @sugarmaplefarmhouse
- Pinterest Pinterest Sugar Maple Farmhouse
- YouTube Sugar Maple Farmhouse
- Facebook Sugar Maple Farmhouse
- Tik Tok Sugar Maple Farmhouse
Thank you so much for visiting today! I hope you’ll come back and see everything we’re up to here at Sugar Maple Farmhouse. You can find more spring ideas here and you can find more recipes from scratch here.
I might have to try this! I do have a kit all ready to go, but maybe we could also do this and compare! These are some pretty colors.
This is such a clever idea. Looking forward to making this with my kiddos.
That’s a good idea. My mom used to make some natural dyes for Easter eggs too and we had trouble with the consistency of the colors.
I love these natural eggs. My kids are allergic to all kinds of synthetic dyes so we never dye eggs. We end up drawing on them or painting them. This is a great alternative.
These turned out great! I prefer the look of the natural dye. I really like the light blue.
Those natural colors just look so much better. I would love to color them this way.
What a cool tip to use the mason jars now I know how to resolve for the different colors as I was planning to dye my eggs tomorrow. Thanks for the great tips!
Oh my goodness! I love these eggs! Love these colors and how easy they are to make!
My kids are asking me to do this earlier for our Easter Egg Hunt and I think they will be happy if I am going to do this project with them, thank you for sharing your brilliant idea.
These are very pretty. With easter a few days away, I dont think I’ll get the ingredients for this in time, but we are excited to dye eggs this year!
I love these!! They look really beautiful!
Love, love the colors of the eggs. I have blueberries, beets, and vinegar in our pantry now. I’m definitely going to attempt to make some on Saturday.
What an awesome idea and it is really creative way to make it looks more natural. I will try it too.
Such pretty and colorful eggs! We used to do it back when my son was little and it was always fun.
These are so pretty! I use artificial eggs but this makes me want to try the real thing.
These are GORGEOUS! I have never tried to create a natural dye for eggs, but this is inspiring!
This is so great I didn’t think of creating my own natural dye.
I love this! The colors are so pretty and perfect for spring and Easter. Definitely saving this one.
I love how pretty these turned out! I’m a huge fan of natural dyes, since chemical ones can be so harsh on our kids and ourselves. Thanks for the tips, and the honesty!
Those eggs turned out so beautiful! I love that you used a natural dye for this. I totally want to try this tomorrow!
I just love the ones made from grapes. Those rusty gold and red eggs are stunning.
These really beautiful and colorful. I like that you made with natural dye. I want to try it.
LOVE THIS POST!! I was actually considering trying out using beetroot juice to make red ones but I am hestitant to “waste” eggs while we are on lockdown!
But I LOVE how these came out. Well done
These eggs are so beautiful! I love the idea of using natural dyes. I also think it would be fun to leave overnight so the kids can see the reveal the next morning.
I have never seen such beautifully dyed eggs. So pretty and photo-worthy!!! We are big fans of these warm tones too. And the presentation in that lovely basket is perfect 🙂 Happy Easter!
I’ve been looking for a more natural way to make egg dye. We’re planning on doing our eggs tomorrow
simply gorgeous photos and thank you for the detailed instructions
This is such a clever idea. I love this. The colors came out amazing. Thanks for sharing.
I love the idea of natural egg dyes. Those color are so pretty, and I think it’s great that they’re environmentally friendly.
Those turned out beautifully! We’ll have to try making our own dye one of these day.
I hate artificial dyes so this is awesome information. I will be using some of these to dye the Easter eggs this year.
These are all such great ideas. I’ll have to try one of these next time. I would have never even thought to make dye this way.
Those are some great tips on making natural egg dye. Didn’t know egg dye could be natural!
I can’t believe that you just use the veggies to color these eggs, the colors are so nice!!
I cannot wait to try dying my eggs this way!
Thank you so much for this! My 5 month old is sticking EVERYTHING in her mouth right now and about to start crawling. I want to go the natural route this year!
They look so beautiful! The pink ones are my personal favourites
This is such a wonderful idea and a perfect activity to do with my kids. We will def try this, thank you!
Love this idea! They turned out so lovely. I am loving all of the colors, soft and inviting.
How cool. I have heard about nature dyes, but haven’t tried them out yet. I should!
My grandma used to do this.
Beautiful eggs, Can’t wait to design ours.
Beautiful! I have a lot of these foods on hand. I think we will go natural this year
I can’t imagine that onion skins could make that color. Great ideas!
I just love this! Thanks for sharing this way to create all natural easter eggs.
I will definitely be dying our eggs this way!
Such pretty eggs! Love all the colors. Will try doing it this Easter.
This is the post I needed! We have been wanting to dye natural for Easter eggs for a few years but I never know what to use or what makes what colors! This is awesome!!!
These are all so beautiful! I would love to do this some time. Those colors are gorgeous and it is nice not to use artificial dyes.
Oh wow! These eggs look so colorful and stunning 😍 Thanks for sharing the tips, gotta try it soon! Great shots👌🏻
This post is awesome! I was looking for some ideas to color eggs naturally. Now I have all the info I need!
These natural dies look so incredible. They have such a realistic look to them.
The Easter eggs are so beautiful. I like dying Easter eggs with my kids but I don’t care for the dye kits. We used them a few years ago and my son didn’t seem that interested.
Oh what a fun idea! I’ve seen natural dyes out there but they always looked so blah. But yours looks lovely and vibrant!