Mason jars may be one of my favorite things. They seem to be one of those multi-functional items that just keeps giving. Between being useful kitchen items, home organizational items and gorgeous, fun décor pieces, they can literally fit into every facet of your life somehow.
With spring quickly approaching, I’ve been dreaming of pretty, sprawling fields of flowers and summer vegetables to fill up my mason jars with. As I was dreaming, I decided I wanted to make some beautiful DIY mason jar vases that would carry me through this next season.
Taking my cues from the soft pastels that spring is known for, I gathered up my supplies to make some of the prettiest DIY mason jar vases that you ever did see.

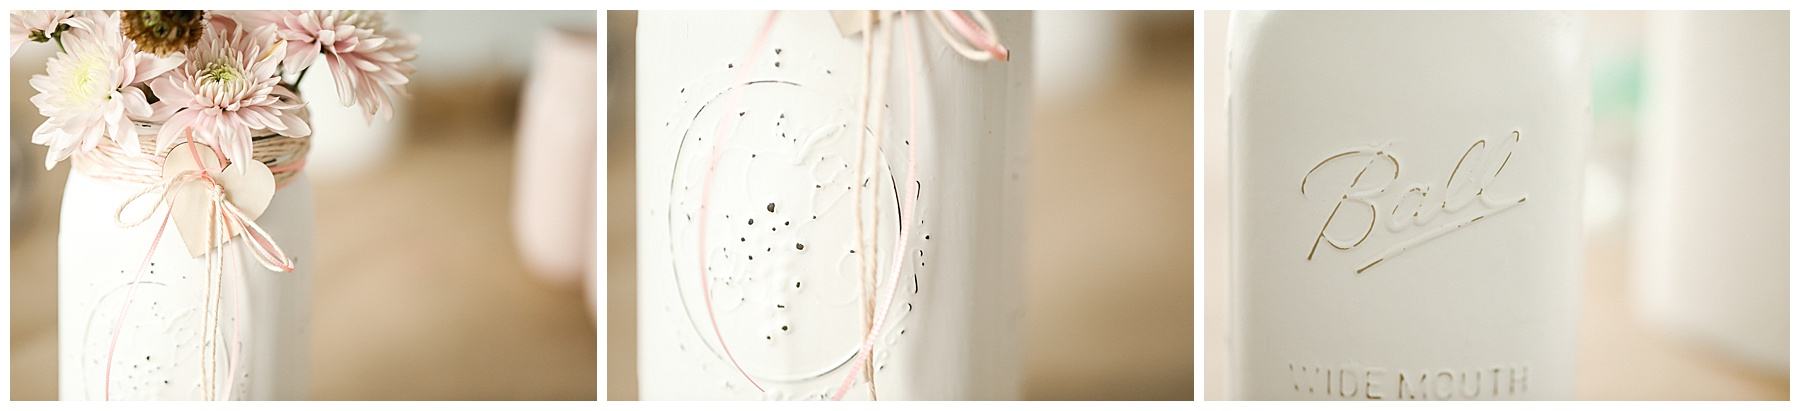
Farmhouse flowers
Then I filled them with gorgeous florals from local, small flower shops in various shades of white, pink, salmon and purple. I wanted the DIY mason jar vases to feel like the fields that I’ve been imagining in my head – dreamy, light, soft and full of springtime promise. I didn’t want them to feel overly structured or designed, but instead a little more free flowing – like something you could pick from the garden yourself.
Tips for the process
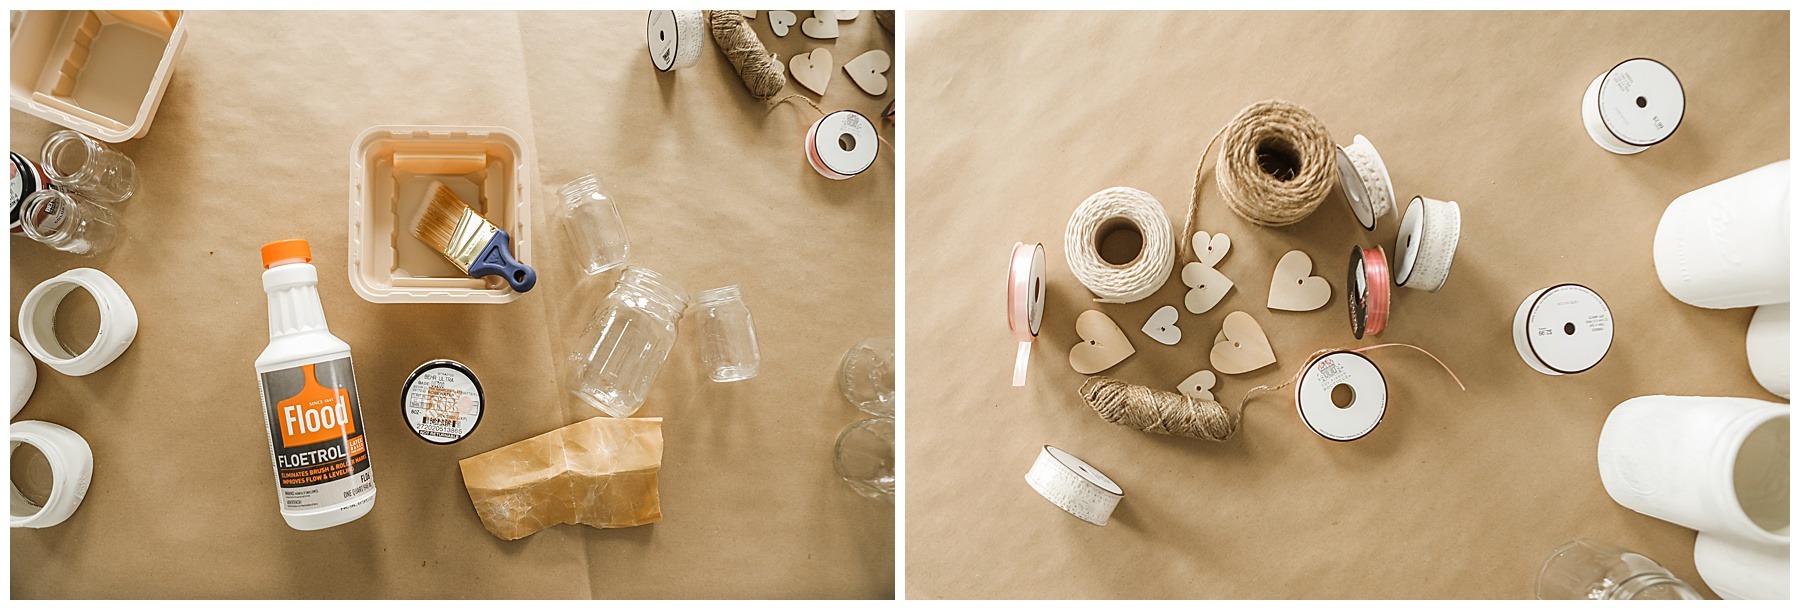
To get started, I decided to use Behr paint with a mix of FLOOD. I wanted to use regular paint verses chalk paint or the paints that you might normally use on glass from the craft store because there is a wider variety of colors available. Sure, I could have used the craft store paint and worked with the pink and white colors until I found what I loved, but that paint store has a bunch of beautiful colors right at my fingertips.
The FLOOD mixture helps to level it out and eliminates the brush marks on the glass of the DIY mason jar vases. I honestly think it worked perfectly on the glass. It stuck right away and gave me no problems. I used two coats to make sure there weren’t any translucent spots, but it covered so well that I could have gotten away with one coat too.
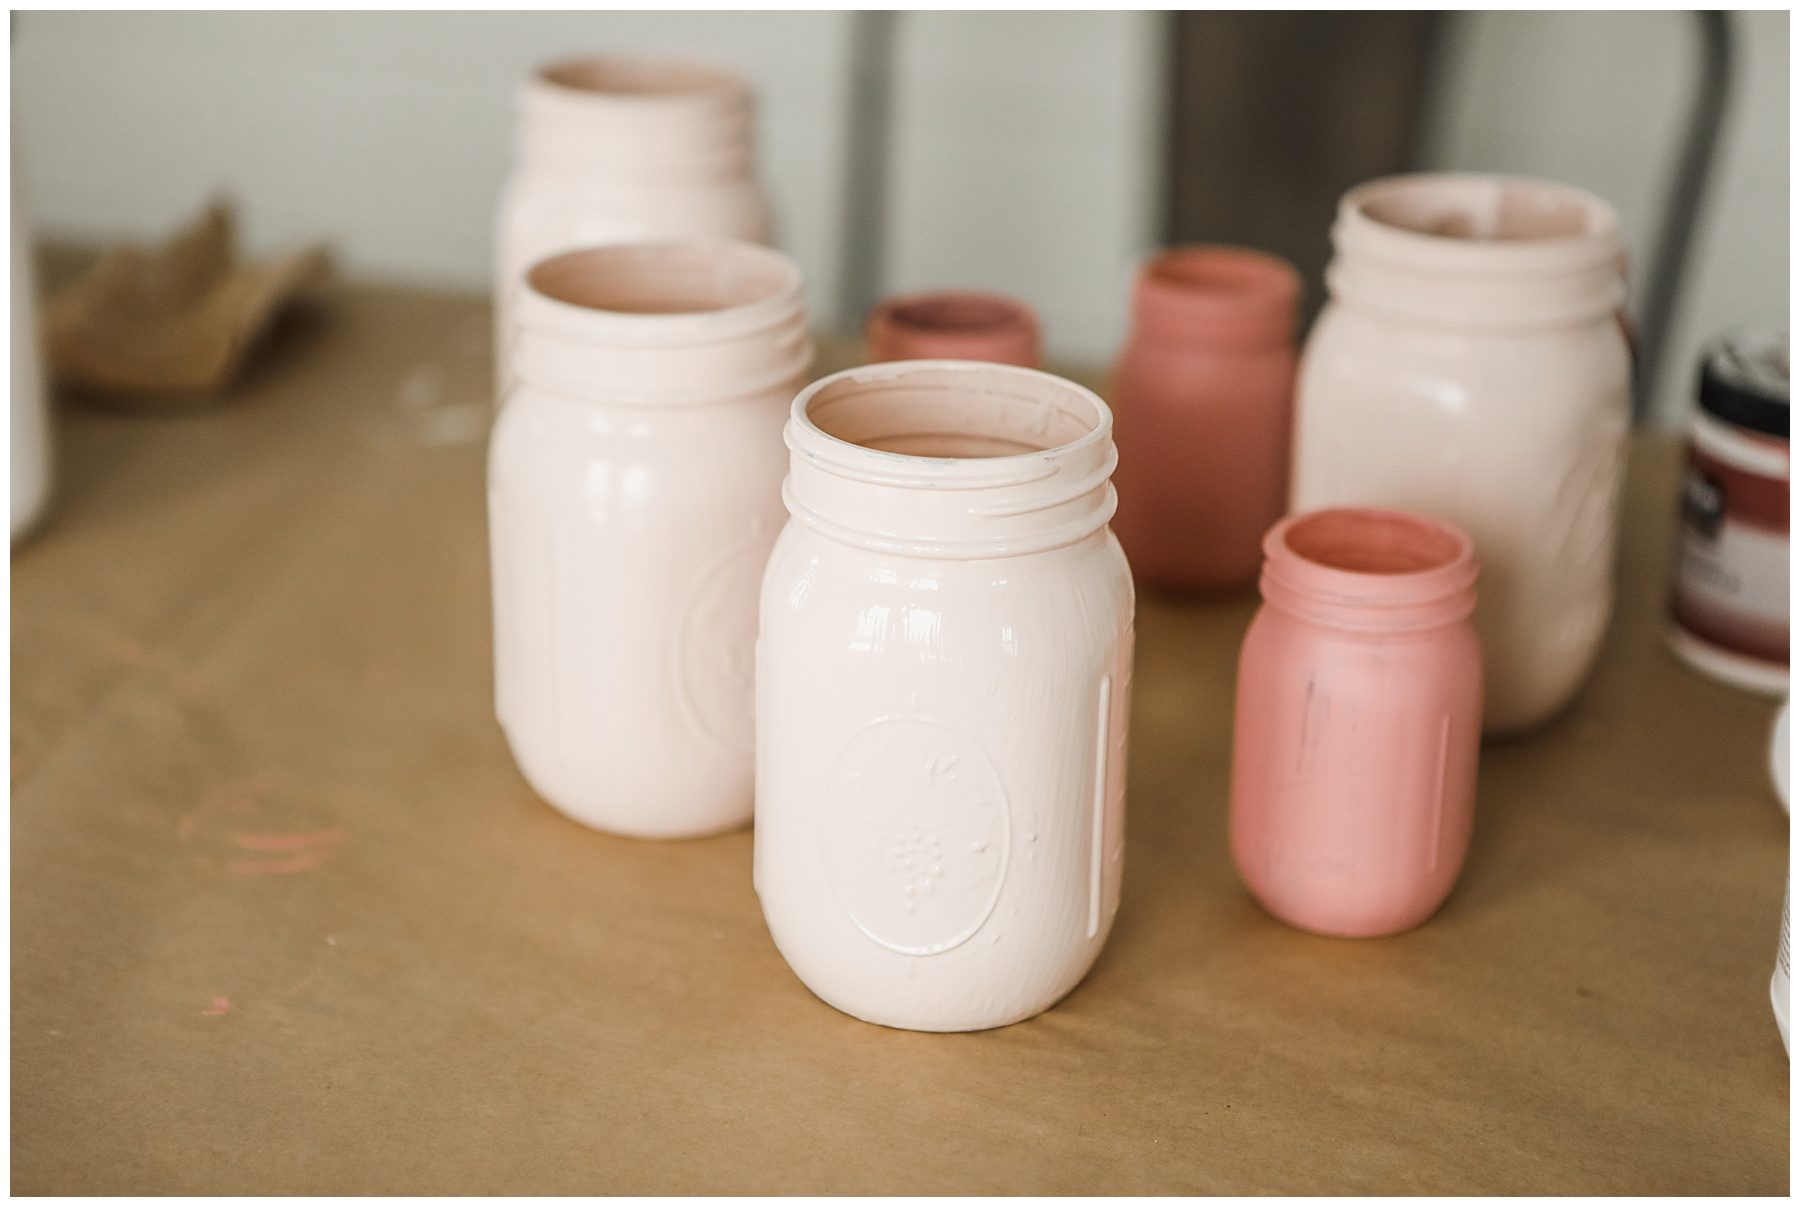
The colors I used are for the Vintage Farmhouse DIY Mason Jar Vases are:
- Swiss Coffee
- Rosewater
- Minstrel Rose
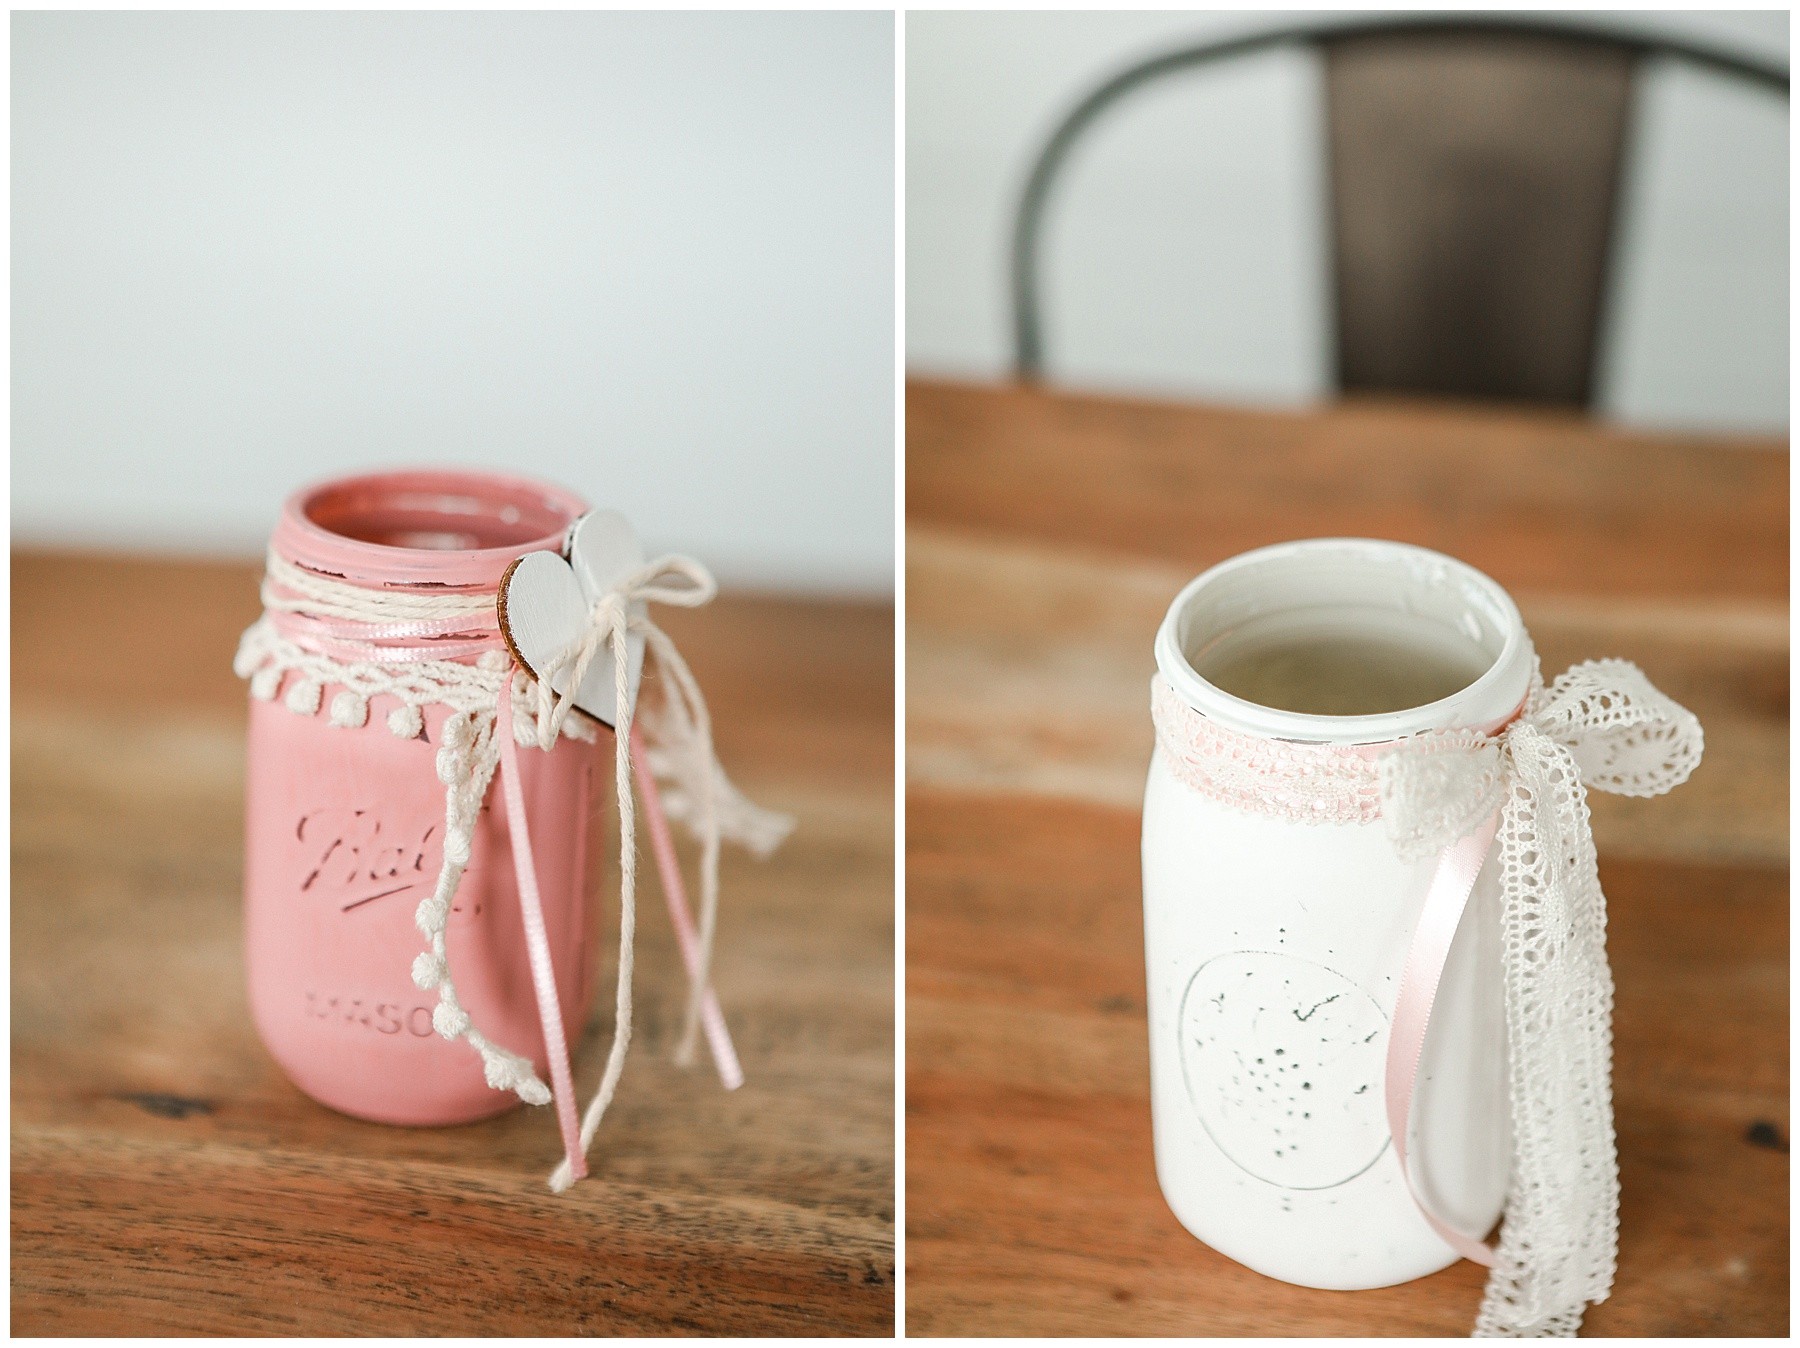
Adding the vintage look
To embellish the jars, I used ribbon in various shades of pink, lace ribbon in various shades of white and a couple different colors of twine that I found lying around my house. I also used these sweet hearts on some of the jars that I found on Amazon here.


My supply list
As for my other supplies, they’re a mixture of craft store finds, hardware store items and Amazon items. However, you can find most of them on Amazon to save time. Here’s a list:
- Brown craft paper
- Wooden Hearts
- FLOOD for paint
- Paint brush with short handle
- 32 oz. Mason Jars
- 16 oz. Mason Jars
- 4 oz. Mini Mason Jars
- Sealer
I bought all my ribbon from Hobby Lobby, but if you want to order some along with the other supplies, here are some pretty ribbon options:


DIY Mason Jar Vase Steps:
- Wash and dry your mason jars really well. If you’ve used them for food before then make sure all of the food has come off so you don’t get mold inside the vases.
- Take a cotton swab or paper towel and rubbing alcohol and wipe down the outside of the jars. This will help the surface to be as clean as possible and to help the paint stick.
- Next, mix your paint and FLOOD together. Use 1/3 of the amount of FLOOD as the paint that you used. Mix thoroughly.
- Begin painting your jars using long, vertical strokes on the glass. Be careful not to glob the paint on, just enough to cover. Use horizontal strokes to paint the top of the jar where the lid screws on.
- Side note: I love the paint brushes with the small handles. They make for an easier grip whenever you’re doing a project like this where you have to be moving the object that’s being painted.
- Let dry for 30 minutes to 1 hour.
- Add a second coat of paint to the jars to make sure there are no translucent areas.
- Give the second coat an hour to dry and then spray the jars with a sealer. These jars WILL NOT be dishwasher safe, but the sealer should keep your paint from chipping under normal use.
- Give them about an hour or two to dry once the sealer is complete and then add your embellishments.


Ribbon guidelines
When it comes to adding the ribbon and embellishments to the farmhouse DIY mason jar vases I had a few rules.
- Use lighter ribbon with darker jars.
- Use darker ribbon with lighter jars.
- If I was going to use light ribbon on a lighter jar (for instance my cream lace on the white jar) I would pair it with another ribbon or detail like one of the hearts.
That’s about it! What do you think of the results?
Want more farmhouse decor? Click here!
To find more farmhouse craft projects, click here. To find more DIY projects, click here.


These are super cute! I love the colors and the rustic feel of the jars. This is such an amazing-looking idea.
Those jars are a great way to spruce up a table or other place in the home. It is so nice to make those mason jars into works of art.
I love this idea and it wold be perfect for Spring decor for the house. I have mason jars in the house and this would be perfect to add something different to my house.
Your jars look so perfect! Every time I attempt painted mason jars I end up with brush streaks. Next time I’m going to dip them.
These are gorgeous! I need to make some and put them around the house. I have some spots that could use a pop of color.
Obsessed with these! We have so many mason jars in the house too. I’m definitely going to make some!
These would be perfect for my friends wedding. They are so unique and pretty
These are so beautiful! I am obsessed with mason jars!
This is such a clever idea. I have a few mason jars that I can’t wait to do this craft with.
These are so pretty. I pinned it to my popular Weddings pin board. I think this would be a lovely way to decorate guest tables.
Those are so beautiful. I love mason jars. You can make so many things with them. I need to make these as they are so wonderful!
These DIY mason jar vase are really fantastic! I can’t wait to share this with my wife. I’m suer she will enjoy doing these jars.
These are cool. What a great way to re-purpose mason jars.
These turned out beautifully! A few years ago I spraypainted a bunch of mason jars, and I love the look. Your method seems like a great timesaver.
Stunning! I love mason jars too. I adore the subtle colours you chose and the ribbon is perfect.
These mason jar vases are so pretty. They are a great way to add character to a room.
These are really gorgeous! I love all of them!
These are beautiful! They would make perfect Easter decorations.
They turned out so pretty. I do have some mason jars here that I’m not using now. It would be great to turn them into vases, for sure.
This is such a cute idea, I love it. Perfect for wedding decor or a party.
These are so beautiful! I think my daughter would love this for her room.
I love Mason jars. I did something similar for my own wedding. They are now used to hold silverware at our parties we host.
I will be looking fo the mason jars we are not using at home. This is such a great idea!
These jars are so pretty. They are an easy thing to make and add such a soft touch to the decor of a room.
Those are so neat! I love farmhouse decor and these are more than perfect!
Those vases are so pretty, we will be moving soon and I want to add those to our new decor in the new place
These are absolutely gorgeous! I love mason jars and use them all over my house for all sorts of things!
I’m absolutely in love with these vases. Love the way you made them look with the antique finish!
They look so lovely! I love farmhouse style, can’t wait to try this tutorial.
They are really great for the house. I like the colors in pastel.
This is so very cool! I would love to have this decor in my home.
These are so pretty! I love the light colors – so springy and bright! I will have to make some of these to put around the house.
Those are supercute jars. It’s such a great idea and very easy to customize to someone’s personal tastes.
Love it! I haven’t thought of painting my jars back then! aww