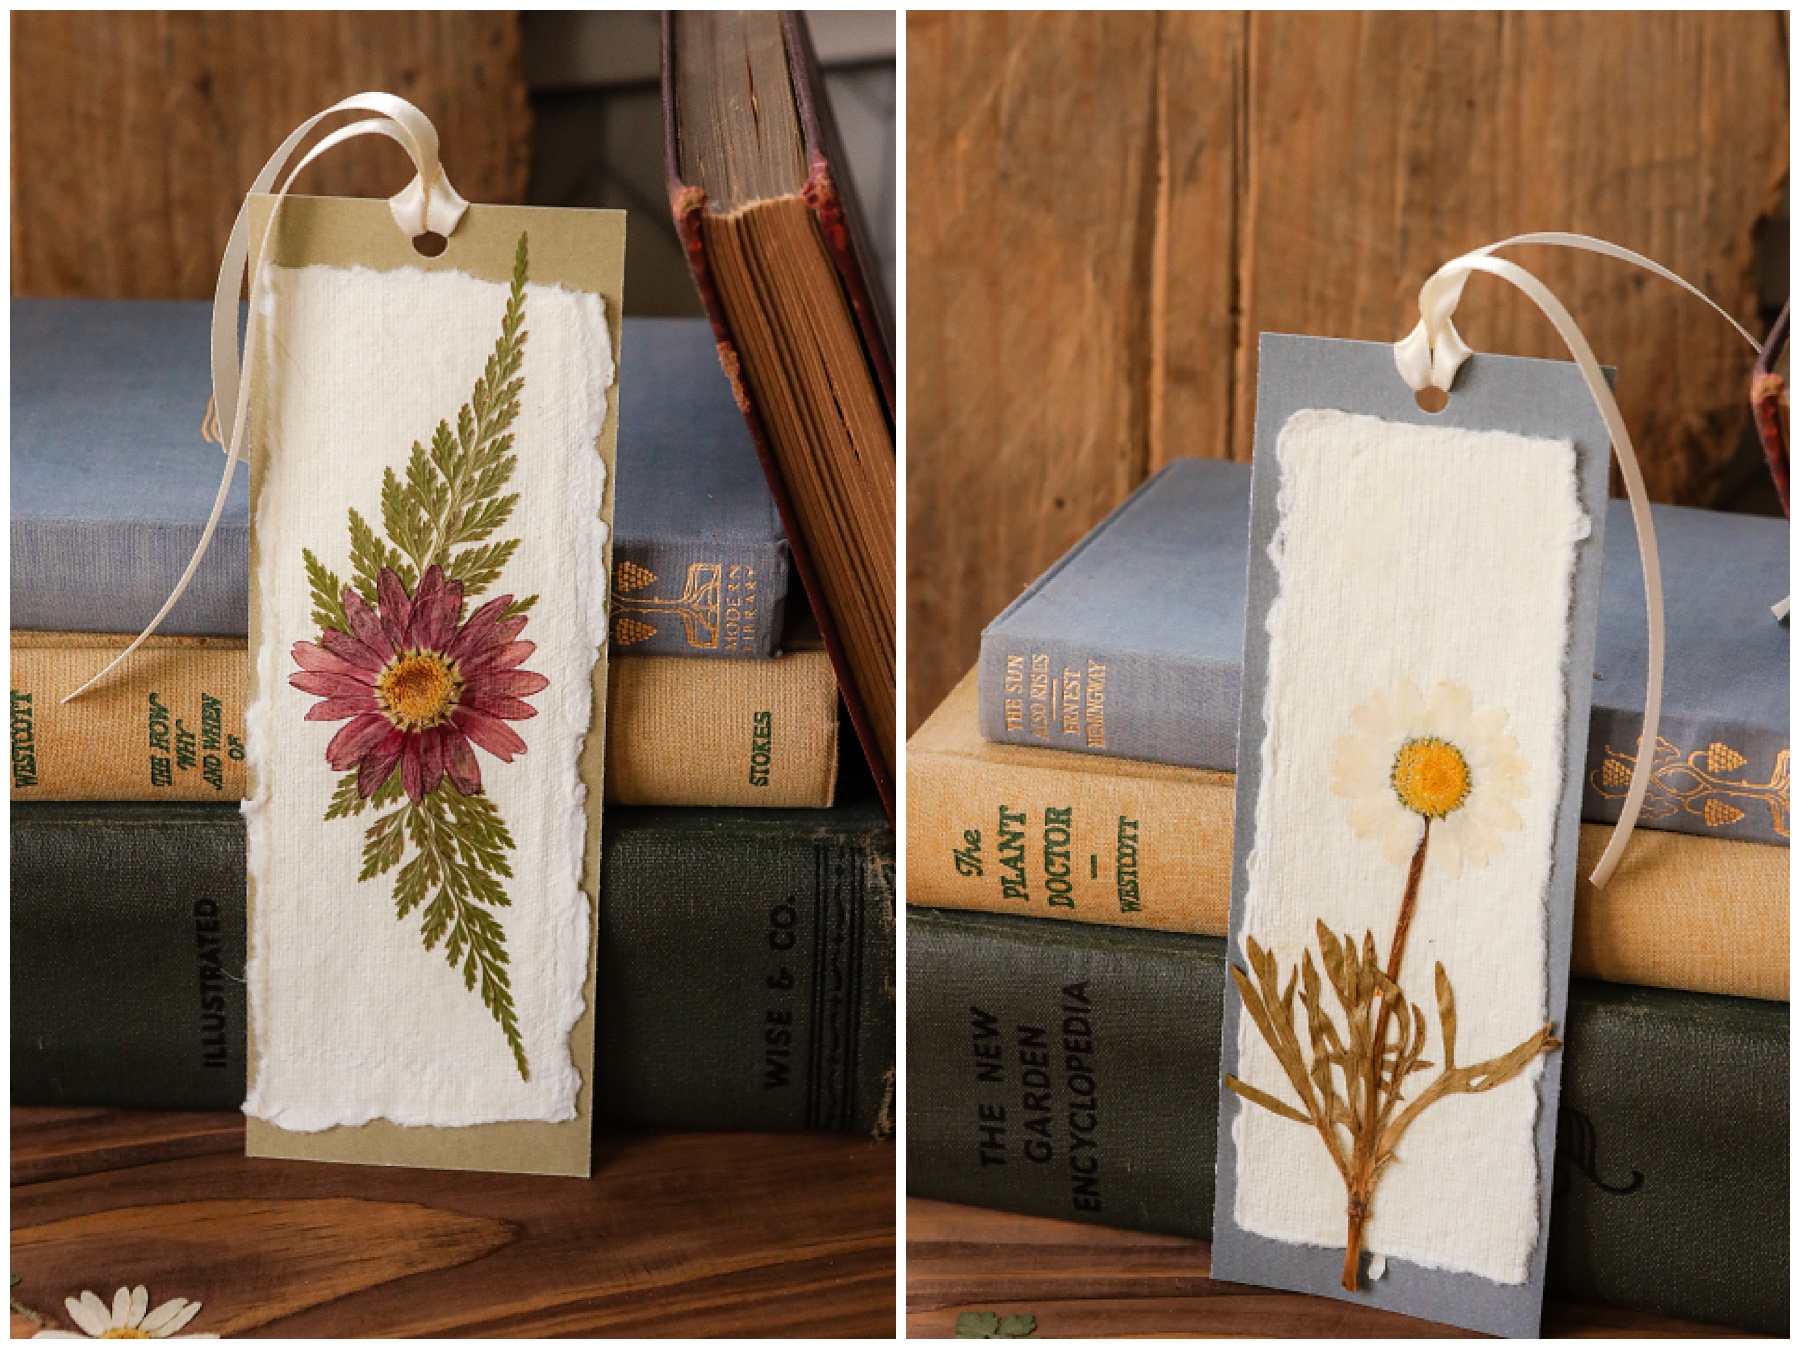
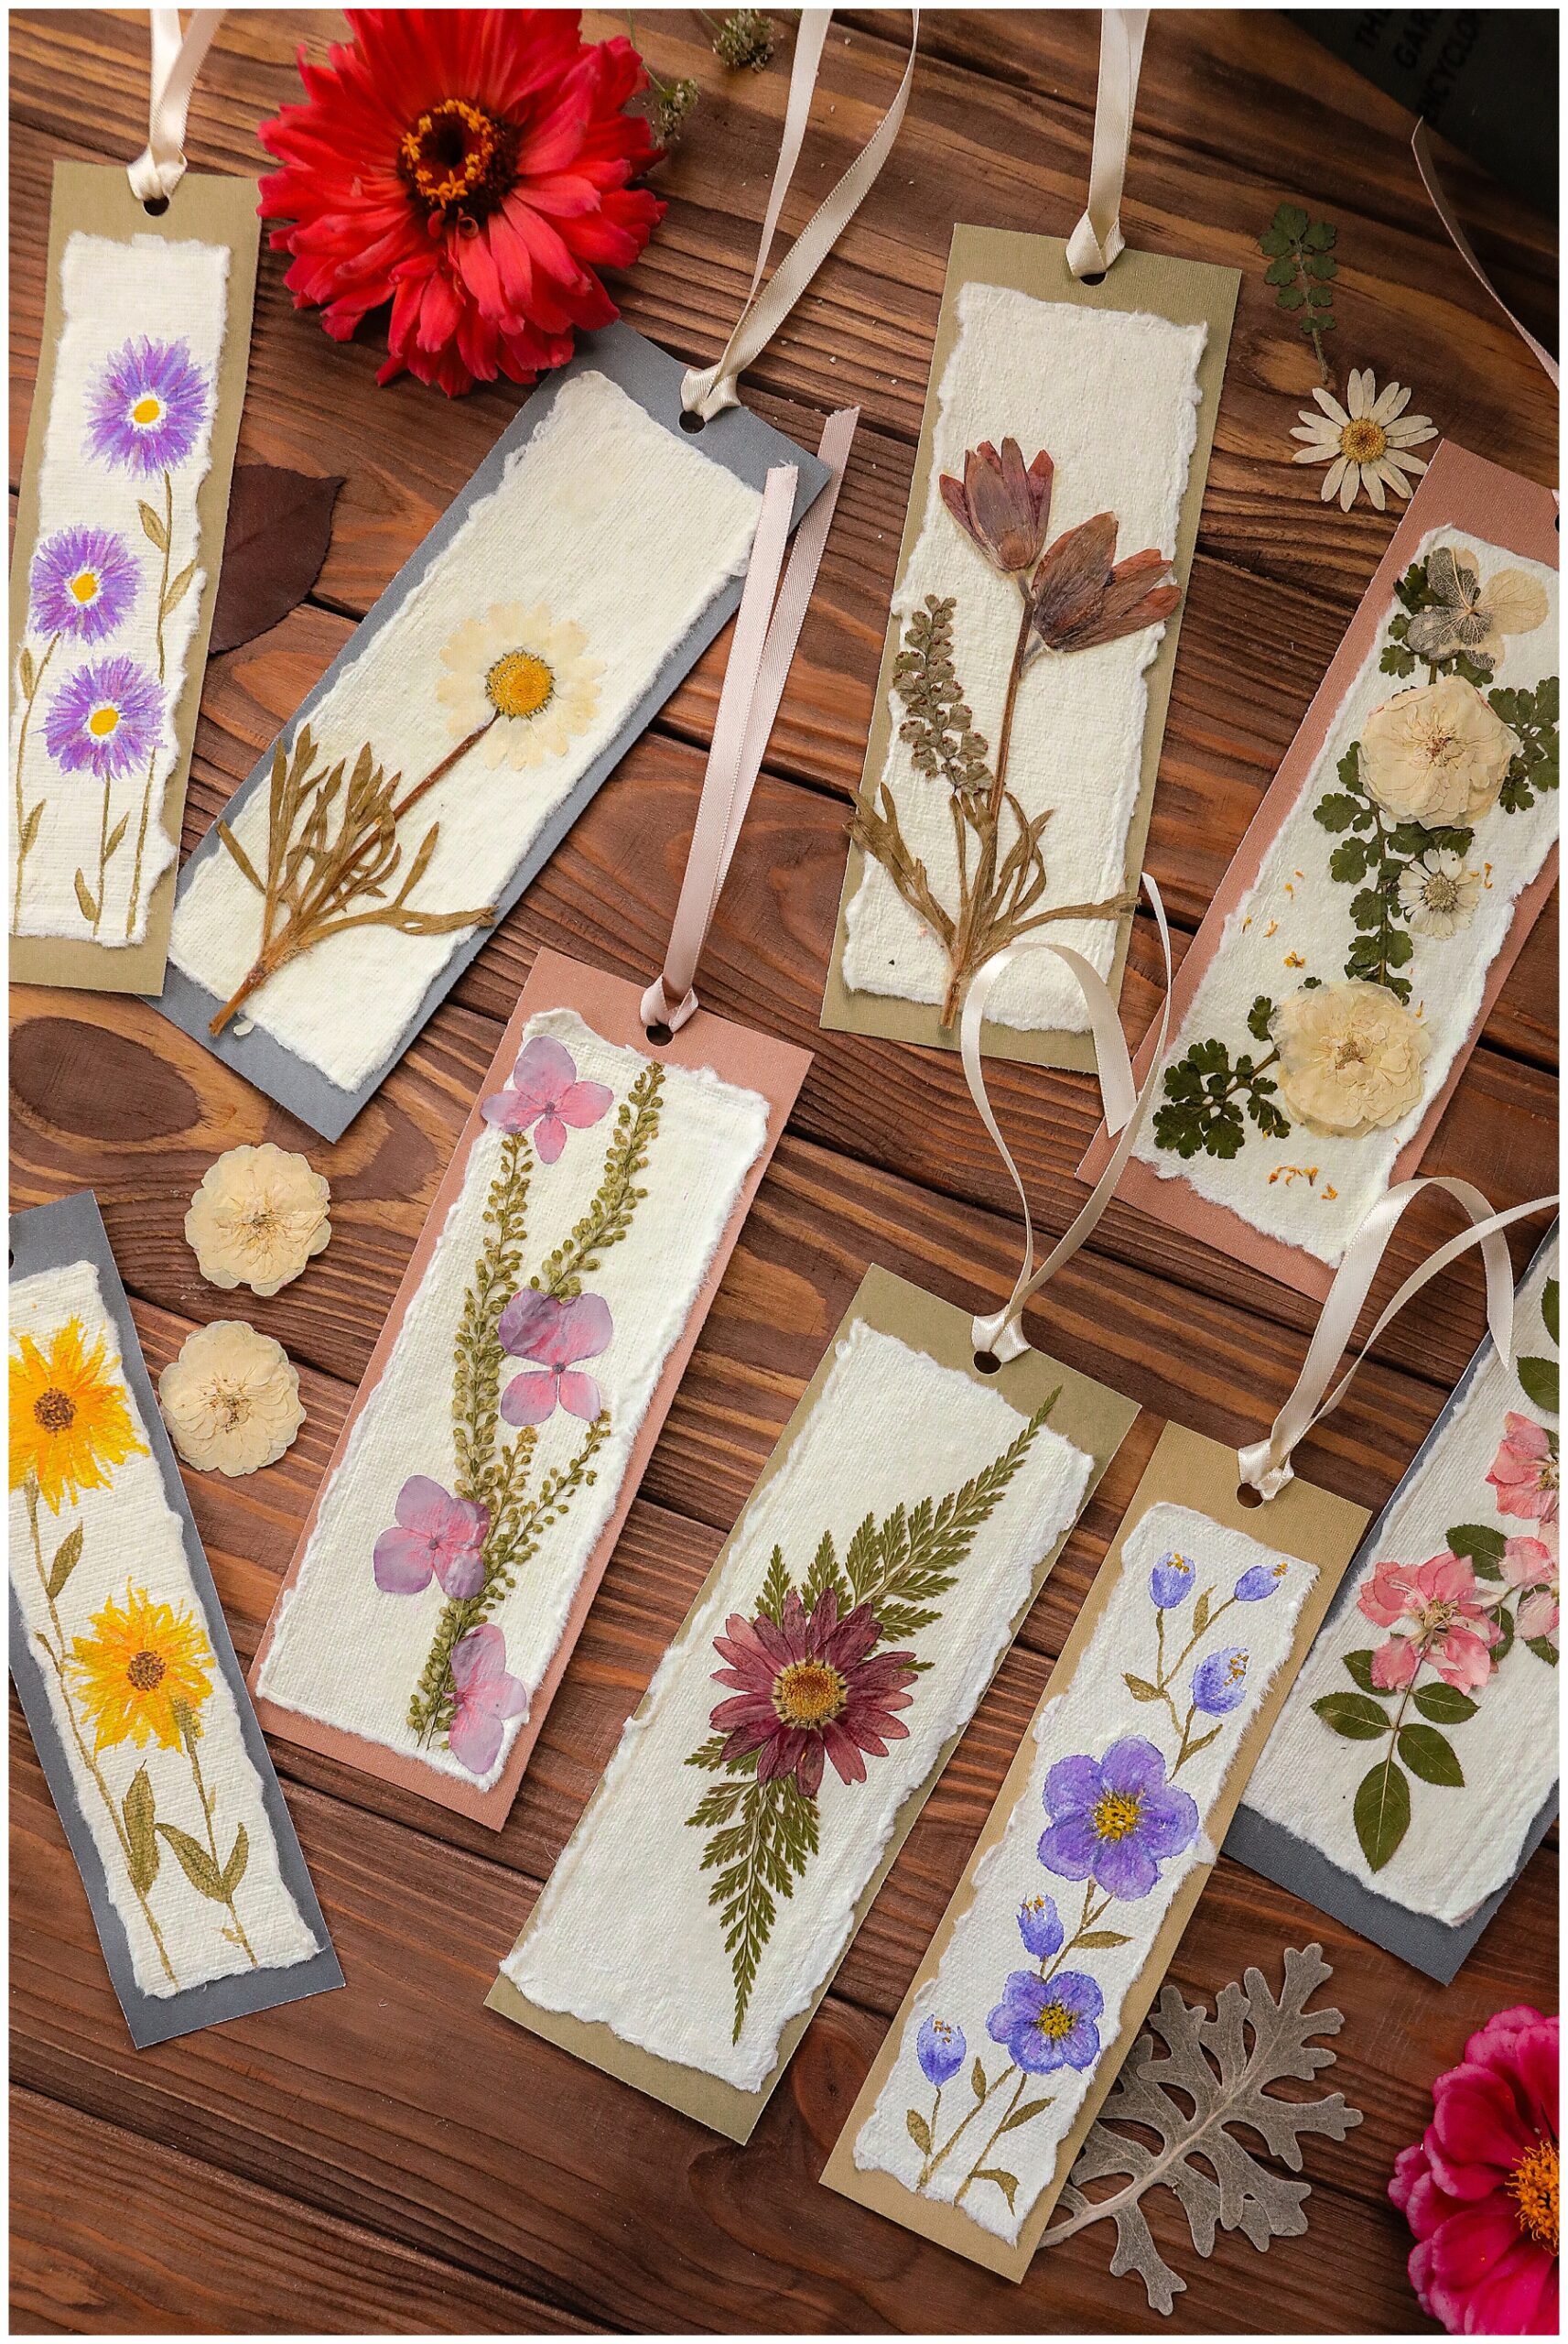
These DIY Pressed Flower Bookmarks are simple to make and a beautiful way to enjoy dried flowers for any book lover.
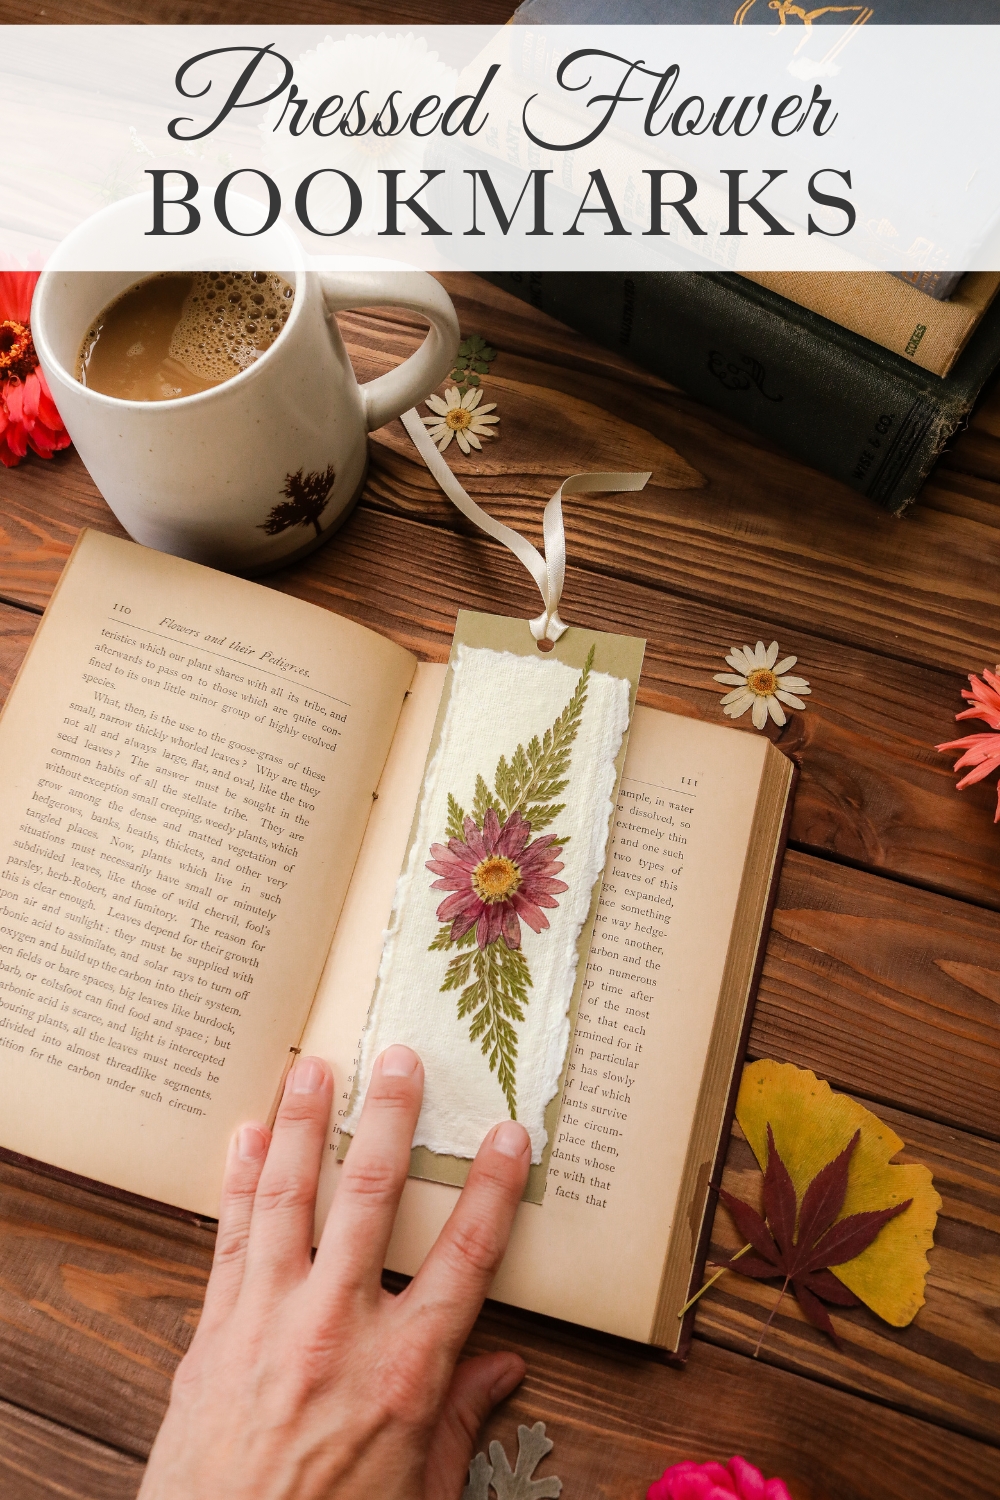
August to me always feels like the season of homemaking. It’s time to start thinking about back-to-school, fall decor and the cozy days to come. Once sweater weather makes an entrance (and this morning it was 51 degrees here), the garden is in all it’s glory and even the sunlight seems like it starts to warm. For me there is nothing I love more about homemaking than creating some useful, beautiful items from our farm. So as I started to think about back-to-school and books, I thought I could use all the floral beauty of these August days and create some DIY Pressed Flower Bookmarks.
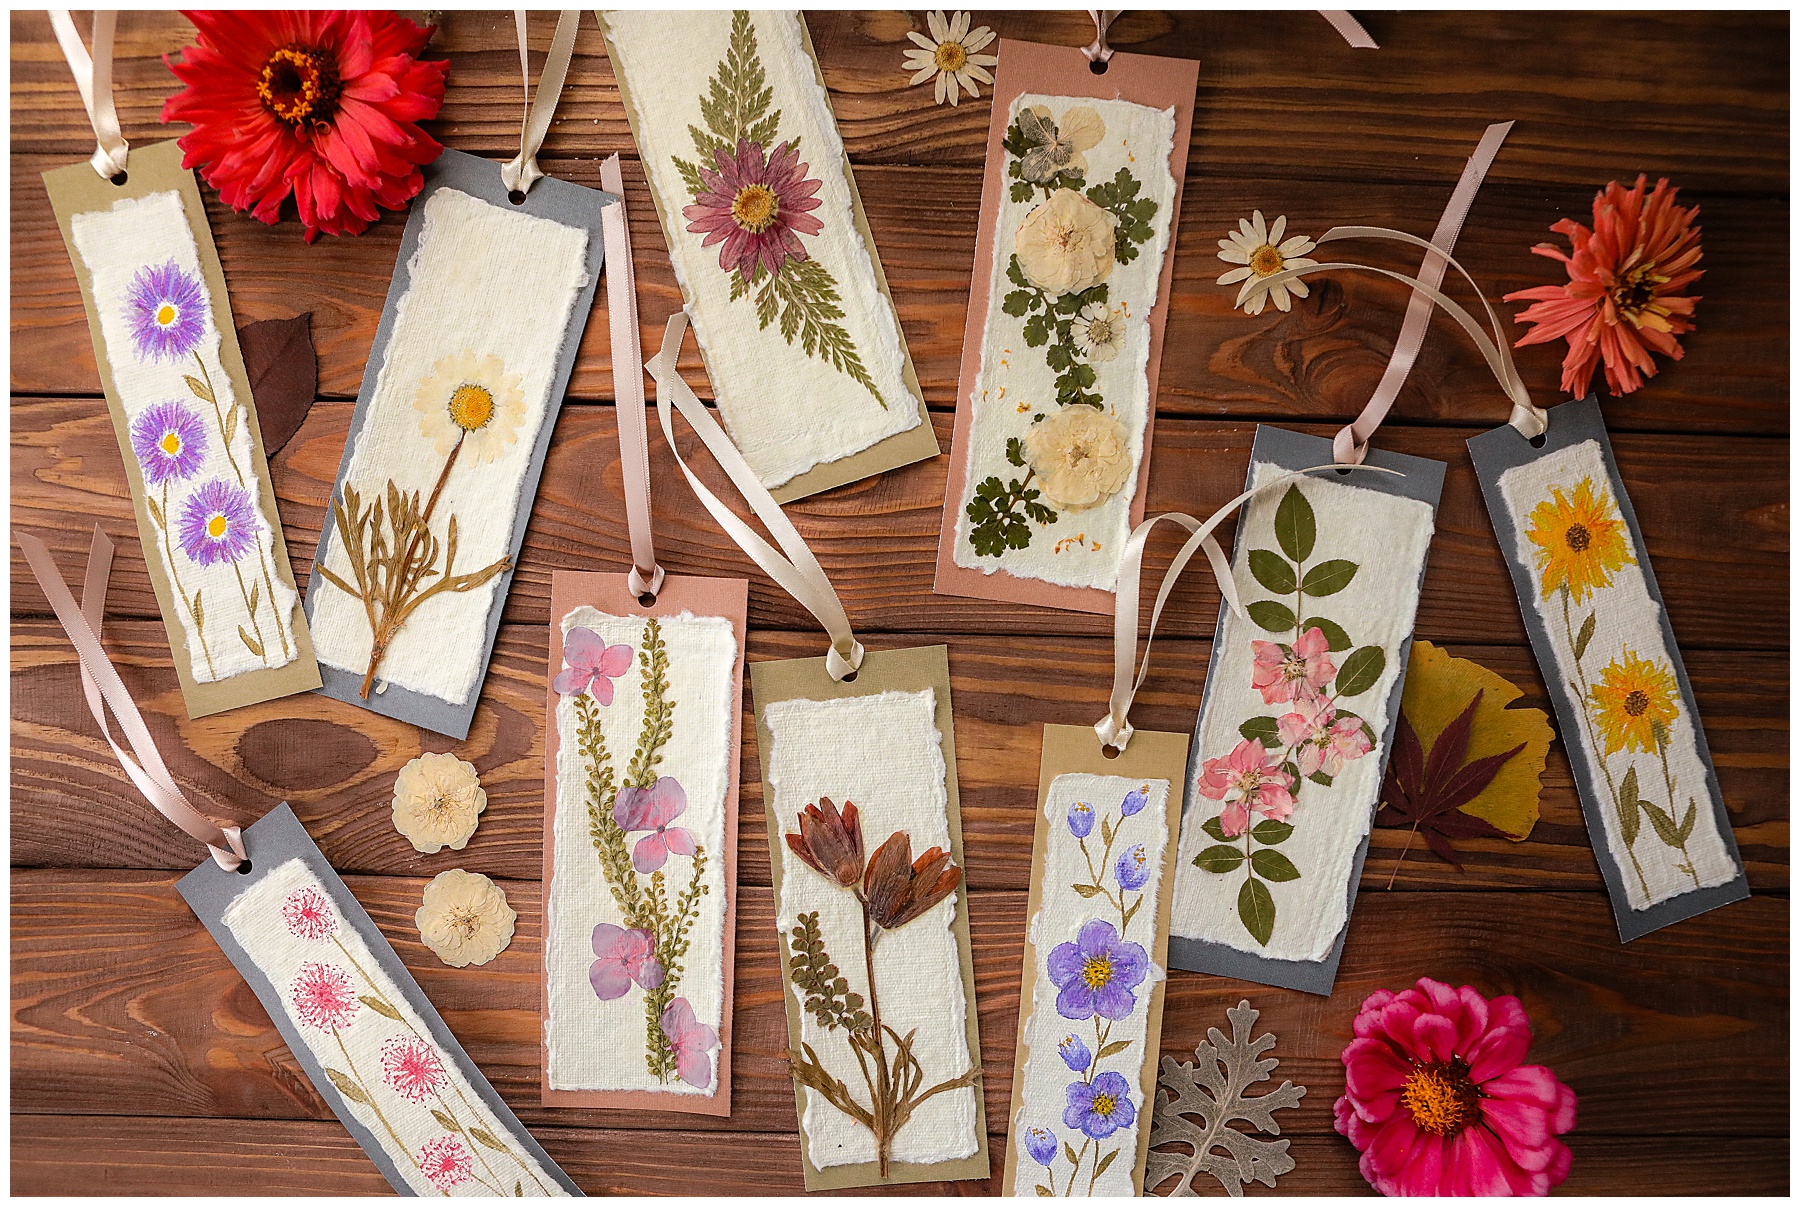
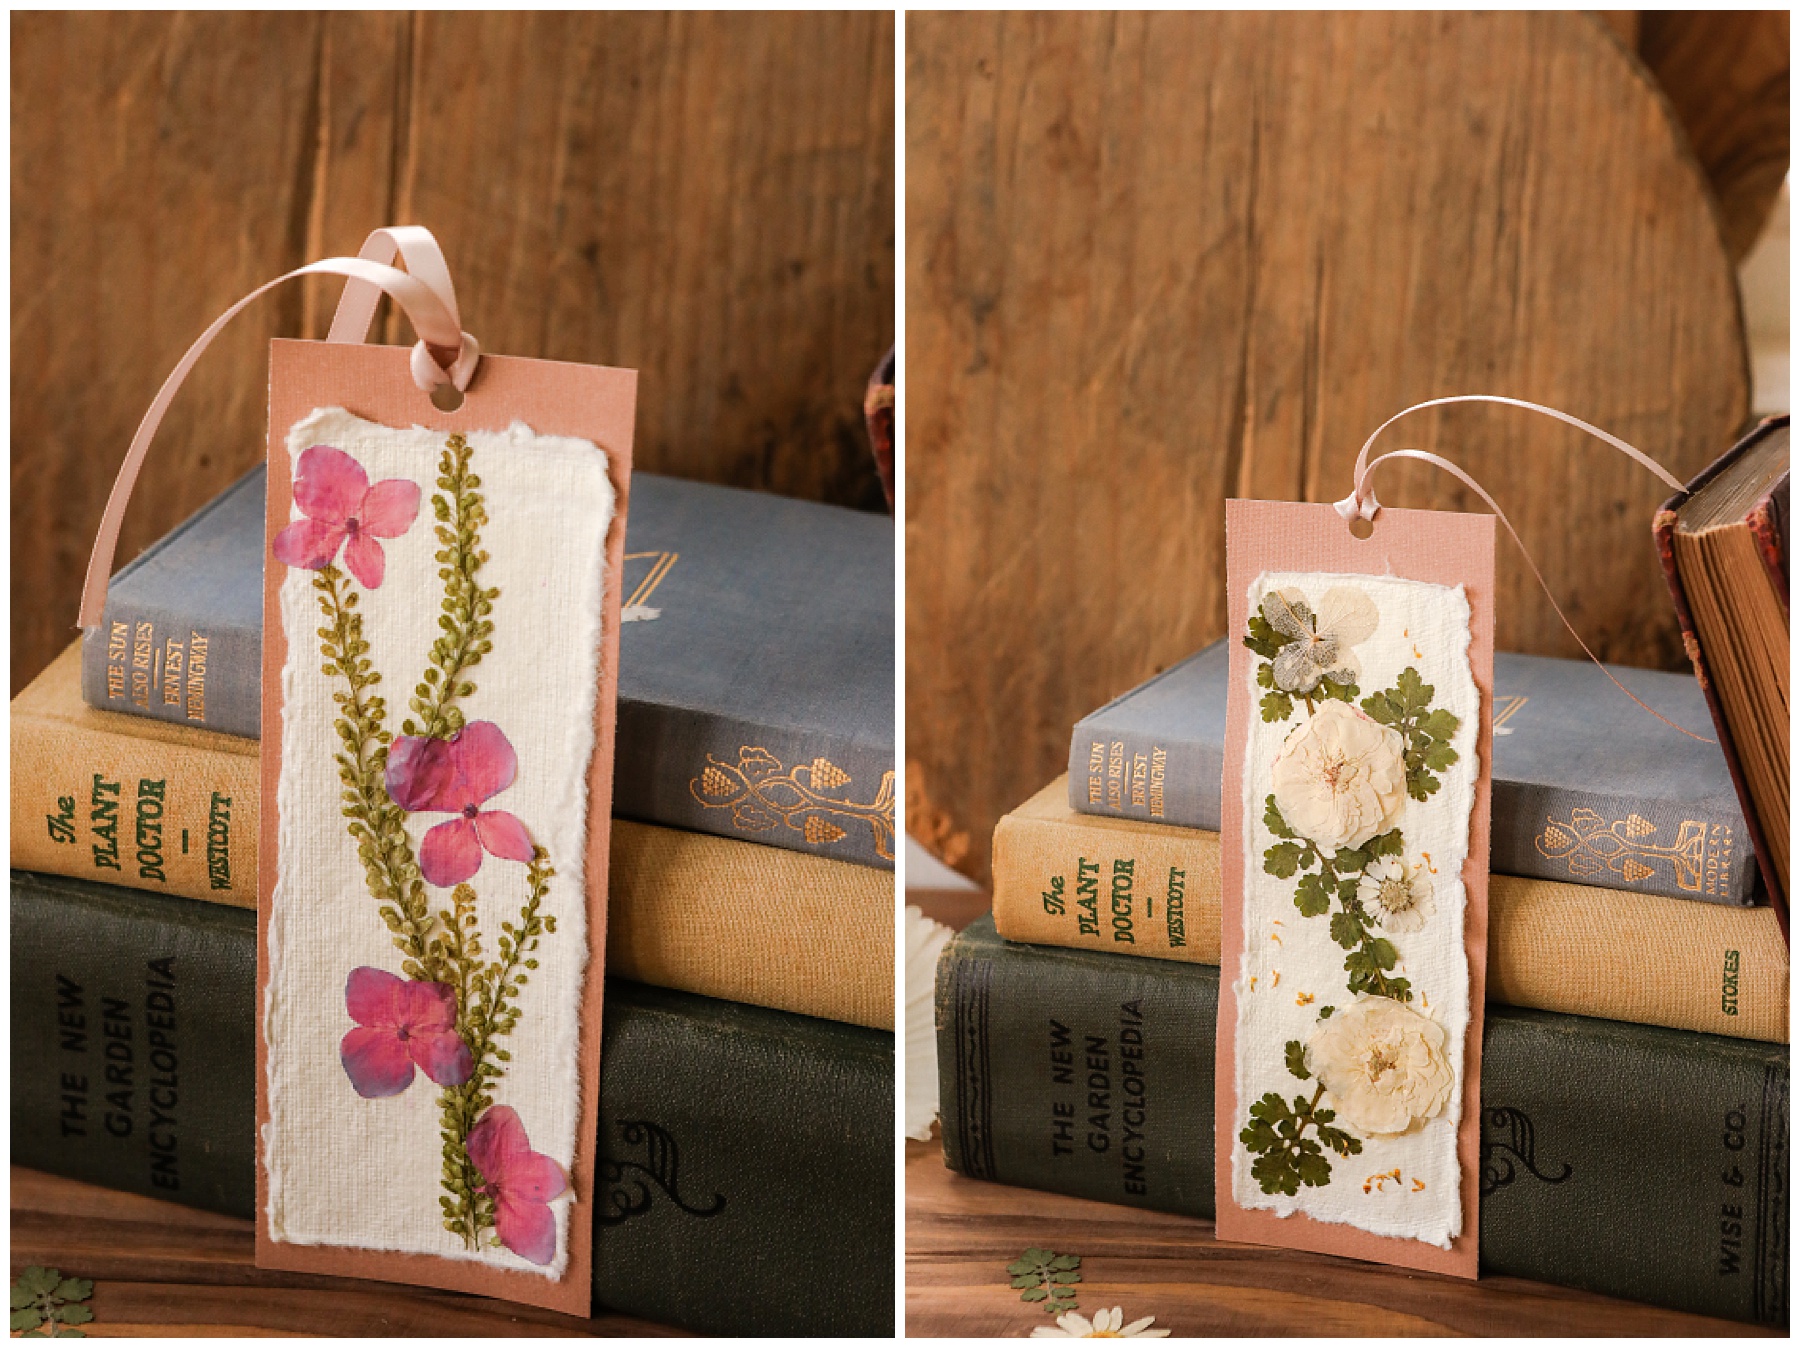
Lovely and handmade
But first I want to be realistic with you. Will my children use these? Not in school. My children go to public school, which I love. My daughter will get a chrome book this year in middle school while my son will have classroom books in elementary school. However, for our home books, these are perfect. We have Charlotte’s Web on my winter reading list for my son and I’m hoping to get my daughter to read Little Women among her more modern day, series books. Plus, when the weather really turns chilly and the snow falls, I spend almost every night reading. These Pressed Flower Bookmarks will be put to good use in the coming months.
However, if you homeschool, or your children love to read and craft or you have someone in your life who loves flowers and books, the DIY Pressed Flower Bookmarks are for you. They are easy to make and can be made pretty quickly. Plus, I think they also make lovely handmade gifts too.
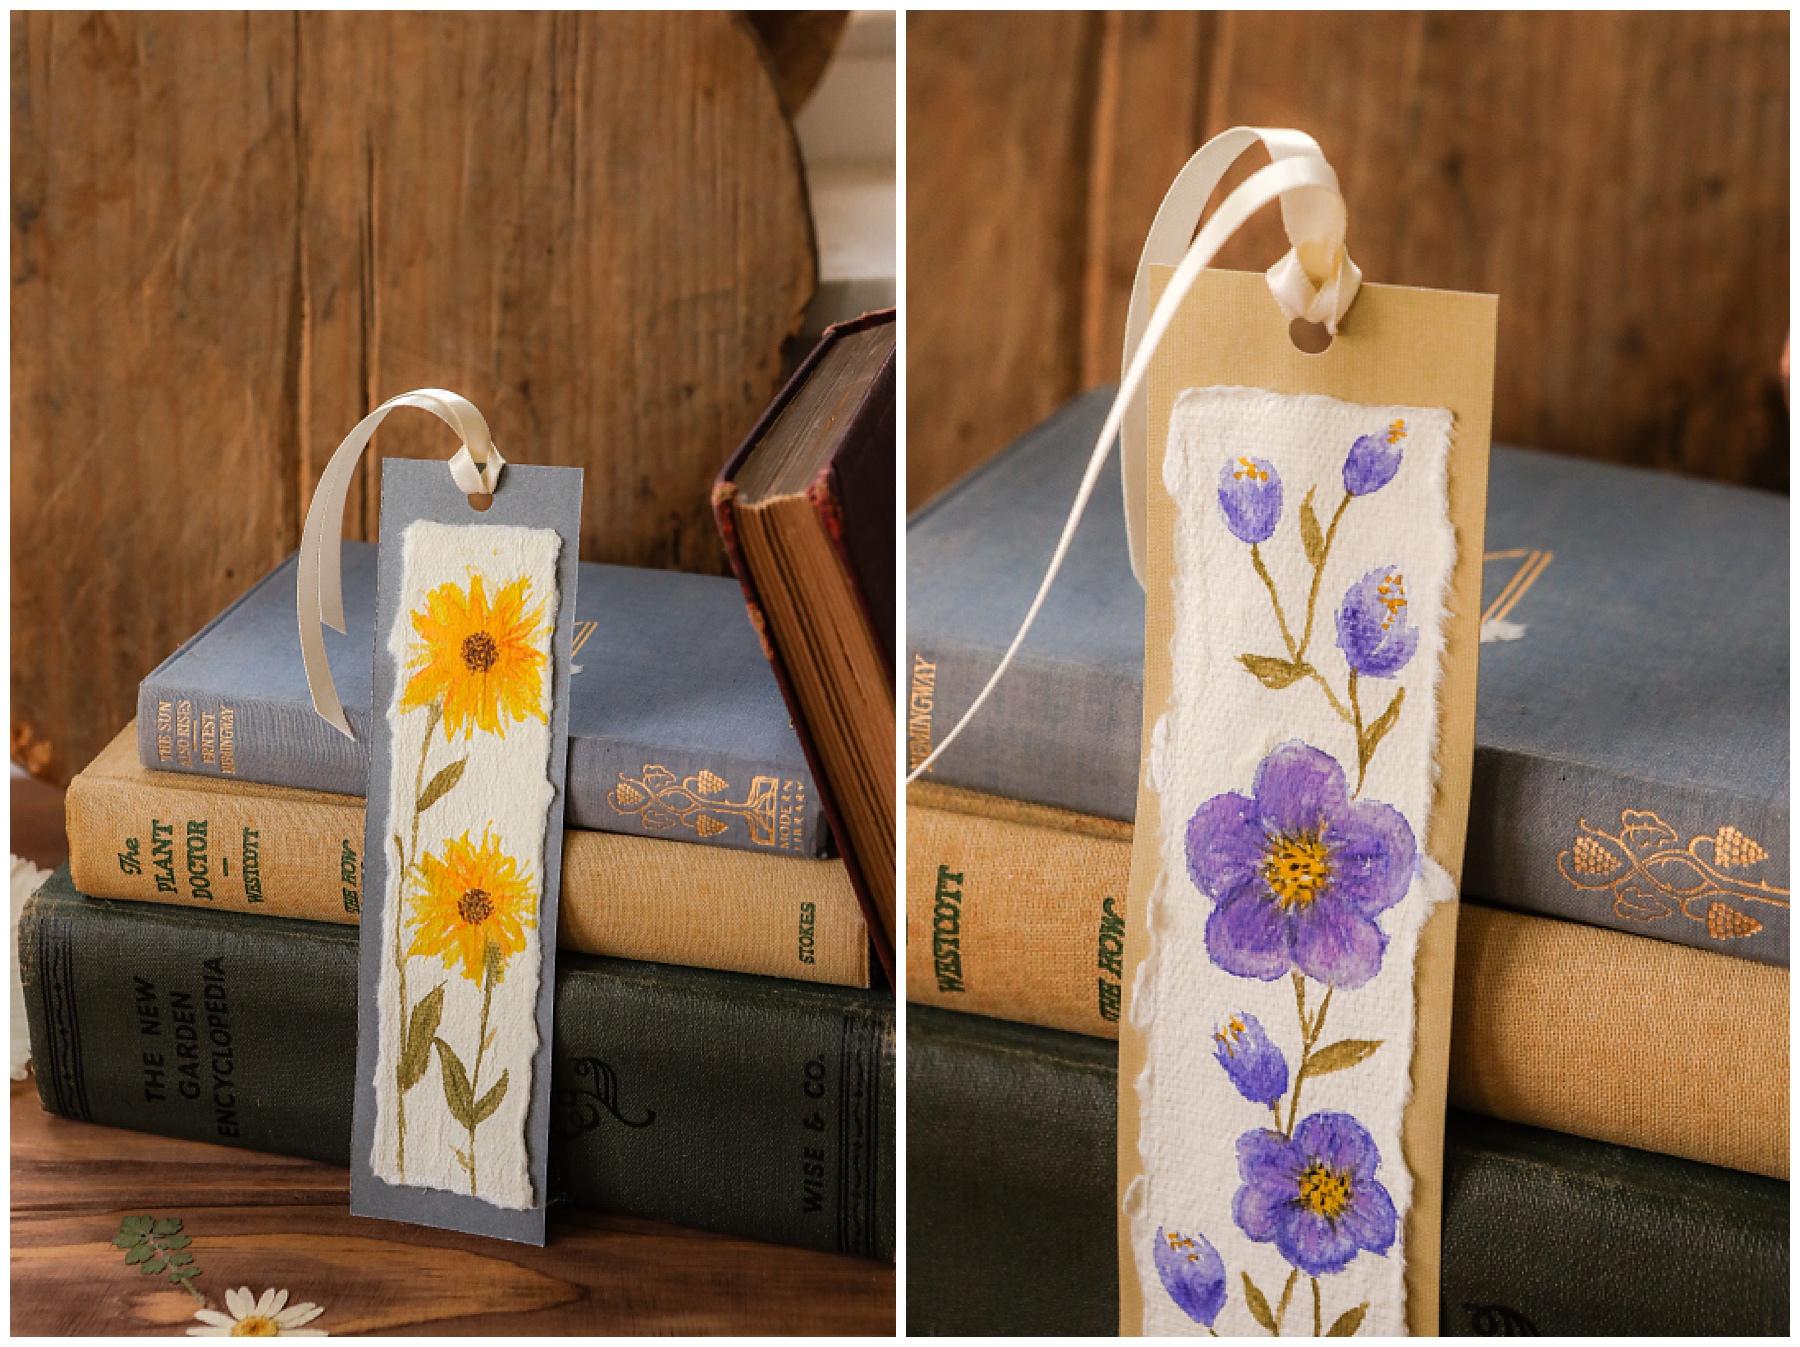
Watercolors too
You may notice some of these are also not pressed flowers but painted flowers. I tried my hand at watercolors on a few of the skinnier ones that weren’t really wide enough for the pressed flowers. It was my first time using watercolors but I think it is going to be another small joy I add to my growing list of hobbies for the winter months.
Pressing flowers
Before you can make these DIY Pressed Flower Bookmarks you need to have pressed flowers. If you have your own flowers you can press them in a few ways.
- Between the pages of a book. Place the flower face down in between the pages, close the book and wait. It will take about 10 days to 2 weeks.
- With a special pressed flower kit, which you can find {HERE}. I have this and prefer it to a book just in case the flowers start to mold.
- Or with a microwave pressed flower kit {HERE}. I just bought this and let me tell you…it actually works! I was so amazed. This is the fastest way to go if you are impatient like I am.
- Also, if you don’t have your own flowers, you can buy some pressed flowers. I have done this before and I’ve used these ones {HERE}, {HERE} and {HERE}. I will say I love the quality of these. They’re real, delicate and you might notice some even mixed in with my pressed flower bookmarks.
Keep in mind if you are using your own flowers, you need to look for smaller blooms. Small daisies, chamomile, violets, Calendula and zinnias. Large zinnias, dahlias and large sunflowers won’t work for these.
Supplies needed for the Pressed Flower Bookmarks
- Real Pressed Flowers – Bought or made
- Acid free card stock cut to 2.5x 7 inches. The smaller watercolor bookmarks ones are 2×7, but I found that a lot of pressed flowers needed that extra 1/2 inch of space. I found mine at the craft store but it is the Recollections brand and I’ve added a few good choices to my Amazon store list {HERE}.
- Handmade Paper – I used this one {HERE} and tore it in half for the Pressed Flower Bookmarks. For the ones that I painted with watercolors they are ripped into 3rds. Fold the paper and then wet the seam to tear. You can also make your own handmade paper if you like. I have a tutorial {HERE} on making seed paper and in order for it to work for these you would just leave the seeds out and make the paper.
- Satin Modge Podge {HERE} and Modge Podge Brush {HERE}. You will not be able to see the Modge Podge in the finished Pressed Flower Bookmark. I also like using the Midge Podge brushes specifically whenever I use it so I don’t ruin other brushes. They clan up well and I can always tell them a part.
- Hole Punch
- 1/4 inch, double face satin ribbon. You can find a bunch of color options {HERE}.
You can find a whole list of supplies at my Amazon Store on my Pressed Flower Bookmarks list {HERE}.
Steps for making the DIY Pressed Flower Bookmarks
- Press your flowers or purchase pressed flowers. Make sure they are completely dry before using them.
- Cut the card stock to size and rip the handmade paper to size.
- Using the Modge Podge, glue the handmade paper to the center of the card stock.
- Arrange flowers in a pattern you enjoy and then carefully remove them. Modge Podge the paper where each flower will stick. If you have any flowers that are thicker like in the instance of some of my stems or centers of the daisies, apply the Modge Podge directly to the back of the flower.
- Gently pressed the flowers into place and make sure all the petals are sticking. Then apply a thin layer of Modge Podge over all the flowers. Try not to get it on the card stock. It will not show on the handmade paper and shouldn’t show on the card stock either.
- Let everything dry and then using the hole punch, punch a hole in the card stock. Thread the ribbon through the hole.
- *Optional: Laminate your design with a matte laminator paper. I wanted to do this but I just don’t know how the more textured flowers will laminate. Also, Office Depot told me they did not have a matte laminating paper option so I would have had to buy a laminator to do it myself. If you want to do that you can find a laminator {HERE} and matte laminating paper {HERE}. I do not own these so I can’t tell you how they work. However, if I was going to buy one this is probably the one I would buy.
More crafts for your homemaking
If you’re looking for more craft ideas for your home or the garden, try these:
- DIY Vintage Terracotta Pots {HERE}
- Clay Garden Markers {HERE}
- DIY Birds Nest for Decor {HERE}
- Heart Seed Paper {HERE}
- DIY Lotion Bars {HERE}
- Goat’s Milk & Honey Floral Bath {HERE}
Thank you so much for stopping by today, friends! I hope you love these easy DIY Pressed Flower Bookmarks. If you have any questions please leave them below. You can also find me on instagram @sugarmaplefarmhouse and @sugarmaplekitchen. Our YouTube channel is @sugarmaplefarmhouse. Happy crafting!




These are such a great idea. They turned out so good too. I love to read, so I’d love to make these bookmarks.
These turned out beautifully! I have my own flower garden and now I want to try this!
These are beautiful! I love the colors and the variety of the types you chose. I would enjoy making these with my teens.
Oh, these would make a lovely gift for my family! I’d love to take their favorite flower and make this.
these are so very pretty! brought back memories of when i pressed flowers as a young girl. now i am tempted to make these simply because.. and they will make lovely cards too
Yes! I thought about making cards too but I’m in busy season. Maybe in the winter.
These are so beautiful and what a fun craft idea to do wit the kids and create your own! These look so nice and you could sell these!
I really think that pressed flowers-anything is just so beautiful.
These pressed flower bookmarks look so beautiful! They would make a lovely handmade gift for the loved ones too, especially book-lovers.
Oh my! These are all really beautiful looking flower bookmarks! Love it!
These pressed flower bookmarks are absolutely perfect and beautiful! My sister would love this for sure
My daughter loves to create bookmarks! She will love these! And now it’s the perfect season to pick some flowers!
My daughter and I makes this sometimes, yours all looks beautiful! I should start collecting the flowers soon, thanks for reminding me!
I love this idea. I really with that I could have done this with flowers from my moms funeral. That was 13 years ago in September. 🙁