
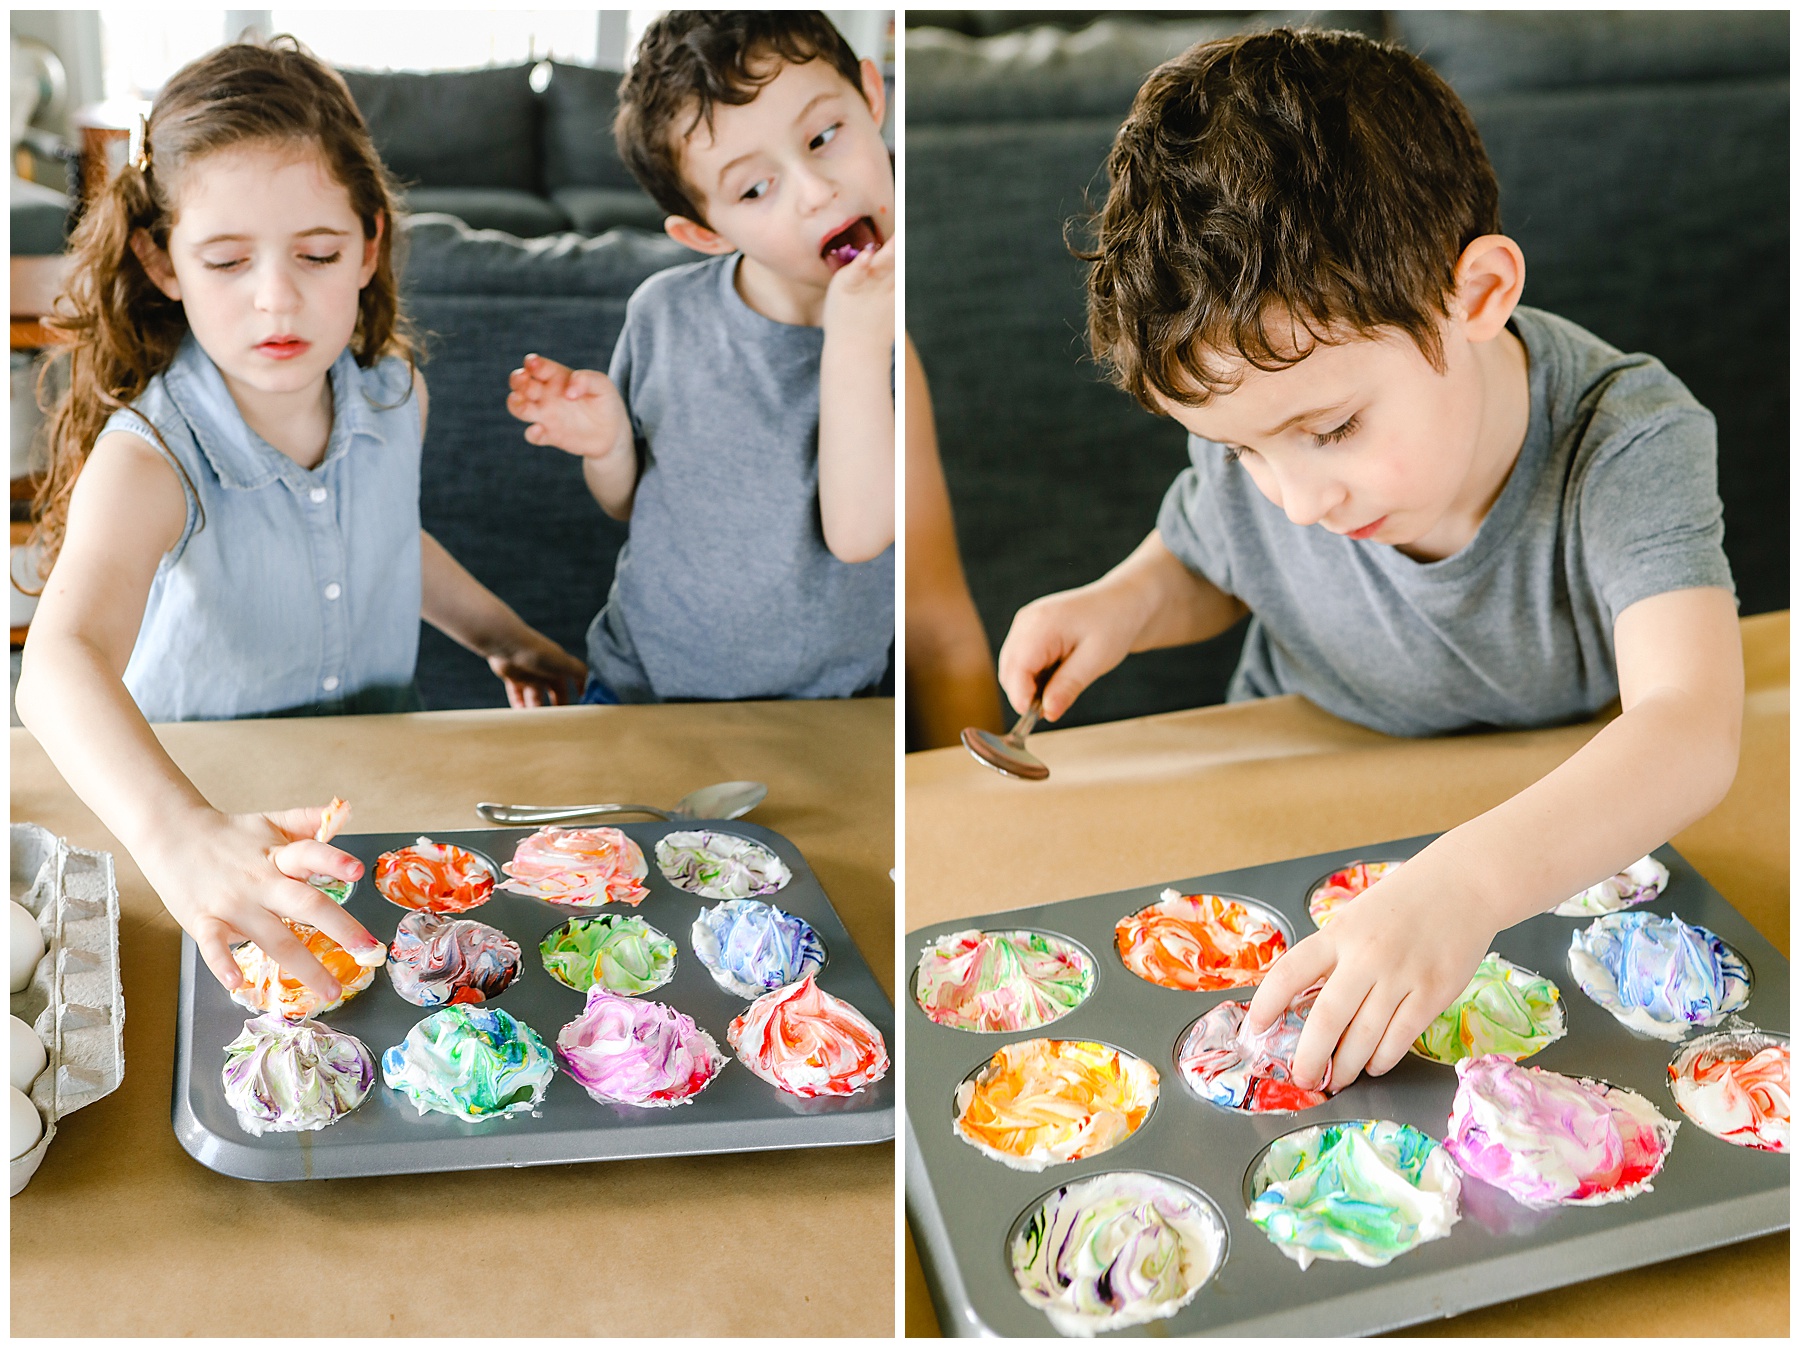
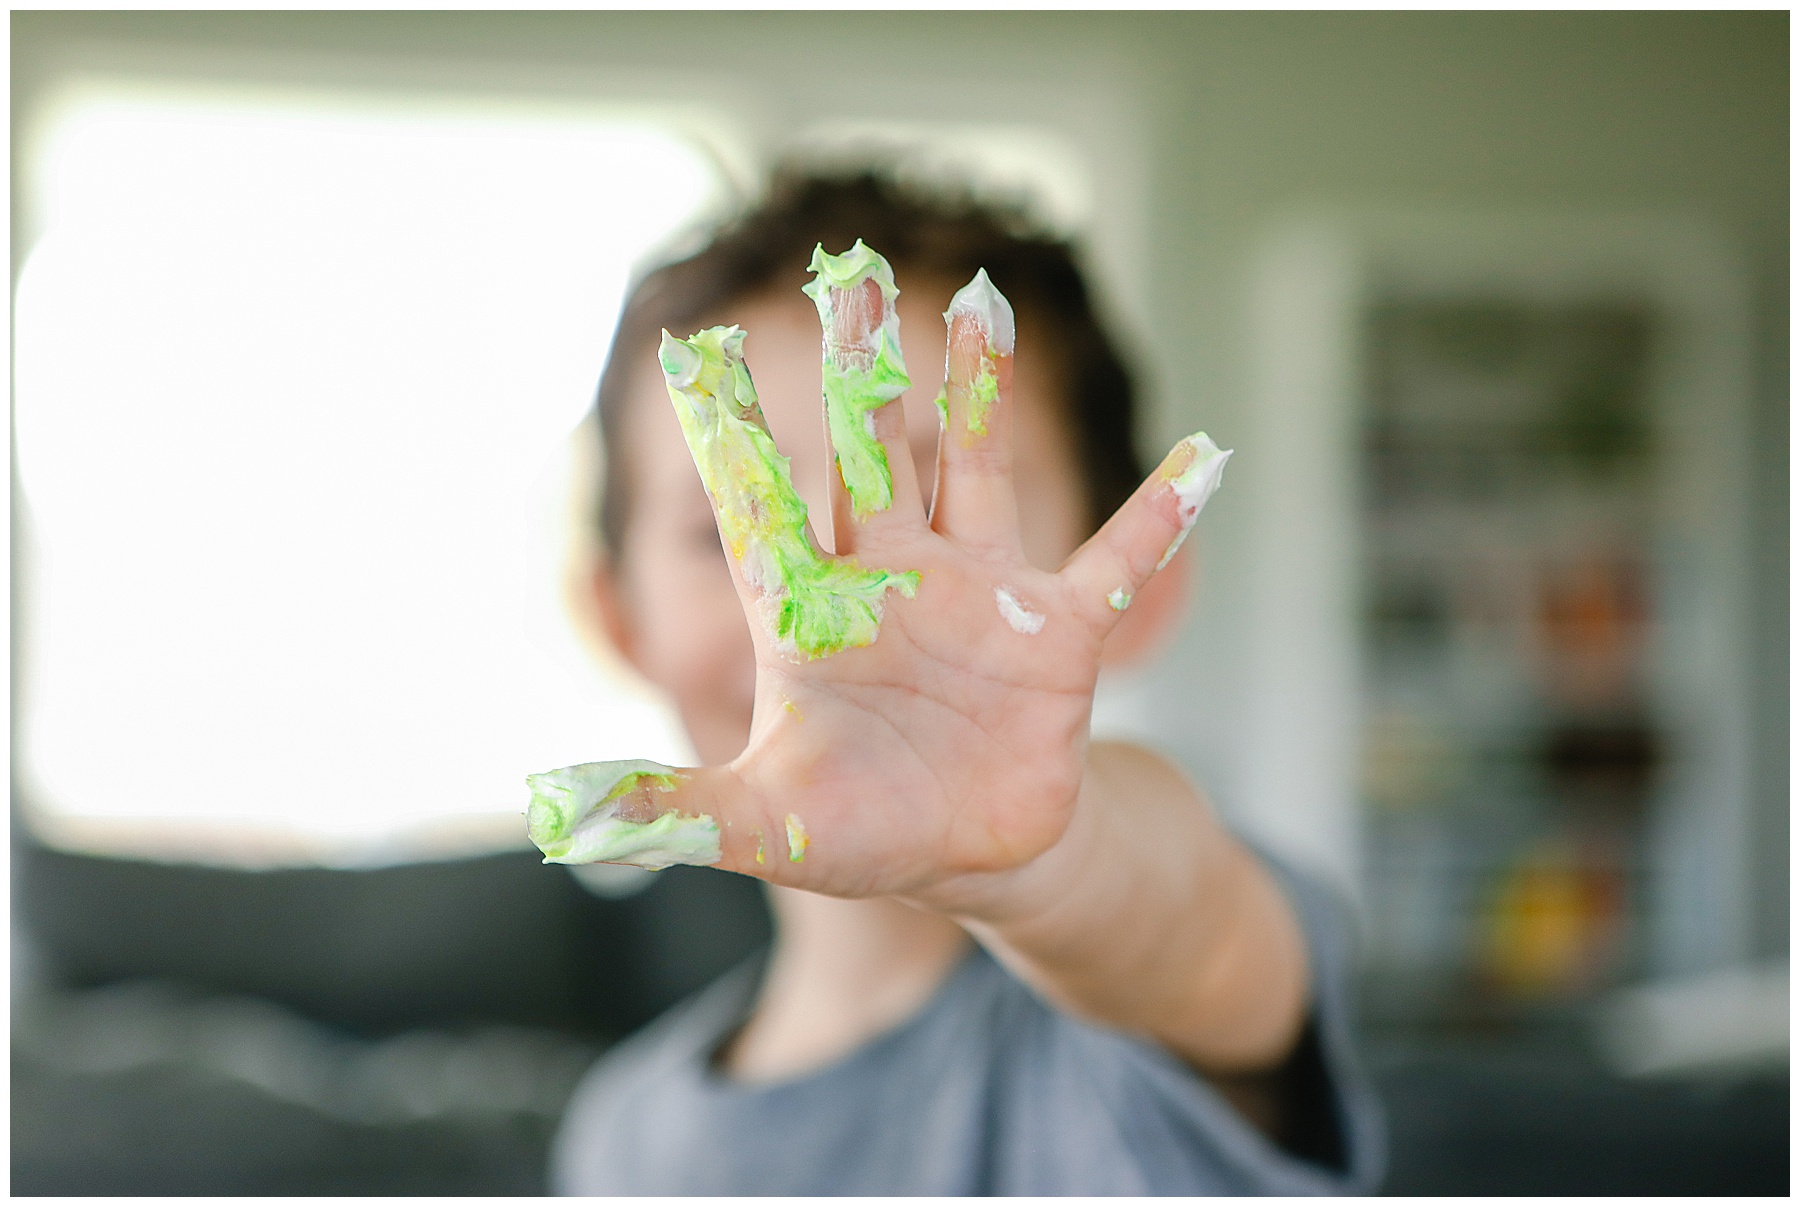
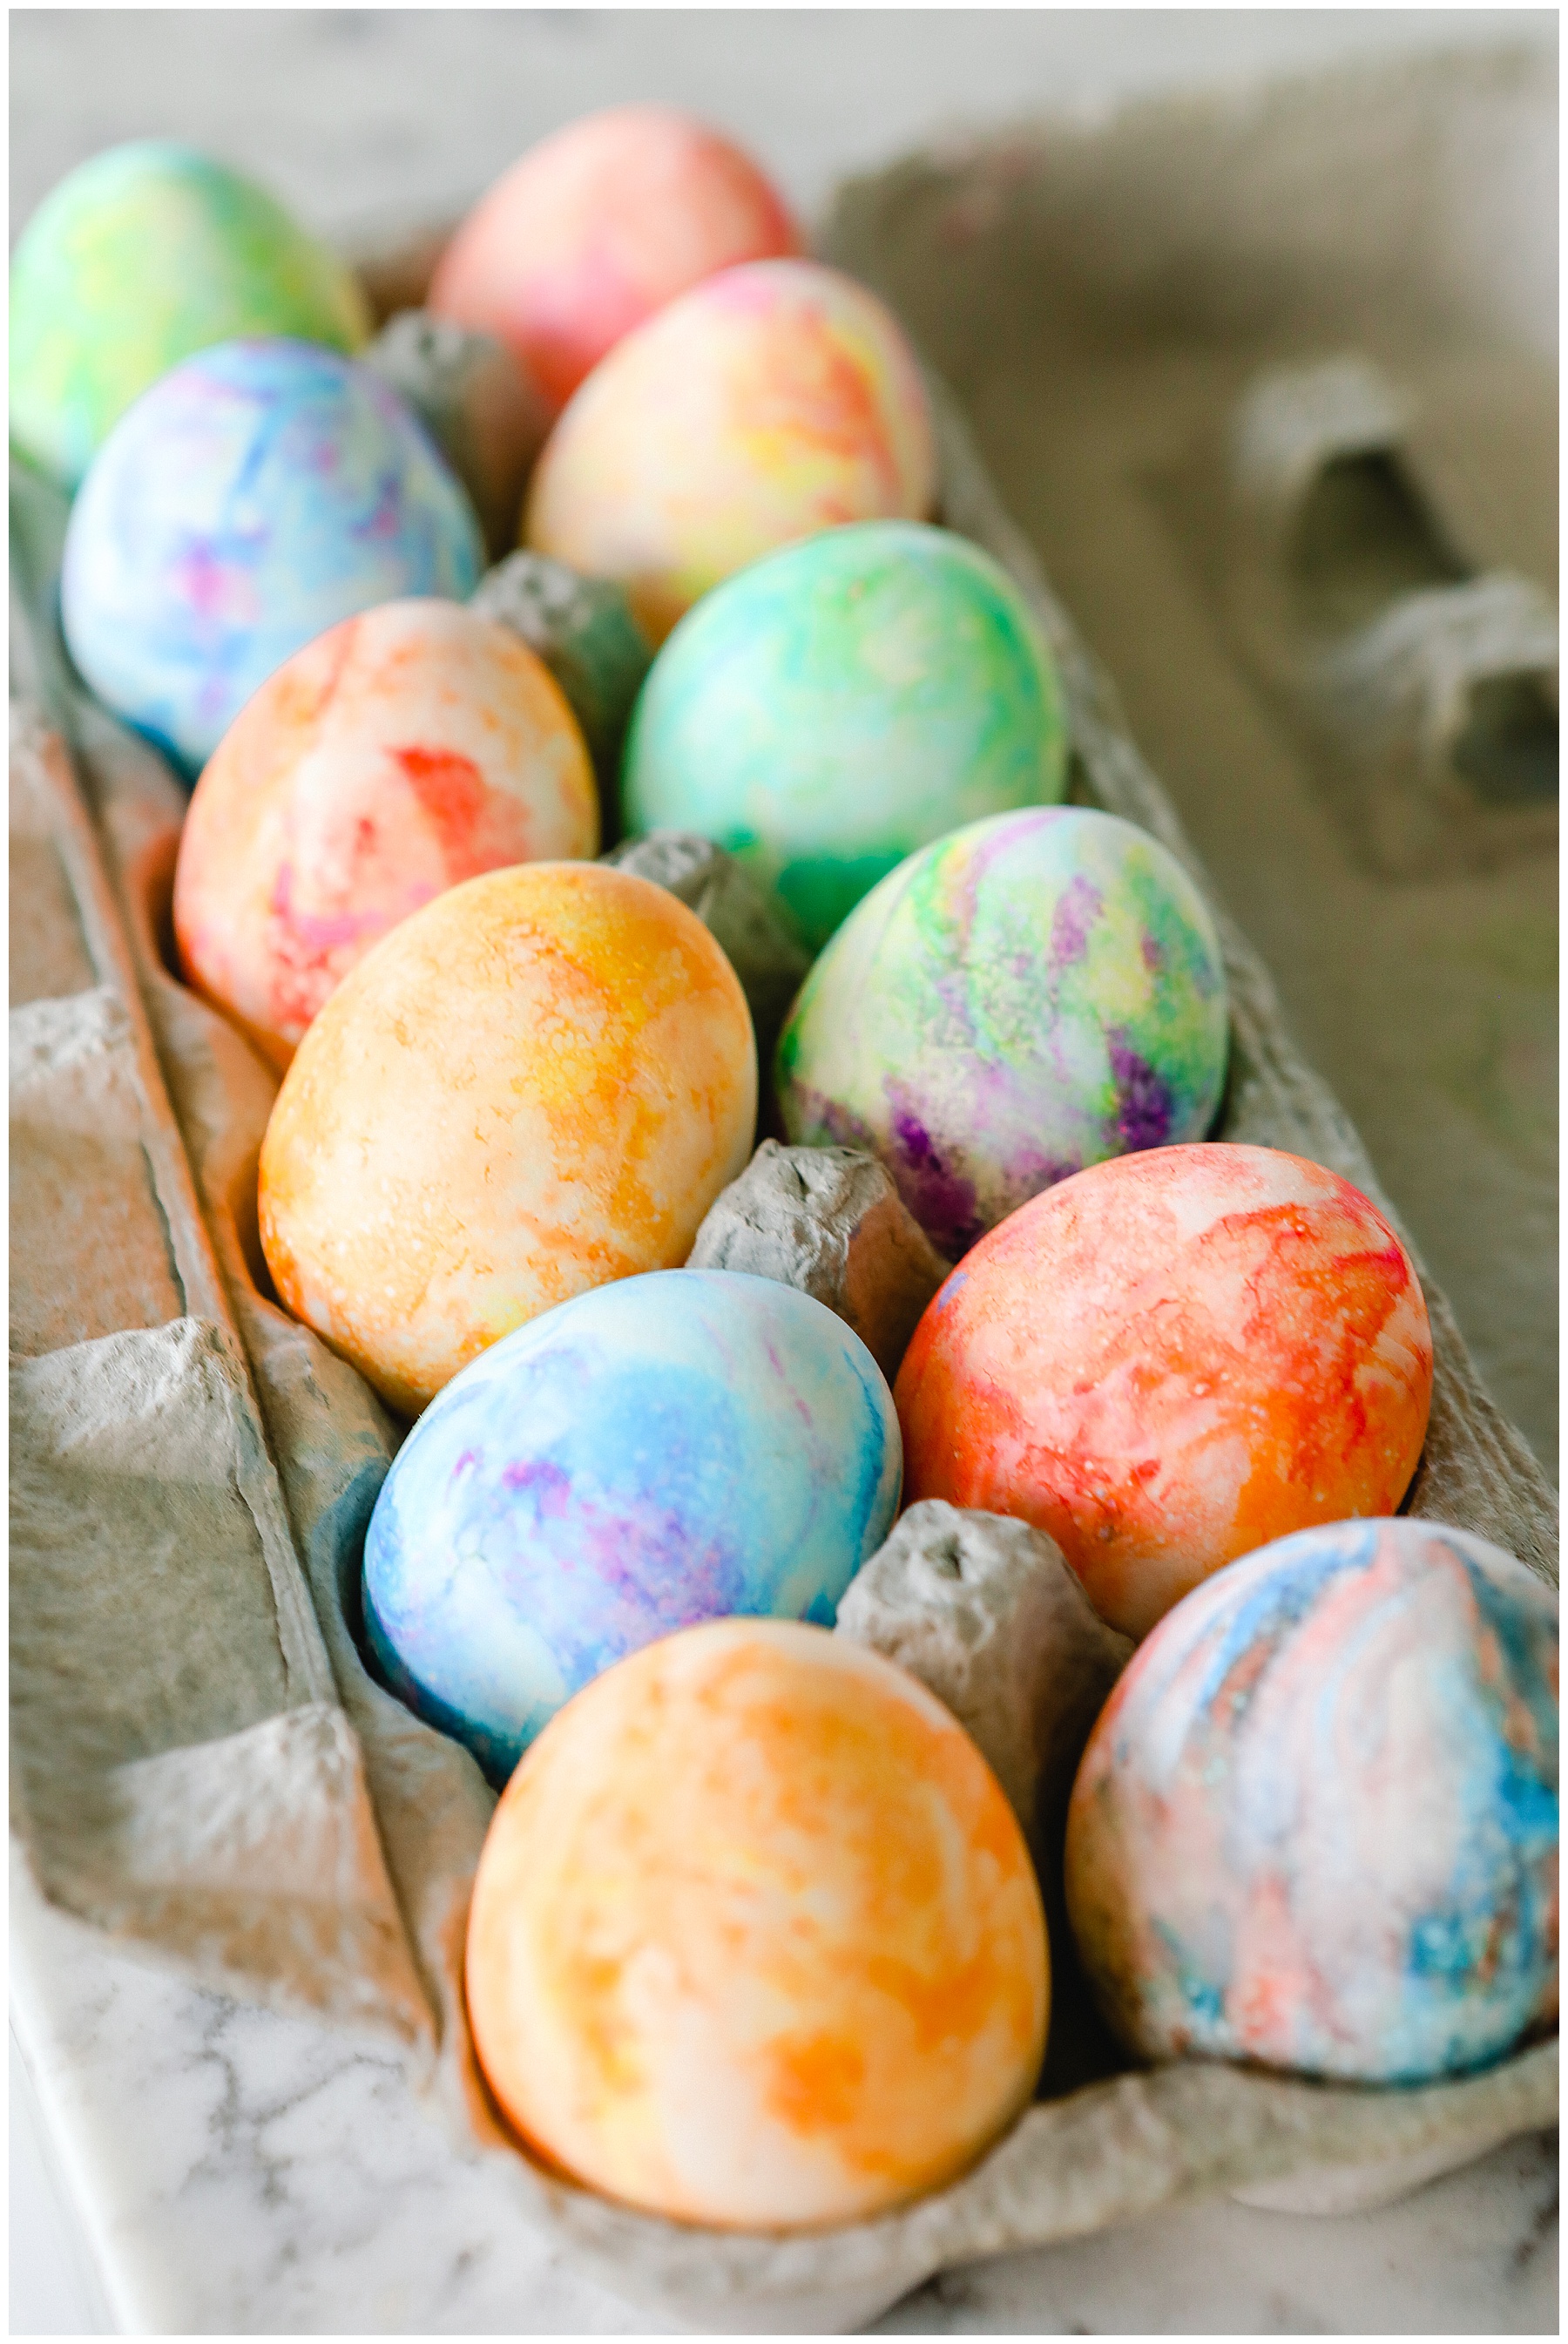
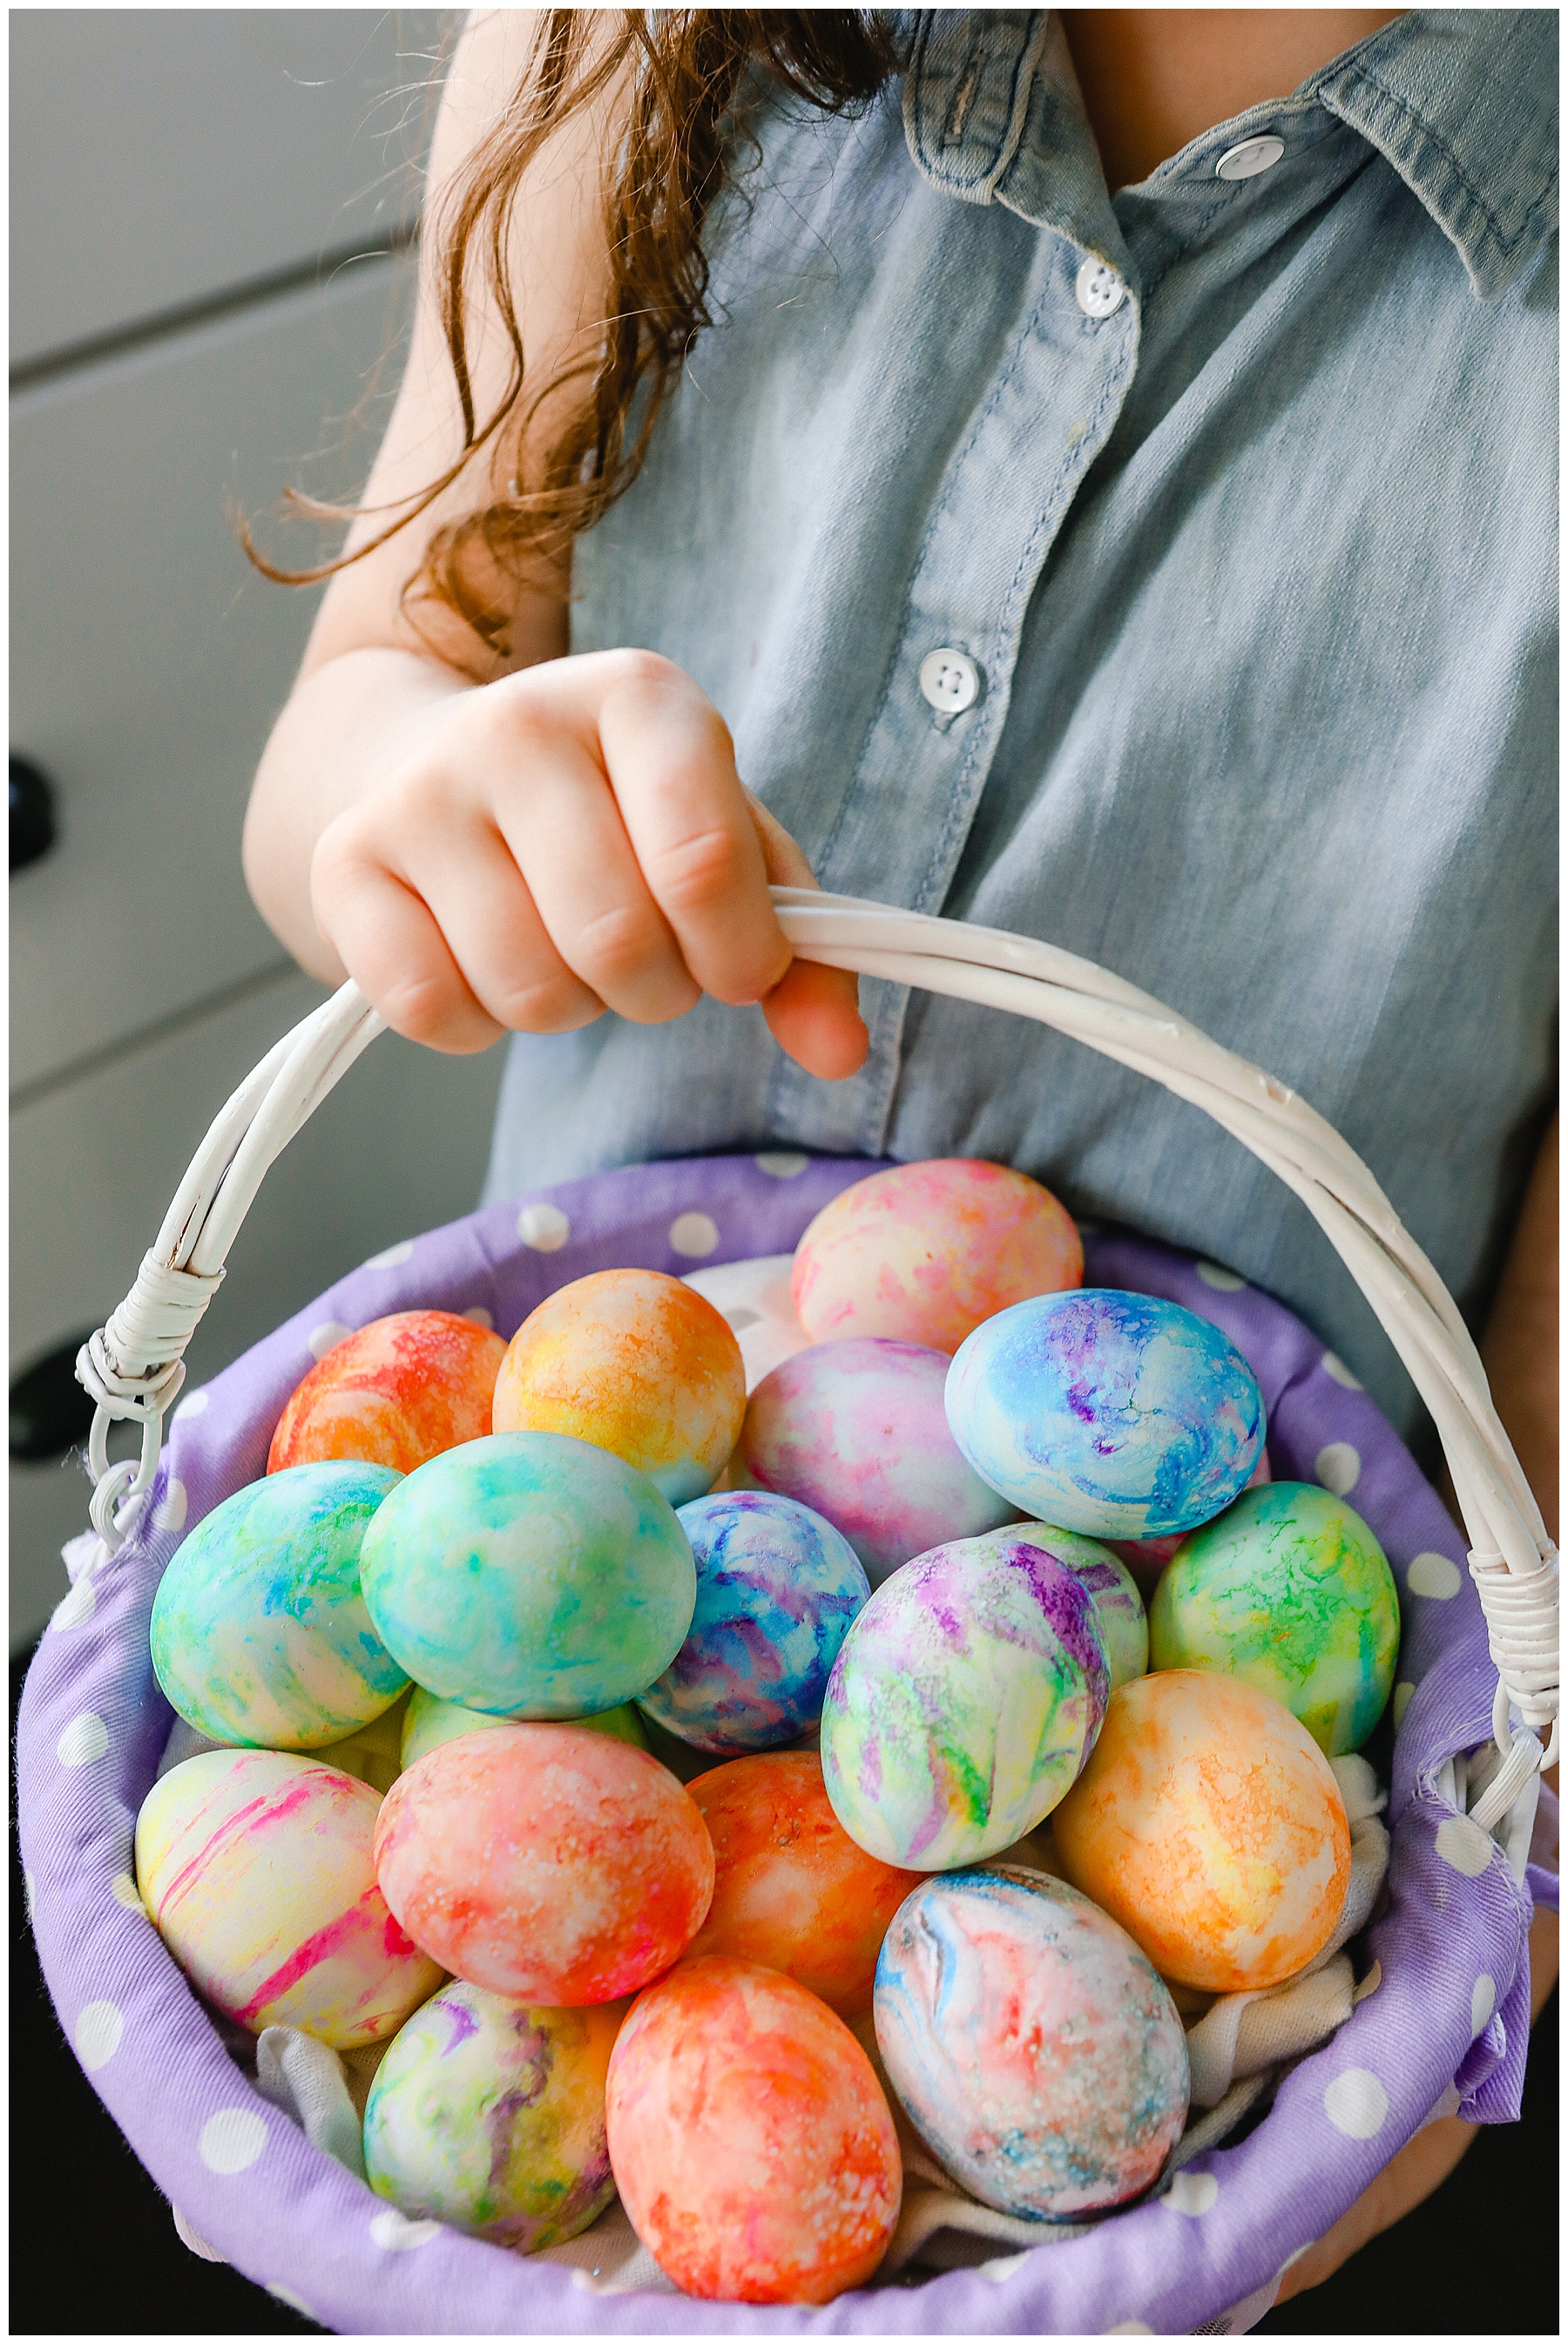
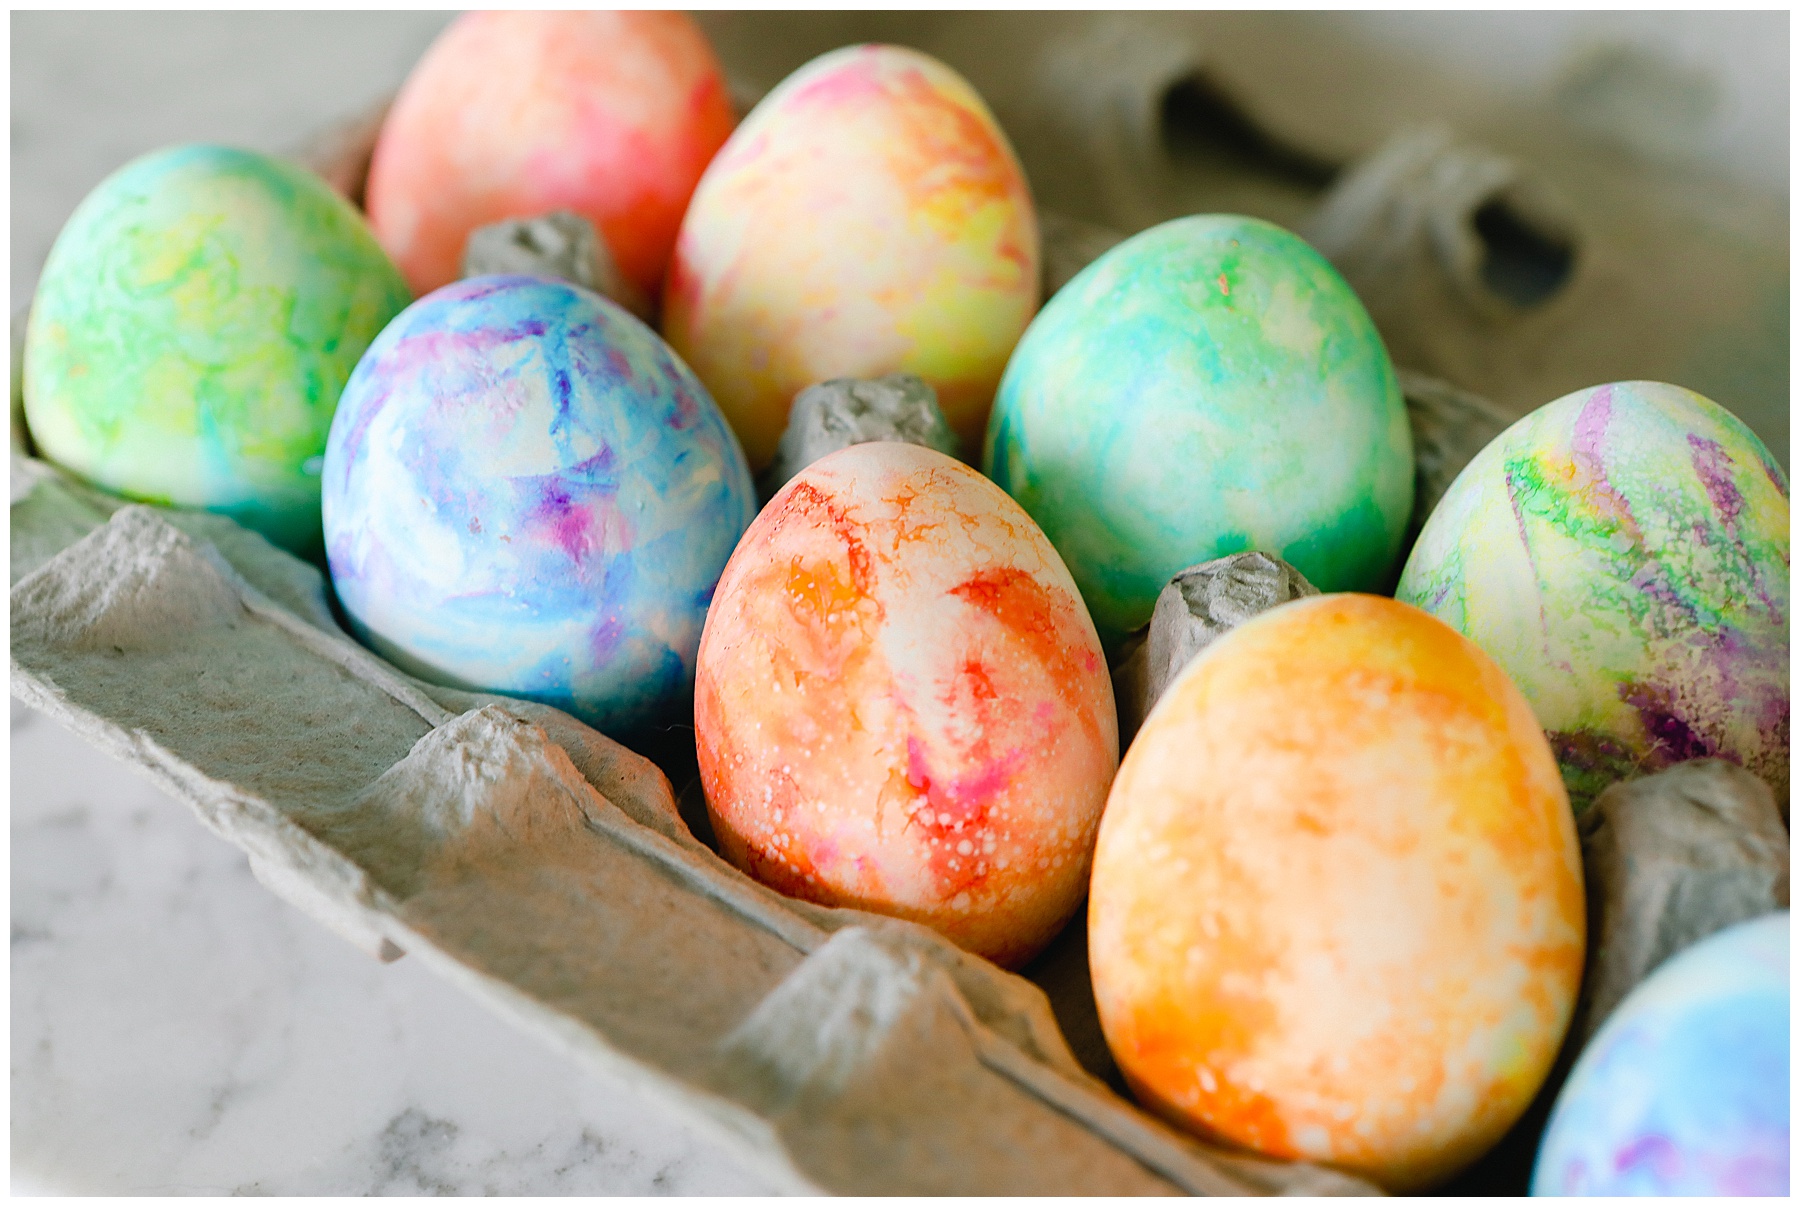
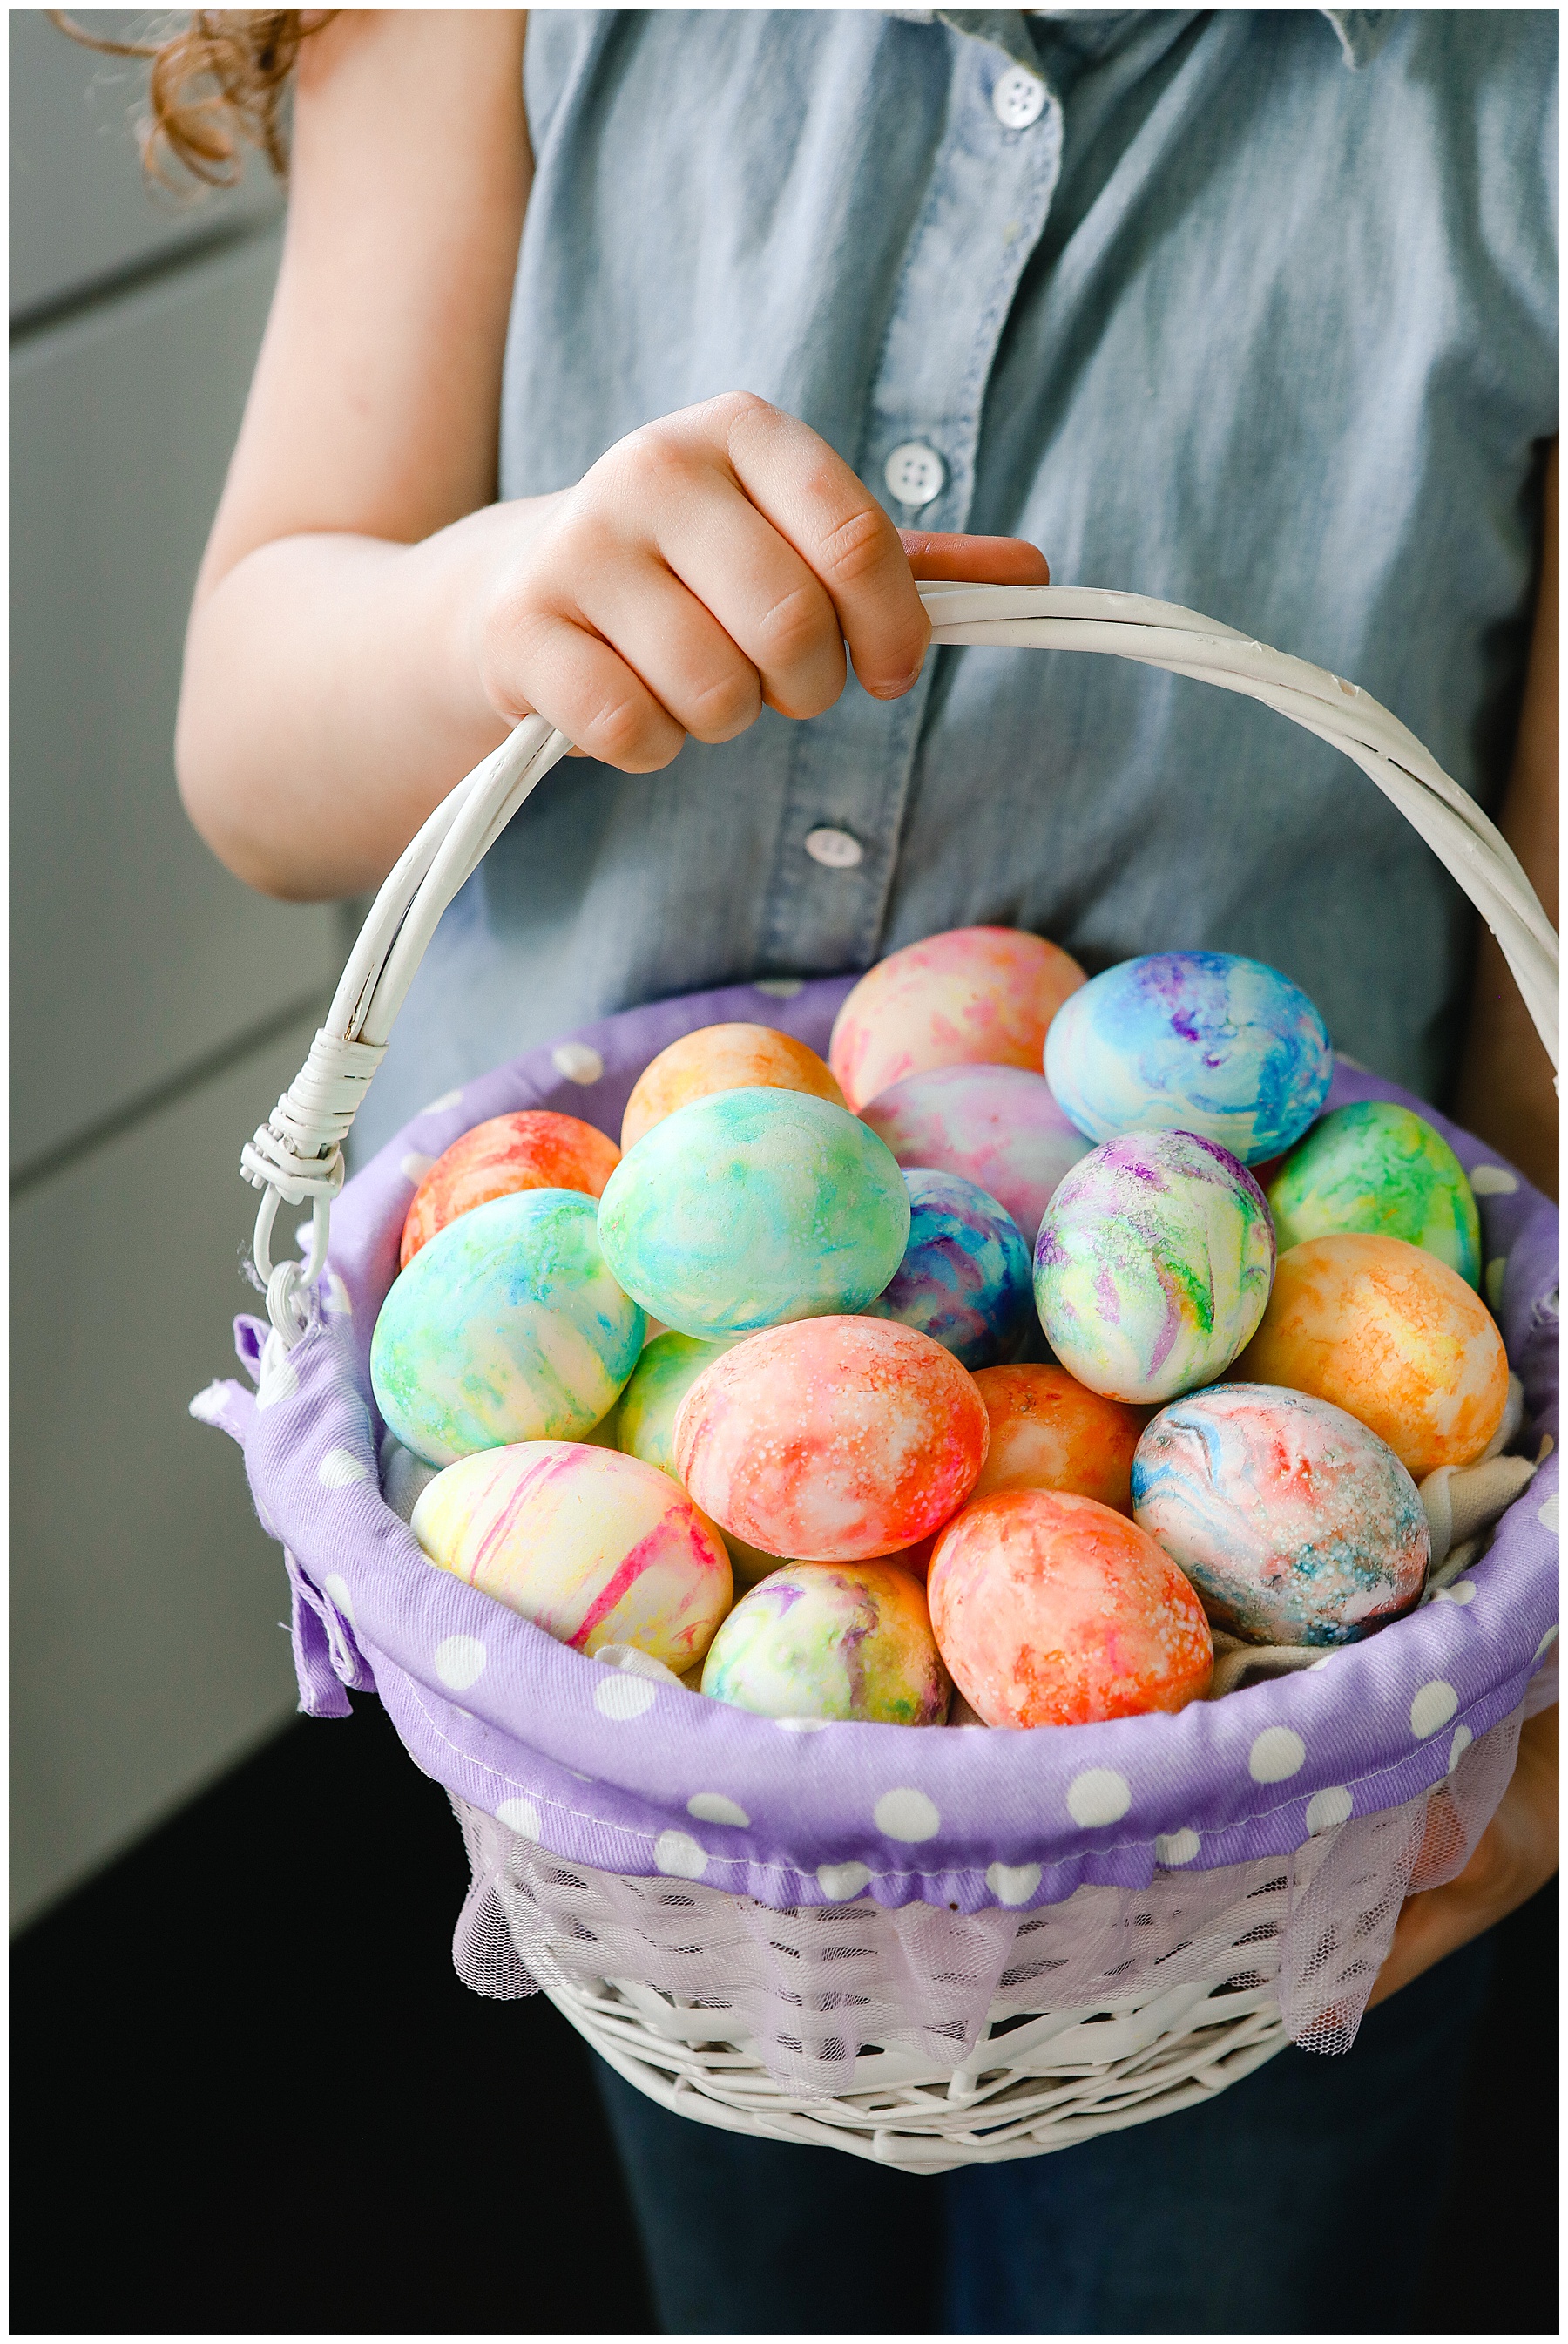
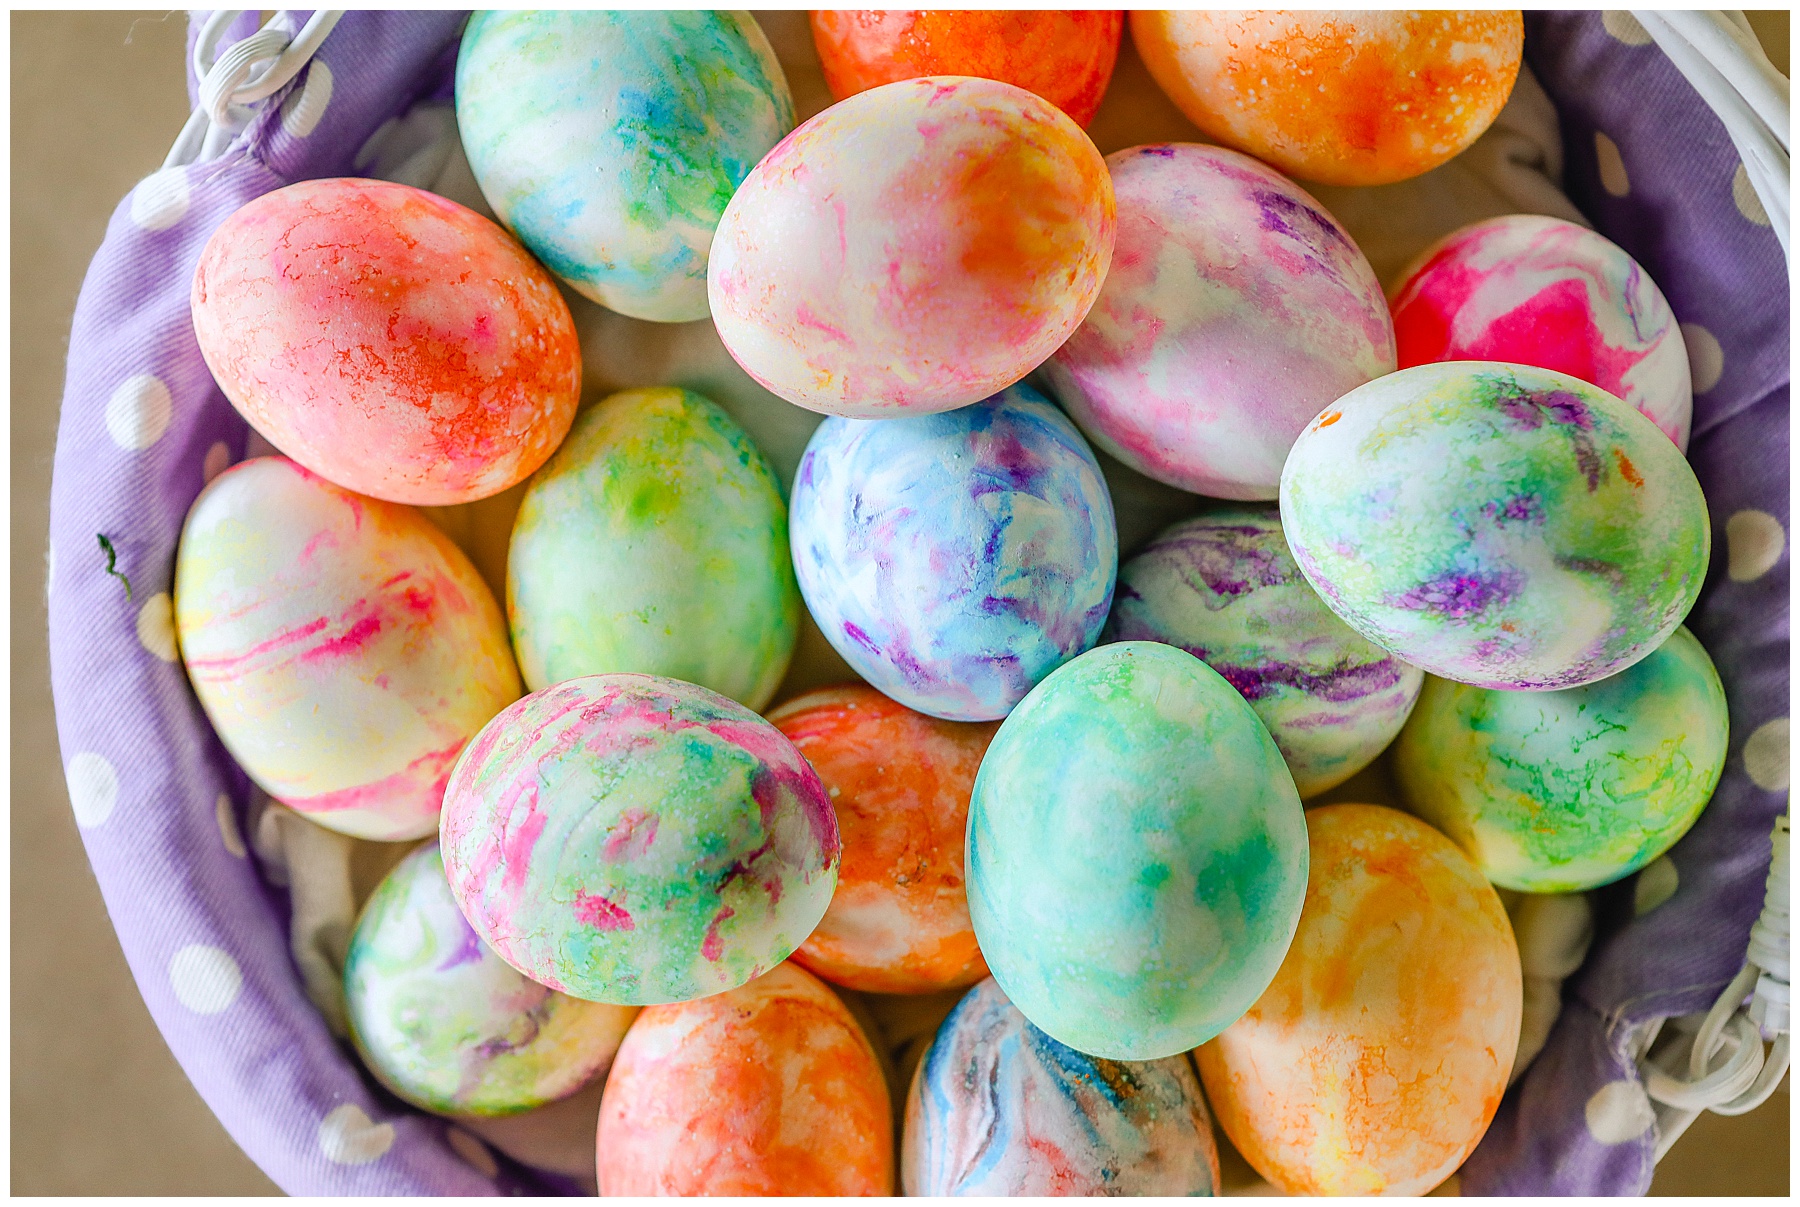
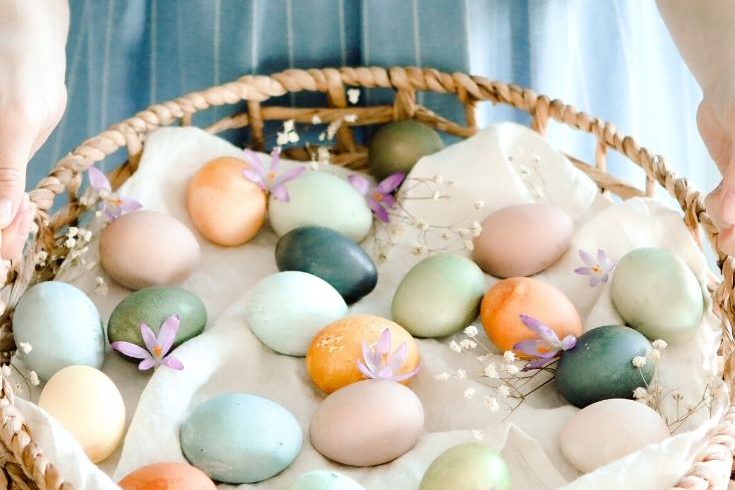
Over the years, we’ve tried dying Easter eggs in lots of different ways. We’ve used dye from a kit, we’ve created our own natural dye and we’ve even dyed eggs in bags. But one of my kids’ favorite ways to make festive eggs is to make dyed Easter eggs with Cool Whip. The colors, the patterns and the hands-on approach make these Easter Eggs such a fun project. And the best part? The kids can lick their fingers clean because this is one messy way to dye eggs.
When we made natural Easter egg dye, which I love, they turned out really beautiful. But I also wanted to find an Easter egg dying option where the kids could really be involved. Something that would made the brighter colors on eggs that make them, Oooo,” and, “Ahh!” These Easter eggs with Cool Whip did exactly that!
The incredible EDIBLE egg dye
This is very similar to using shaving cream to dye Easter eggs but making Easter eggs with Cool Whip allows them to be edible. That really makes this perfect if you have little ones who are dying eggs. My kids hate having their fingers messy, but if they can lick them and they taste yummy then that’s just a big bonus.
Also, for me, using whipped cream or Cool Whip Easter egg dye is a better alternative to shaving cream because at least whipped cream is edible. Rolling my eggs around in shaving cream does not make me to want to use them to make deviled eggs or egg salad. Does it seep in through the shells? Probably not but…It just doesn’t sit well with my stomach. This is a much more palatable alternative.
Tips for making Easter Eggs with Cool Whip
- The longer you leave these in the dye, the better the color. Unlike natural egg dye, you don’t need to leave them in overnight but leaving them in 10-30 minutes is recommended.
- You can skip the vinegar in this if you want. However, your colors will be muted and more pastel-like.
- Get in there with your fingers! Using your fingers to rub the dye all over the eggs in the little cupcake tins will give you the best results! When we didn’t rub as much, we had less color and even missed some spots on our Easter eggs with Cool Whip.
Supplies for making Easter Eggs with Cool Whip
- 2 containers of Cool Whip
- At least 1 cupcake tin. We used 2.
- Ice cream scoop
- Gel food dye
- Vinegar
- Spoons
- Paper towels
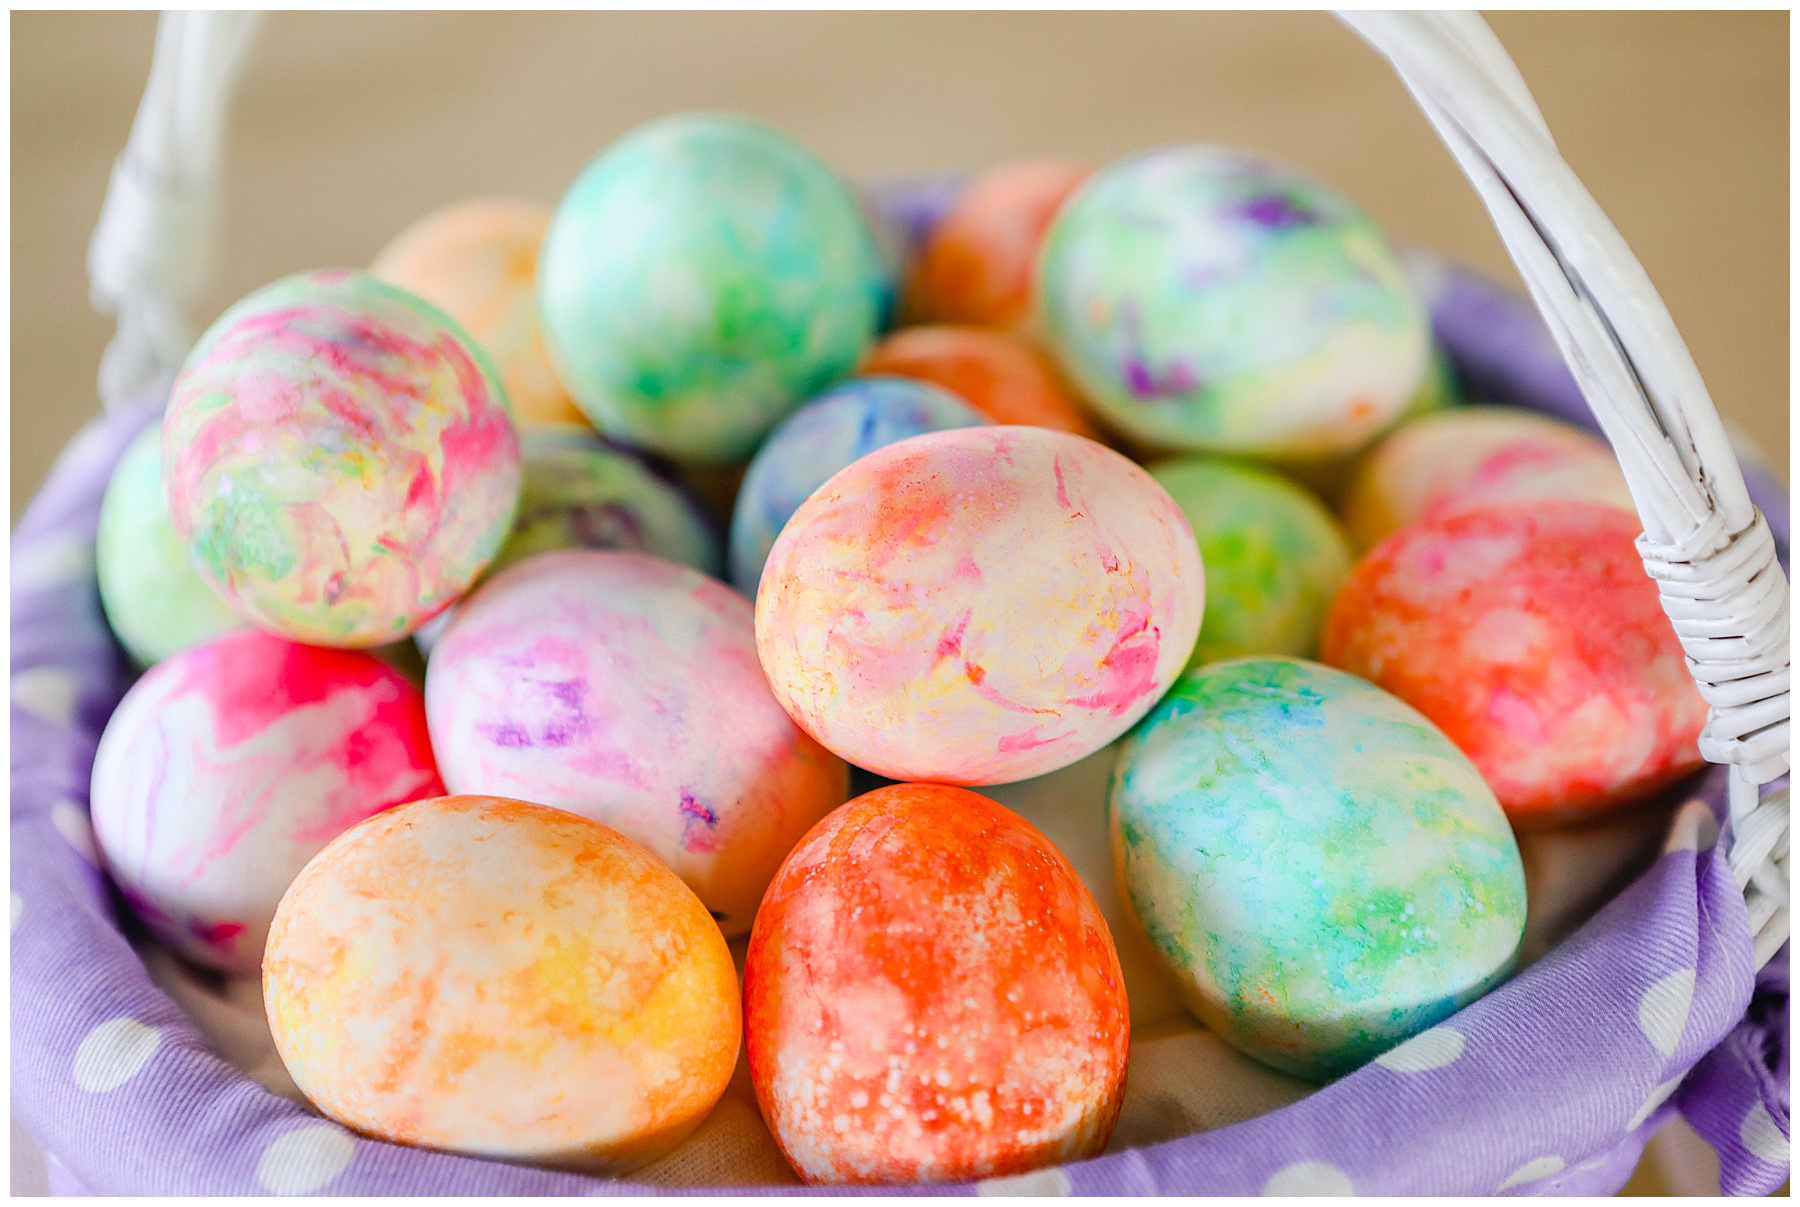
Steps to make Cool Whip Easter Eggs:
- Hard boil or hard steam your eggs. I like to steam them because you get fewer cracks. If you go this route, steam them for 15 minutes. This is a perfect steamer to use.
- Let them cool and then submerge them in vinegar for about 10 minutes. You can do this all at once if you have enough vinegar. Or, you can do it in batches. I was able to pour some vinegar in a bowl and do two batches white getting the Cool Whip ready.
- Another option is to put a few drops of vinegar into the mix with the Cool Whip but the dye will not really be edible.
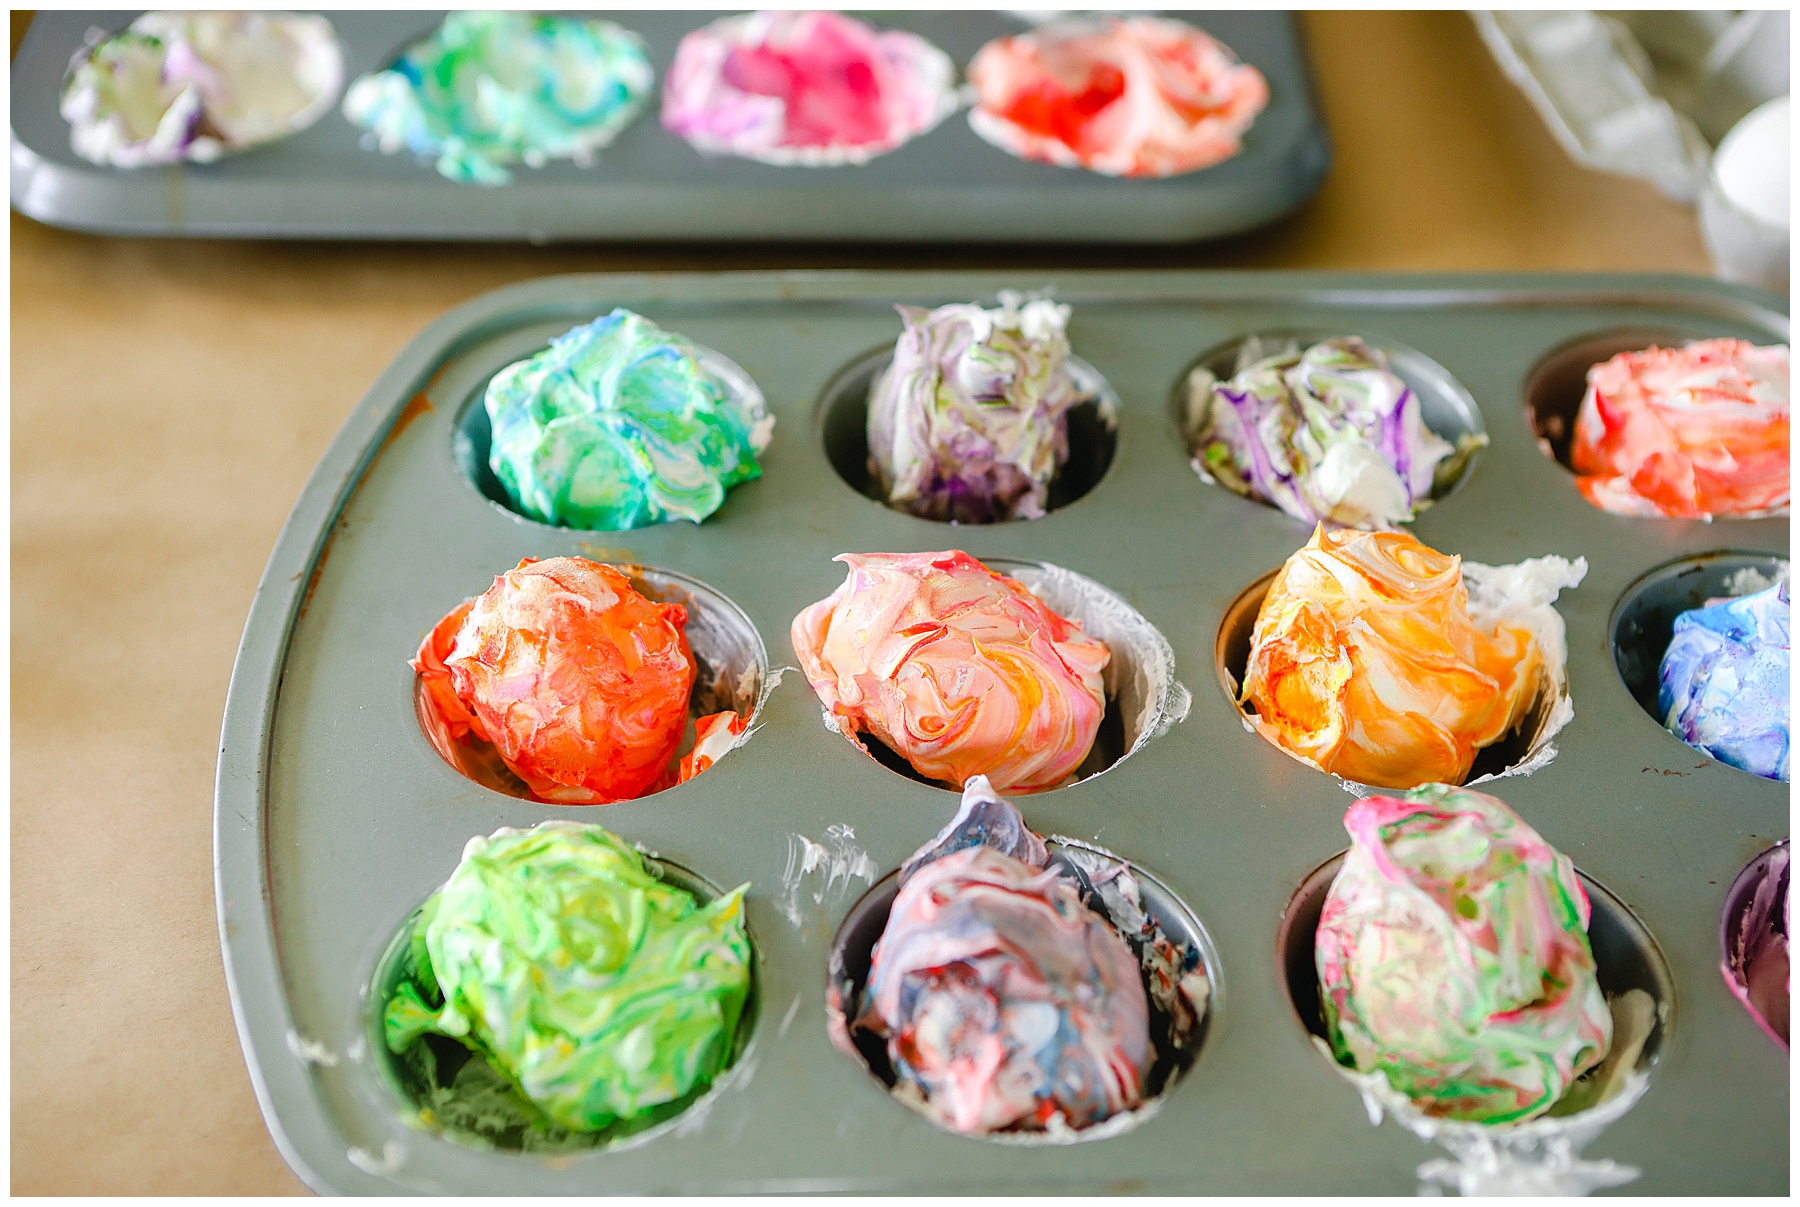
- While your eggs sit, use an ice cream scoop to put the Cool Whip into separate cupcake tins.
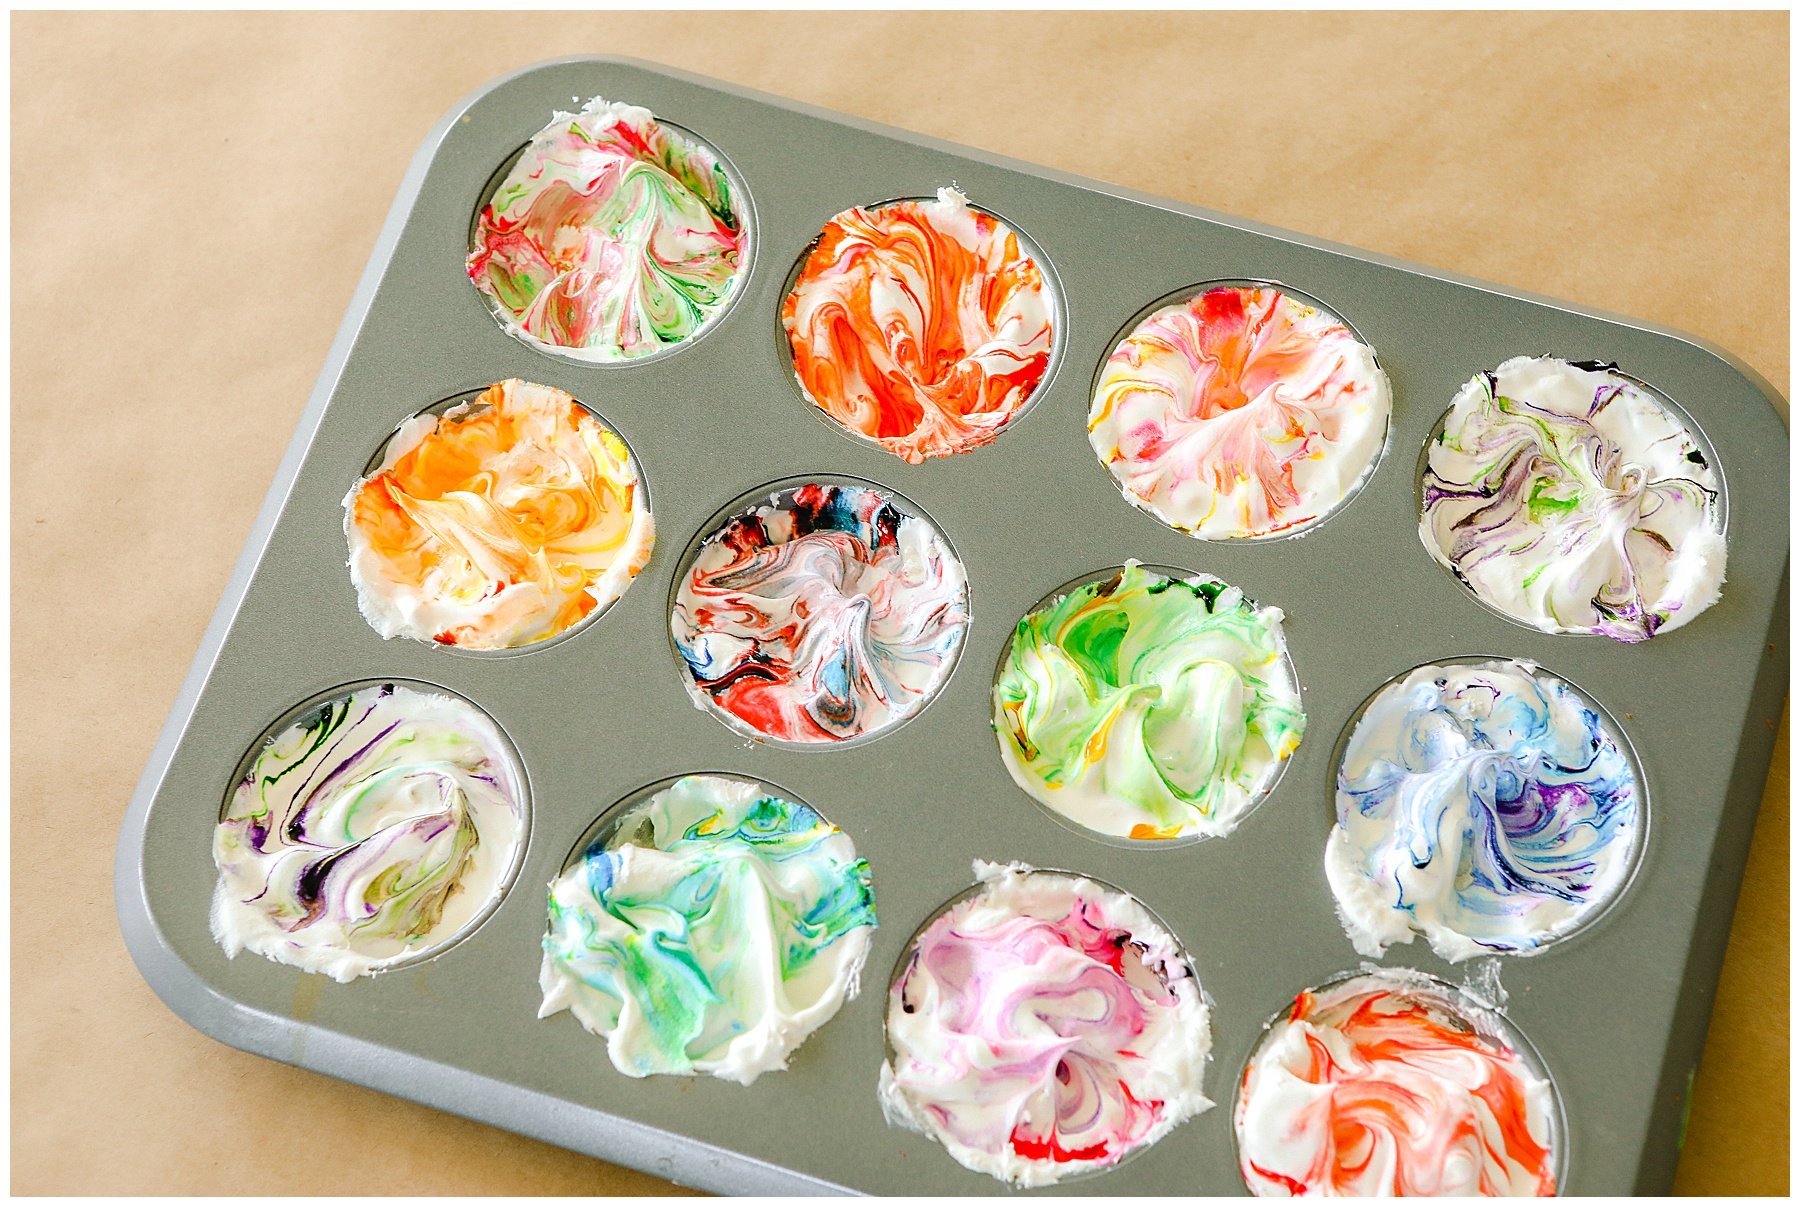
- Then squeeze your food coloring gel into the tin too. Be generous. Combine colors you now will make nice combos – like pink and yellow, pink and purple, purple and blue, yellow and blue, red and blue, etc. We tried green and purple too and that turned out better than I thought it would have.
- Mix each cup with a spoon to disperse the dye throughout it and mix your colors. This will help to make the fun tie dye effect.
- Once the eggs have been in the vinegar long enough, take them out and pay dry them with a paper towel. Don’t over dry. You don’t want to rub all the vinegar off them.
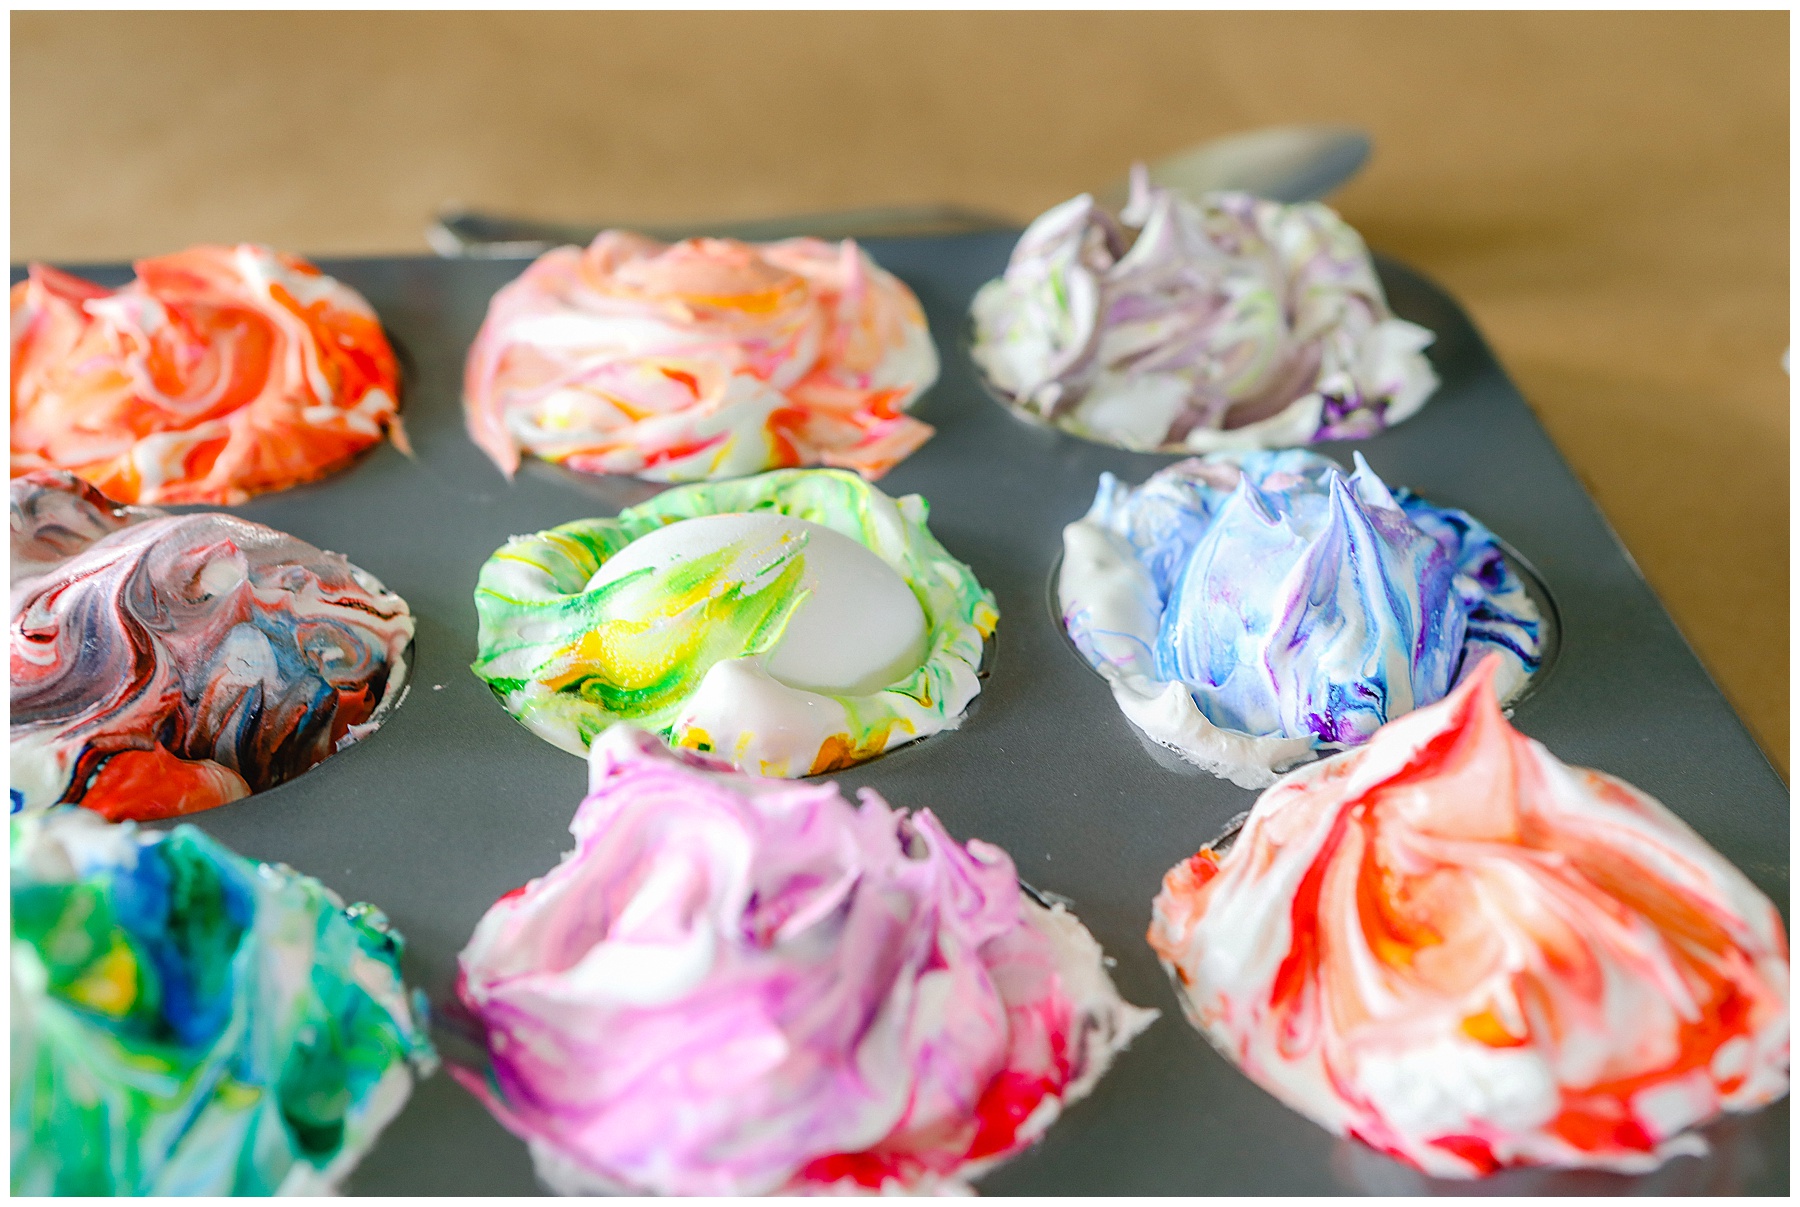
- Dunk individual eggs into the individual cupcake pockets and use your fingers to rub the Cool Whip Dye all over them.
- Let them sit for at least 10 minutes. The longer the better. We let our’s sit for about 30 minutes. We used a second cupcake tin to put the eggs that were still “dying” while we used the Cool Whip tin again to keep dying.
- When the time is up, run the eggs gently under cool water to get the Cool Whip off. Don’t scrub or rub hard.
- Let them dry completely and then refrigerate them again until that bunny shows up.
Looking for other Easter Ideas?
If you’re looking for other Easter egg decorating ideas or for more Easter crafts, check out these.
- Gold Leaf Easter Eggs {HERE}
- Natural Dye Easter Eggs {HERE}
- Carrot Soup with Ginger {HERE}
- Pastel Mason Jar Vases {HERE}
Thank you for visiting today, friends! I hope you try this and have fun with those babies and I hope you’ll come back again. Find out natural Easter egg dye {HERE} and find out how to make Gold Leaf Easter Eggs {HERE}.






Leave a Reply