DIY Halloween witch decorations can be so fun to make! As I make them through the years, I’ll add them all here! Save this post to Pinterest to come back again and again as I add.

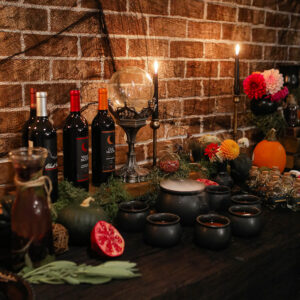
As I dove into the origins of Halloween this year, I couldn’t help but to really get wrapped up in the witchyness of it all. There’s so many interesting stories and tales wrapped up in Samhain and how Halloween began that meld together the harvest, spirits and magic. So when I put together the Samhain Halloween tablescape, I really blended a lot of those things together to create a table that felt like a witch today would enjoy. This included a lot of DIY Halloween Witch Decorations that I ended up making myself because I couldn’t find things to fit my imagination.
Black Tree Branch Centerpiece
The first of the DIY Halloween witch decorations was my black tree branch centerpiece. It really set the tone for everything. I had found and purchased a tree branch candlestick holder at World Market and then after realizing it cost almost $40 with tax, I promptly returned it. (Truthfully, I had purchased three.) I decided I could make something better on my own and that is what really what got the ball rolling on my theme. I wanted to make something organic and natural looking, not plastic like the store-bought candleholders.


Here’s what you need to make IT:
- Dried Curly Willow Branches or Tree Branches from your yard – I purchased these ones {HERE} but if you can also use branches from the trees outside your door as long as they’re think enough. You can also find some on Amazon {HERE}.
- Candle holders – I purchased these ones {HERE}. They were small enough to be able to use, blended in well with the tree branches and held the candles well.
- Matte Black spray paint – I used this {HERE} and it covered really well. All I needed was two cans.
- A glue gun – I have a few of these but if you need ones, this one {HERE} works well.
- Floral cutters – They are for cutting the willow branches. The branches are thick and I wanted them to be specific sizes and to make them look more “branch-like”. I.have these ones {HERE} that I use in the garden and they worked here too.
- Moss – The moss I used to layer over the branch and add under it. I used this multi-pack {HERE} and then some dried super moss {HERE} I had leftover from my Fairy Garden Tablescape.
- Flowers – All my flowers were real and from my garden. If you don’t have access to flowers, you can buy real ones, use faux flowers or buy dried flowers {HERE}.
- Lastly, these are the candles {HERE} that are included on my finished table. As long as they are standing straight, they shouldn’t drip all over the place.
Steps for makinG the DIY Halloween Witch Decorations Tree Branches:
- To make these, I simply curt the curly willow branches to size. Then I glue the pieces back onto a main branch to make them look more realistic.
- I glued the candler holders onto different pieces of the branches. This will work best if you can have at least one or two of the candle holders touching the table to give the branch centerpiece a kind of base. Once these are glued on, be careful. They like to come off. They might be something you have to glue a few times or from year to year.
- Spray paint the pieces. I did this in the garage on a box. It worked well and I love how the matte paint made the branches look.
- Once dry, lay the pieces down on your table and then decorate with moss, flowers and add the candles.


Making the center of the centerpiece
Once the tree branches were done I realized I needed something to anchor the table and really create a center focal point. Sticking with the more natural theme, I decided I wanted more flowers in a vase, more candlelight for the ambiance and that I needed to pull in a little magic. I also believe a good centerpiece has levels so I made sure to work that into my idea.
To create the main DIY Halloween Witch Decorations centerpiece you will need:
- 2 black (or any color really) chunky candle holders. I bought these taller ones {HERE} and these shorter ones {HERE}. I used these on both my Samhain Halloween Tablescape and my Halloween Buffet. You can also find something similar sold as a set {HERE}.
- A bud vase for each pillar. I used this one {HERE} and then an older one I found in the closet.
- Black glass paint – I. used this one {HERE}.
- Green Moss – Again, I utilized moss here to keep the natural theme going.
- A glue gun
- A candle for the inside of one vase
- Flowers for the other case.
- Cheap brushes for painting.
- A skull – I hemmed and hawed about adding this in. But, bones are important when it comes to the original celebrations of celebrating the dead for Halloween and they represent powerful things. Since they’re also Halloween-like, it felt right to mix in this with the natural tablescape. This is the one I bought {HERE}.
- A book on magic for height – I bought this book {HERE} on moon spells for my Halloween fireplace last year. There was a second book under it and that was this one {HERE}.
Steps for making the DIY Halloween Witch Decorations Centerpiece:
- Paint the bud vases with the black glass paint. If you’re going to use them for candles, leave them streaky so that some candlelight can still shine through the streaks.
- Once dry, glue the bud vases to the candlestick bases.
- Then, glue moss in clumps around the seam between the vase and the base.
- Add in a candle or add in water and flowers. Then arrange the candleholders and skull/books however you like.

 Looking for some great Halloween recipes? Try these!

 Looking for some great Halloween recipes? Try these!
- Witches’ Brew Cocktail {HERE}
- Soul Cakes {HERE}
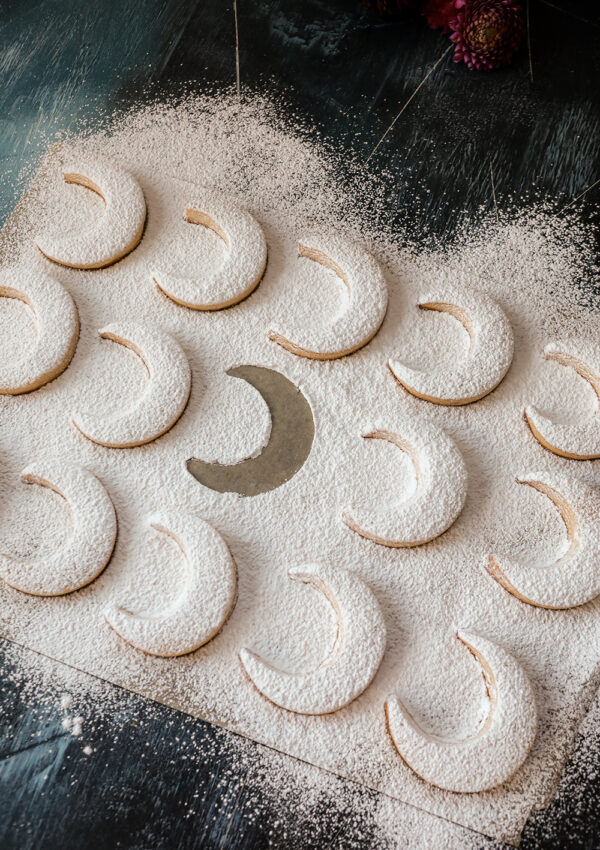
- Moon Spell Cookies {HERE}
- Candy Corn Rice Krispies {HERE}
- Black Magic Sangria {HERE}
Thank you so much for stopping by today, friends! I hope that this gives you some spooky inspiration for creating some DIY Halloween Witch Decorations. To see the full Samhain Halloween table, click {HERE}. To see the Halloween Buffet table, click {HERE}.


This is the coolest! We need to do this and put them out for Halloween. I can’t believe it’s next week.
What a great way to make the table fancy for a Halloween party. Thanks for the step by step instructions.
This looks so amazing! I love decorating for Halloween. I really love what you have done here.
OBSESSED with these spooky decorations!
It looks so pretty, I definitely need to make it over the weekend
What a lovely table setting, I really enjoy the flowers you laid out on the runner!
Oh my! This is one of the most amazing table setting that I’ve ever seen in every Halloween. So perfect! I love i!
What a gorgeous table setting. It’s perfectly spooky. I love the candles and the skull. Too good!
This is such a cool way to decorate. I love the candle color and now I need to pick some up for our spooky dinner.
Wow! I love your designs! So crafty and witchy! With Halloween next week I’m definitely gonna use this for inspiration!
You are so creative and I love your designs. I wish I had space to create a table like this but I don’t. Plus, the cat would probably tear it up too.
These Halloween decorations are so fun! My family will love it!
You are so good with design and I am loving the decorations! So cool and I am bookmarking this one…thank you for sharing!