Make this faux rusty, vintage, moody pumpkin DIY to give your Halloween a cozy and warm feel. It’s easy to use a pumpkin from the craft store OR upcycle an old ceramic pumpkin you have at home. Pin this now so you can make them!

Last Christmas season, I made some faux, rusty and moody Christmas ornaments that I absolutely love. You can find them {HERE}. This year, I decided to try that same idea with a ceramic pumpkin from the craft store. While I wasn’t exactly sure how it was going to look, I do love how this faux rusty, vintage, moody pumpkin DIY turned out.

Busy hands make for happy heads and hearts
I’ve tried to par down my holiday decor this season. And by “holiday decor” I mean fall and Halloween decor. We have so much going on with the kids in multiple fall sports, taking care of the farm and writing my recipe book that I’m left with little bits of time to create for our home. However, I still have this driving need to create a few simple, beautiful things each season that will help to keep my hands busy. I find my head and my heart are always happier when I have busy hands. One of the ways I love to do that when the weather gets colder is through DIYs and crafting (and pottery but that’s a story for another day).
This moody pumpkin DIY is pretty simple though and I really think the pumpkins I made turned out beautiful. They’re unique and perfectly fit into the moody ambiance that everyone seems to love right now. With the metallics showing slightly and a dusting oc cocoa powder, they have even taken on a slightly worn, vintage quality that fits perfectly with my home. I was able to use the paints that I already owned, and most of the supplies I already owned to make it.

My biggest tip for making Vintage Moody Pumpkins
The biggest piece of advice I can give you when you want to make something look older or like it has a bit of age and dinge is to add layers and textures. Like with the ornaments, I did this on my Pumpkin DIY to make the pumpkins seem not only a little older but a little dingy and slightly dirty too. Nothing that has some age is perfect and often it is the imperfections I love about a piece. In this case, I’ve layered the paint and have added in baking soda for texture and cocoa powder for the dinginess and to help the texture stand out.
Also, know that not one single pumpkin will look the same. I made two of these and they look really different. based on the way the baking soda falls, the way the cocoa powder gets stuck in the cracks and how you wipe the paint, each pumpkin will be unique. However, I think they both look like something that Pottery Barn might try to sell me.


Supplies for making the Moody Pumpkin DIY
Here is what you need to make this Vintage, Moody Pumpkin DIY:
- Ceramic pumpkin – I think ceramic pumpkins will work best for this pumpkin DIY. However, you could certainly try it on foam pumpkins too. I’m not 100 percent sure how the paint will stick though. You can find ceramic pumpkins like mine at the craft store. Or you can thrift one too. Or, use one in your home currently to give it an update.
- Acrylic Paints – You can make your pumpkin any color you like. I decided on green because I love green and wanted to make it to go with my cozy fall decor this year. However, black or even burnt orange and dark blue would work well too. If you look at the ornament craft {HERE} you can see some color combinations I used on those.
- Metallic Acrylic Paints – These help to create the slightly antiqued effect, but also make it look pretty.
- Foam paint brushes – These are needed for the first base layer and the second darker layer.
- Baking soda – This is needed to give the pumpkins texture.
- Cocoa powder and a box – This is how you give them the more vintage feel. If you are doing this inside like I did this season, find a box and put your pumpkin in it. This part is messy.
- Sponges – These are better for adding on the lighter layer of paint and the metallics.
- Paper towels – Used for wiping off the cocoa powder and the metallics.
- Black spray paint – This is only needed if you want to make the inside of the pumpkin black. Mine was originally white and it stood out too much for me.

Steps for making the Vintage, Moody Pumpkin DIY
- First, using a sponge brush, brush on one coat of paint as a base layer.
- Next, combine baking soda and the color so you get almost like a wet concrete kind of texture. For this coat, I made my green darker by combining it with black. I really wanted to get the color closer to an olive – a more natural color – versus just a dark green.
- Paint this layer on with the sponge brush, dabbing it as you go to create places with more texture. Let this layer dry completely. Then if you want the inside of the pumpkin to be black, take it outside and spray paint the inside. I did this by shooting the spay paint through the eyes, nose and mouth. I had to touch up the green color slightly when it dried.
- Now, sponge a lighter color over the pumpkin randomly. I used a lighter green but still combined it with black to make it darker and more natural.
- While that is still wet, sprinkle the cocoa powder on the pumpkin and then shake and wipe it off with the paper towels. The cocoa powder will get stuck in all the cracks so make sure to really wipe and keep wiping to get overly saturated places off. if there is a spot you don’t like, you can go over it with your darker green paint to reduce it.
- Now take the metallic paints and sponge them on one at a time. I usually use the gold first and the worn penny second. I used a third metallic this time too and layered that one in last.
- Let it dry. If there’s something you don’t love, you can go that spot again with the paints to help blend it better.

The colors I used
If you want to try making pumpkins to look similar to mine, here is what you will need.
- Greens: Deco Art Hauser Green {HERE} and Deco Art Antique Green {HERE}. I mixed both of these with the Deco Art Black Paint {HERE}.
- Metallic Colors: Deco Art Metallics in Champagne Gold {HERE}; DecoArt Metallics in Worn Penny {HERE} and Folk Art Color Shift in Black Flash {HERE}
- Sponges – I use sponges like the natural sponges in this package {HERE}.
- If you can’t find ceramic pumpkins at the craft store anymore, these ones {HERE} are without a face but similar. This means you could skip the black spray paint.
Looking for other fall and Halloween crafts?
If you love to keep your hands busy crafting too, try these season crafts.
- Terracotta Pumpkin Craft {HERE}
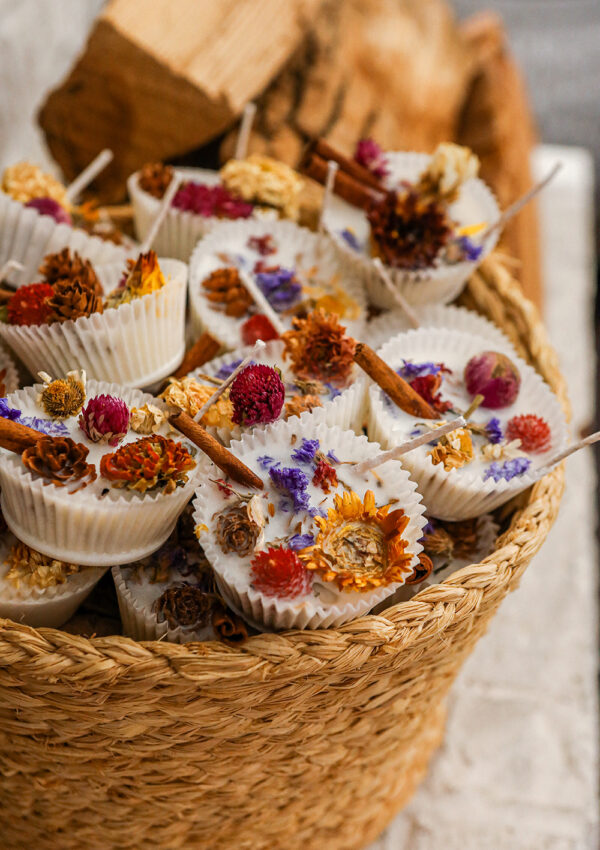
- Fall Pressed Flower Candles {HERE}
- Football Mason Jars {HERE}
- Witch DIY Table Decorations {HERE}
- Harry Potter & Magic Potion Bottles {HERE}
Thank you so much for visiting today, friends! I hope you love my vintage, moody pumpkin DIY. You can find a full, printable recipe below with all the ingredients and steps. You can also find me on instagram @sugarmaplefarmhouse. Our YouTube channel is @sugarmaplefarmhouse. Happy crafting!


Leave a Reply