These Fall Pressed Flower Candles are made with dried leaves and flowers to create beautiful, cozy details celebrating the season. These will also work with spring flowers too so save this DIY now!

I’ve been so excited to work with dried flowers this season. As our flower garden gets larger by the farm stand, and with our wildflower field in full bloom, the brightness and serenity they bring to my life really cannot be overstated. However, as we move into early fall the leaves are already starting to turn. I know my days are numbered with everything that’s beautiful right now. To preserve some of this, I decided to create some fall inspired Pressed Flower Candles.
Beautiful details
Pressed flower candles seem to have become very popular this year as people are looking to add more and more detailed touches to their homes. Originally I thought that I would make just regular pressed flower candles – with spring flower in pinks and purples – but knowing we are going into cozy season, I thought fall pressed flower candles would be a little more charming right now. Plus, they truly go with all my decor that it warm and inviting as the weather begins to turn cooler.

Finding leaves and flowers
Unfortunately, I wasn’t able to use my own leaves for this yet because everything is just starting to turn. I had to buy some that I’ve included in a list {HERE}. However, later in the season I’m planning to make more of these for Thanksgiving with our sugar maple leaves. We had to take down our large, over 100-year-old tree this year and it broke my heart. We replaced it right afterwards with two, new Sugar Maple Trees and since moving here we have planted a number of others on our farm too. I think it will be a beautiful way to celebrate everything I’m thankful for in this season of life.
If your leaves are starting to turn already, or you just plan on using flowers, there’s a good chance you can find these in your own yard or the yard of a relative. Then to dry them quickly you can use something like this microwave flower press {HERE}. I recently bought that one and it works fairly well. You can also press them the old fashioned way between heave books and wait a few weeks. Or use a flower press kit like this one {HERE}.


Supplies needed to make the Fall Pressed Flower Candles
- Dried leaves and flowers – You can find these outside or you can visit my Amazon shop {HERE} and see some of the ones I used.
- Heat gun or a blow drier – I used a blow drier because I could not find our heat gun. When I was on my last leaf Kevin came downstairs and was like, “Oh, did you want to use the heat gun? I’ll go get it.” Mind you, he watched me work on this project for about a day before that…
- Candles – Anything with a wax surface will work. You can use pillar candles, tapered candles or even faux candles that have a wax exterior. I tried all three so you could see how it looked. The pillar candles were the easiest to work with. The faux pillar candles were also easy to work with. The taper candles were the most difficult.
- Wax paper – Any kind will do. It is coated on both sides with wax.

Steps to make the Fall Pressed Flower Candles
- Cut the wax paper you are planning to use to size. This means it should be large enough that you can wrap it around the whole candle and hold it from the back side. The heat gun or blow drier will start to heat your fingers during this project and it is much more manageable if you can hold the wax paper on the back side to attempt to protect your fingers.
- Place the flower or leaf on the wax paper, the side you want to face out should be placed down. Then position the candle on top of it and wrap the wax paper around it, pulling tightly to hold the flower/leaf in place.
- Turn blow drier to high heat and heat the surface of the candle for no more than 30 seconds. You can also try medium heat for 45 seconds if you feel like the high heat is too much. Move the heat around a little bit so you can make sure to heat all parts of the leaf/flower. This should be enough time for everything to adhere. However, this was a trial and error process for me. I ruined a few candles and flowers before I go the hang of this.
- You will see the wax paper melt a little onto the leaves and flowers, when that starts happening it usually means you are done or close to done. You can turn off the heat and check it. If it isn’t done, you can relay the wax paper and heat it more. Let it cool and then add another flower or leaf if you like.


Tips for making DIY Fall Pressed Flower Candles
- Do one leaf or flower at a time when making Fall Pressed Flower Candles. I found this was easiest. I didn’t find a lot of tutorials for this project when researching but I did see one video from something like Good Morning America where she did the while candle at once by adding blue tape to the back. First, if you add blue tape to the back you will have a space that doesn’t have any leaves or flowers on them. Second, when I tried to use blue tape the heat melted it off.
- The leaves adhere better than the flowers. I found the leaves much easier to work with for the Pressed Flower Candles than the flowers themselves. The flowers are incredibly delicate so if you don’t have the heat just right, the petals will tear. I also found that the flatter flowers worked best as opposed to something with a slightly raised center like a daisy.
- Cut the bottom part of the stem off the leaves. The knobby part of the leaf stem where it would attach to a tree branch kept coming off for me. I found it was easier to get them to adhere if I cut off the bottom part. It laid better too.
- Again, I found the pillar candles easier to work with due to the heat and circumference/surface area of the candles themselves.
- I have stored all my pressed flowers in this drawer unit {HERE}. If you have a lot of them this makes them easier to organize and keep at your finger tips. Also, if you don’t have them secured when working on this craft, they blow all over the place.
- When researching this, I did see people using tea lights and the wax from those to adhere the flowers to the candles. I tried this and didn’t like how it looked. The wax doesn’t dry like glue or paint and I found they looked too chunky.
- Please DO NOT use glue if you are using real candles that burn. Burning glue is not good. If you are using faux candles, you might be able to modge podge everything onto the candles. However, I did not try this because I was already set up.

Looking for more craft ideas
Try these crafts if you love making homemade decor.
- Pressed Flower Bookmarks {HERE}
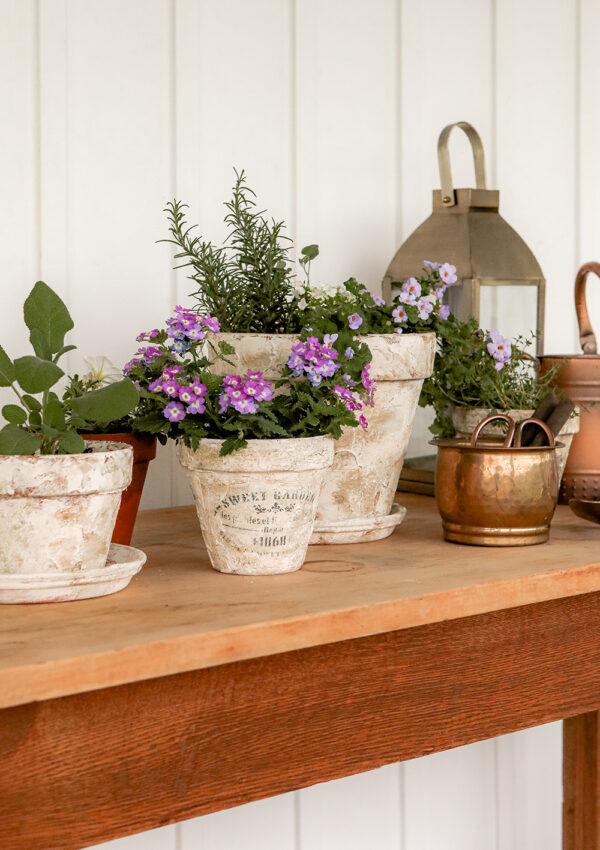
- DIY Terracotta Vintage Pots {HERE}
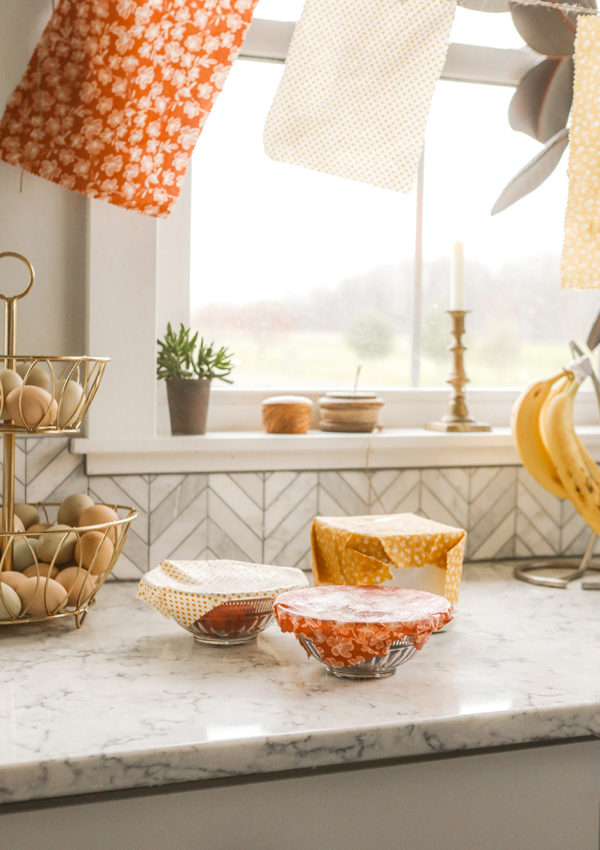
- DIY Beeswax Wraps {HERE}
- How to make seed paper {HERE}
- Paper bag stars {HERE}
Thank you so much for visiting today, friends! I hope that you come back again and I hope you love these DIY Fall Pressed Flower Candles. If you have any questions or comments please leave those below. You can also find me on instagram @sugarmaplefarmhouse and sometimes I’m able to see questions and answer faster. Our YouTube channel is @sugarmaplefarmhouse. Happy crafting!


Leave a Reply