These DIY oven baked clay mushroom ornaments are adorable and perfect for anyone who loves to garden or loves the cottagecore vibe. See how to make them for you or for a DIY holiday gift. Save this to Pinterest so you have all the instructions!
These DIY oven baked clay mushroom ornaments are something I was so excited to make this season. While Cottagecore seems to be a big trend this year, I often love whimsical decor like this for my home and especially the greenhouse. I had seen these made in a few places and I had planned to make some with pottery clay to fire and sell on the website. However, with writing the book this year I was pressed for time and ended up making something very similar to this for a client project. So, I decided to make a handful of DIY oven baked clay mushroom ornaments too and show you all how to do it.

Oven baked clay versus air dry clay
First let’s chat about the clay I used. It is an oven baked clay that you can find {HERE}. I prefer working with oven baked clay over air dry clay for three reasons.
- I find air dry clay tends to get more air bubbles in it when I’m working with it.
- I don’t have to wait for the oven baked clay to dry overnight like I would have to for air dry. This means I can work on a projects – especially this one – and get it all done in one day.
- I’m a novice potter and I find over baked clay closer to the consistency of working with fired clay.

Shaping the clay
When it comes to shaping the clay, begin with a piece that is about 3 or 4 inches big. I begin by pulling the stem and pushing clay up towards where the cap will be for my cap. You can see that all of mine are different. I tried to make the yellow ones more peaked and the red ones more flat. I have others that I made of faux Morel mushroom ornaments and those tend to be taller and more even when working on the shapes. You can see them in this post {HERE} as plant decor stakes.
When it comes to shaping, don’t be afraid if they all look a little different. Nothing in nature would be exactly the same, or perfect. I appreciated the different ridges that formed naturally and indents from my fingers.
Paint colors I used
When it comes to painting them, I used a variety of colors that I had laying around from other projects. I almost always combine colors in my paint trays to get something more custom but here is what I used.
- The stems – On the stems I used a textured paint by Terra Cotta called Cool Concrete with a touch of Terra Cotta Terrazzo Tan paint mixed in. Just a touch though. I found if I added too much they became too fleshy colored. I love how this texture added a little more life to the stems.
- Yellow caps – I ended up using two different colors but at two different times. Because I was originally making plant stakes with these I used Deco Art Americana in Honey Brown. On the ones you see pictured are Deco Art Americana Deep Ochre.
- Red caps – For these I used Deco Art Americana Tuscan red with just a touch of Deco Art Americana Bittersweet Chocolate mixed in. A little goes a long way so it was literally a dot. This was a gloss paint unlike the others I used and this is the reason why I ended up midge podging all my caps, which I’ll go into later.
- For the white dots I used the Terra Cotta Cool Concrete on these.


Supplies you need
This isn’t a complicated project but there are some items that i’ve found make me more successful that I’ve included in the project supply list below.
- Oven baked clay – I use this clay {HERE} a 1 lb. block.
- Paint – In whatever colors you want. I listed mine above.
- Cheap paint brushes – These tend to get hard really fast so I use cheap wood ones and then toss them.
- Painting dishes – I have these reusable plastic dishes {HERE}. I like that they are reusable. Once the paint dries I can pick it out of the dish.
- Throw away fork – this is for making the mushroom gills.
- Toothpick or a bamboo skewer
- A glue gun
- Mini metal eye screws – I bought these ones {HERE}.
- Ornament hanger
- Baking sheet
- Parchment paper
- Tin foil
- Modge podge/ Modge podge brush – I like a modge podge brush specifically because the bristles are stiff.

Steps for making the DIY Clay Mushroom Ornaments
Making this DIY clay mushroom ornaments is easy and fun! You can make them in about 1 hour and paint them in another hour or so.
- When removing the clay from the packaging, it will be hard so you might have to work it between your fingers some to soften it.
- Use about 3-4 inches of clay and shape it into a mushroom shape. Begin by pulling the stem and then form the cap.
- If you want them to stand on their own, make sure to press the stem down on your work surface so the bottom is flat.
- Use the fork on the bottom of the mushroom cap to make the gills,.
- Make a hole in the top of the mushroom with the bamboo skewer.
- Preheat the oven to the temperature shown on the packaging. Prepare the baking sheet with parchment paper and then lightly wrap tin foil around the sides of the mushrooms to help them stand. If you don’t do this some of them may flop over or bend a bit more than you want them to. You can also prop them up on one side if you find that is easier.
- Bake for the amount of time indicated on the package. Remove and let cool.
- Once cooled, mix the paint colors until you get the desired outcome. Paint the stems first. You will probably need two coats.
- Then paint the caps. I found I needed 5 – 6 coats to get the coverage I wanted on these. The red took an extra coat. I used dark blue on some mushroom planter decor in a similar project and it only took two coats so color will really impact time spent.
- If you want to add the white dots to any of the clay mushroom ornaments, wait until the red is fully dry. Then dot it in a pattern you like. They can be larger dots or smaller dots.
- Once fully dry, go over the tops of the mushroom with modge podge. This step is optional. My paints were two different sheens and I didn’t like that so I went over each DIY mushroom ornament top with a satin modge podge.
- Once dry, heat the glue gun and add a dot of glue to the hole in the mushroom. Push the eye hook all the way in and let dry. If you don’t get a good hold, pull it apart and do it again. You can also pick off excess glue when it is dry.
- Add on ornament hooks or strings and hang!
Looking for more DIY ornaments and holiday projects?
Here’s a few more holiday and Christmas projects for you if you love to craft or DIY. Some of these would even make perfect gifts.
- Rusty Vintage Ornaments DIY {HERE}
- Coffee Stained Wood Nutcrackers {HERE}
- Paper Bag Christmas Stars {HERE}
- How to make Dried Oranges {HERE}
Gift ideas
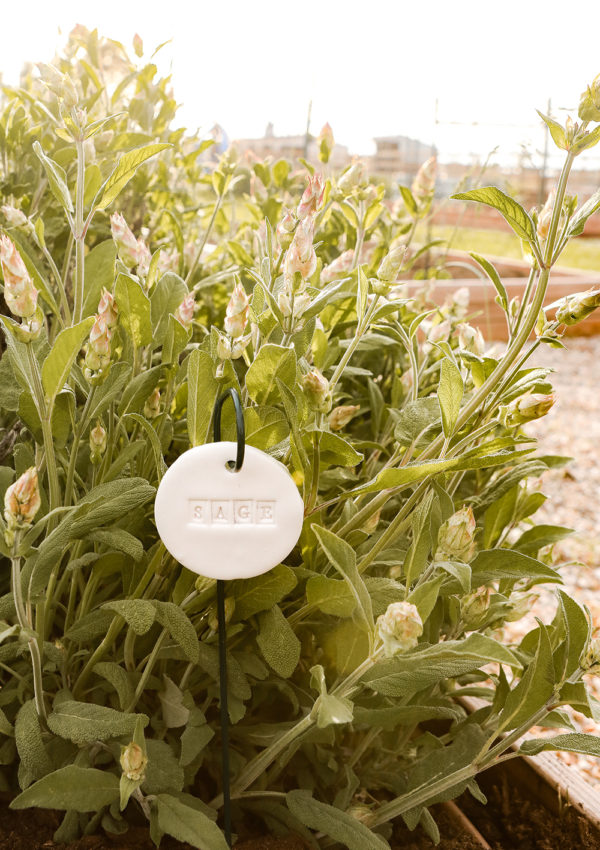
- DIY Plant markers {HERE}
- DIY Vintage Terracotta Pots {HERE}
- Pressed Flower Bookmarks {HERE}
- Vanilla and Peppermint Salt Scrub {HERE}
- Orange and Vanilla Exfoliating Body Scrub {HERE}
Thank you so much for visiting today, friends! I hope you love my DIY clay mushroom ornaments and they inspire you this season or whatever season you are creating in. You can find a full, printable instructions below with all the supplies and steps. Happy Crafting!
DIY Clay Mushroom Ornaments
Ingredients
- 3 lbs oven bake clay
- Paint in the colors of your choice
- Cheap paint brushes
- Painting dishes
- Throwaway fork
- Bamboo skewer
- Glue gun
- Mini metal eye screws
- Ornament hangers
- baking sheet
- parchment paper
- tin foil
- Modge podge
- Modge podge brush
Instructions
- Use about 3-4 inches of clay and shape it into a mushroom shape. Begin by pulling the stem and then form the cap.
- If you want them to stand on their own, make sure to press the stem down on your work surface so the bottom is flat.
- Use the fork on the bottom of the mushroom cap to make the gills.
- Make a hole in the top of the mushroom with the bamboo skewer.Preheat the oven to the temperature shown on the packaging.
- Prepare the baking sheet with parchment paper and then lightly wrap tin foil around the sides of the mushrooms to help them stand. You can also prop them up on one side if you find that is easier.
- Bake for the amount of time indicated on the package. Remove and let cool.
- Once cooled, mix the paint colors until you get the desired outcome. Paint the stems first. You will probably need two coats for the stems and up to 6 coats for the caps depending on the colors.
- Once fully dry, go over the tops of the mushroom with modge podge. This step is optional. My paints were two different sheens and I didn't like that so I went over each DIY mushroom ornament top with a satin modge podge.
- Once dry, heat the glue gun and add a dot of glue to the hole in the mushroom. Push the eye hook all the way in and let dry. If you don't get a good hold, pull it apart and do it again. You can also pick off excess glue when it is dry.
- Add on ornament hooks or strings and hang!


I love the look of these. Can these be used outside?
Yes I think you could! Make sure to seal the whole mushroom with an outdoor sealer. I believe modge podge does have one or you could always use a spray. I would make sure it has a UV in it as well to protect the paint against the sun. Outdoor sealers usually do but just something to check for. I have a plant stake coming this weekend on these. 🙂