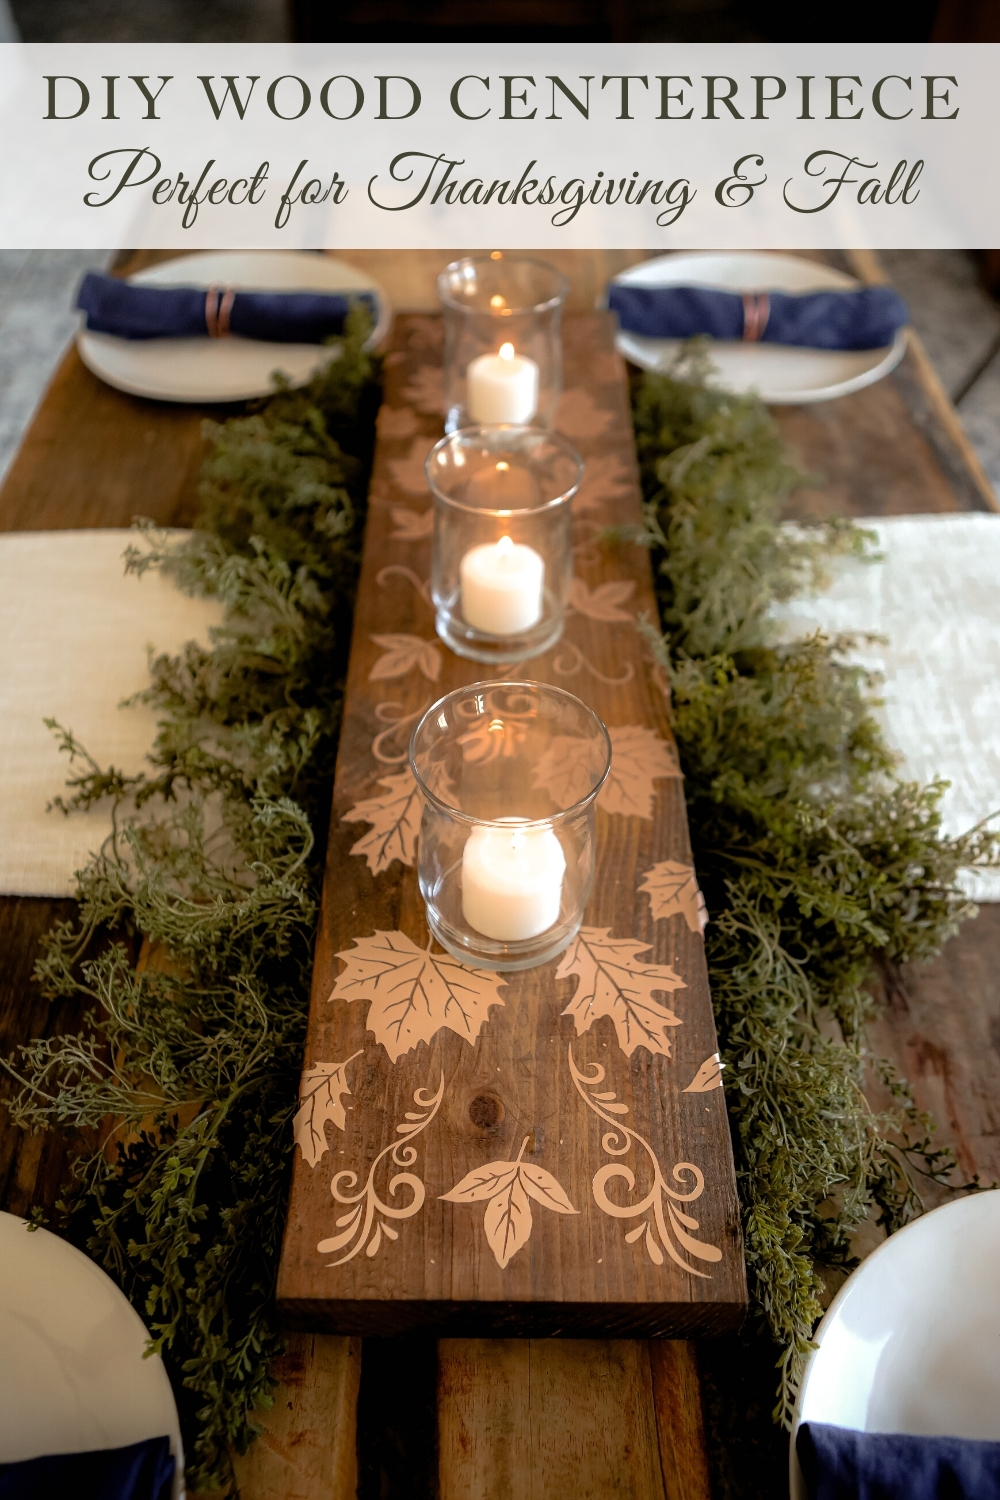
In 2021, I partnered with Cricut on our YouTube channel to create a DIY wood centerpiece with Cricut Adhesive Foil. I thought it would be fun to pull it up again in case you were needing some fall inspiration. This beautiful fall centerpiece is perfect for fall tables or even as a Thanksgiving centerpiece. Creating it and working with the Cricut adhesive foil was easy so I’m excited to show you how today. Hopefully this will inspire some beautiful creations of your own this season.
To begin, you need to create the DIY wood centerpiece to make this beautiful fall centerpiece. We made our’s earlier this summer for our outdoor tables in this post {HERE}. We’ve use them as serving boards in this post but since we made several of them, I decided to take one and turn it into an extra special piece with Cricut Adhesive Foil and use it as a rustic fall centerpiece or a beautiful Thanksgiving centerpiece.
DIY wood centerpiece materials
- 2×6 or 2×8 (I remeasured mine and it’s actually a 2 x 7.25)
- Varathane Stain in Early American
- Rag for the stain
- DeWalt Miter saw
- Jig for helping to drill the holes at an angle
- Clamp
- 1-inch screws
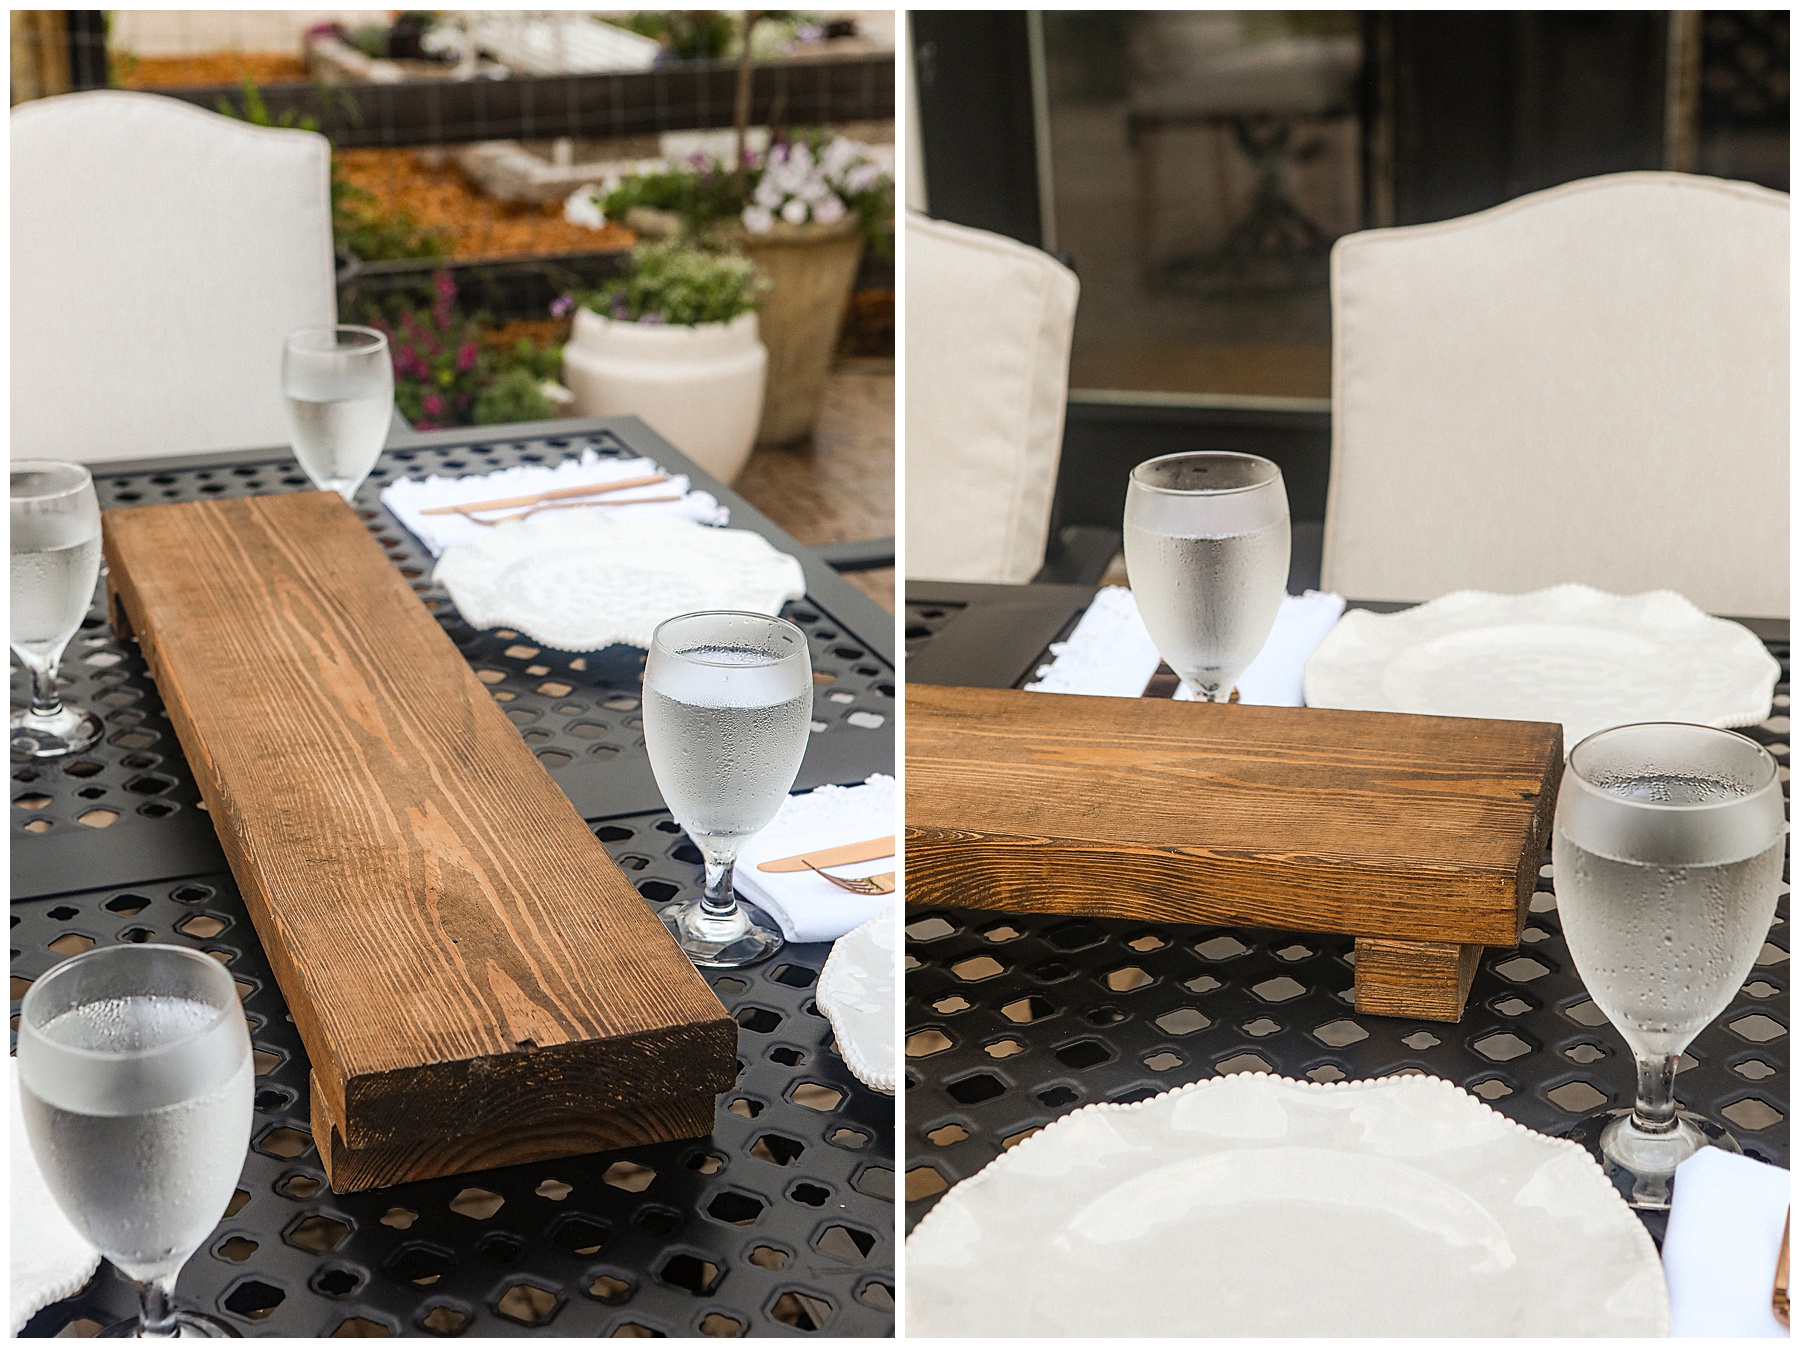
Our DIY Wood Centerpiece was cut to fit our outdoor tables. We made it 33 inches long. This is a good size for any standard sized dining table. Our dining room table in the house is extra-long and if we had made it for that, I would have made it around 50 inches.
Steps for making the DIY Wood Centerpiece
- Cut each board to the length you want it.
- Cut feet for the DIY Wood Centerpiece from the same board. We cut our’s to 2 inches in length.
- Attach a foot to each side of the board with 1 inch of space between the foot and the end of the board. This allows for easy carrying. Plus, I love the look.
- Attach the feet at a 15-degree angle by using the jig and creating pocket holes.
- Stain the board in whatever color you like. We used Varathane Early American.
After the stain dries you can apply the Cricut Adhesive Foil to the wood.
Tips for working with Cricut Adhesive Foil
I used the Cricut Explore 3 for my project, which you can find {HERE}. I really like this machine but I will tell you that I have no previous experience with other machines. And I used the Cricut Adhesive Foil in a Matte finish in Champagn. You can find that {HERE}.
- When using Cricut Adhesive Foil, there’s a few things you need to watch out for.
- The foil paper can crinkle easily so be sure you are being gentle with it when removing it from the Cricut Mat.
- To lessen crinkles, work with smaller pieces. You can even print one design at a time for this project if you like.
- When printing a sheet I like to remove it from the Green Mat and then cut theCricut Adhesive Foil apart to make it easier to work with.
- This allows you to bend the design somewhat when weeding. See the video above more.
Applying the Cricut Adhesive Foil to wood
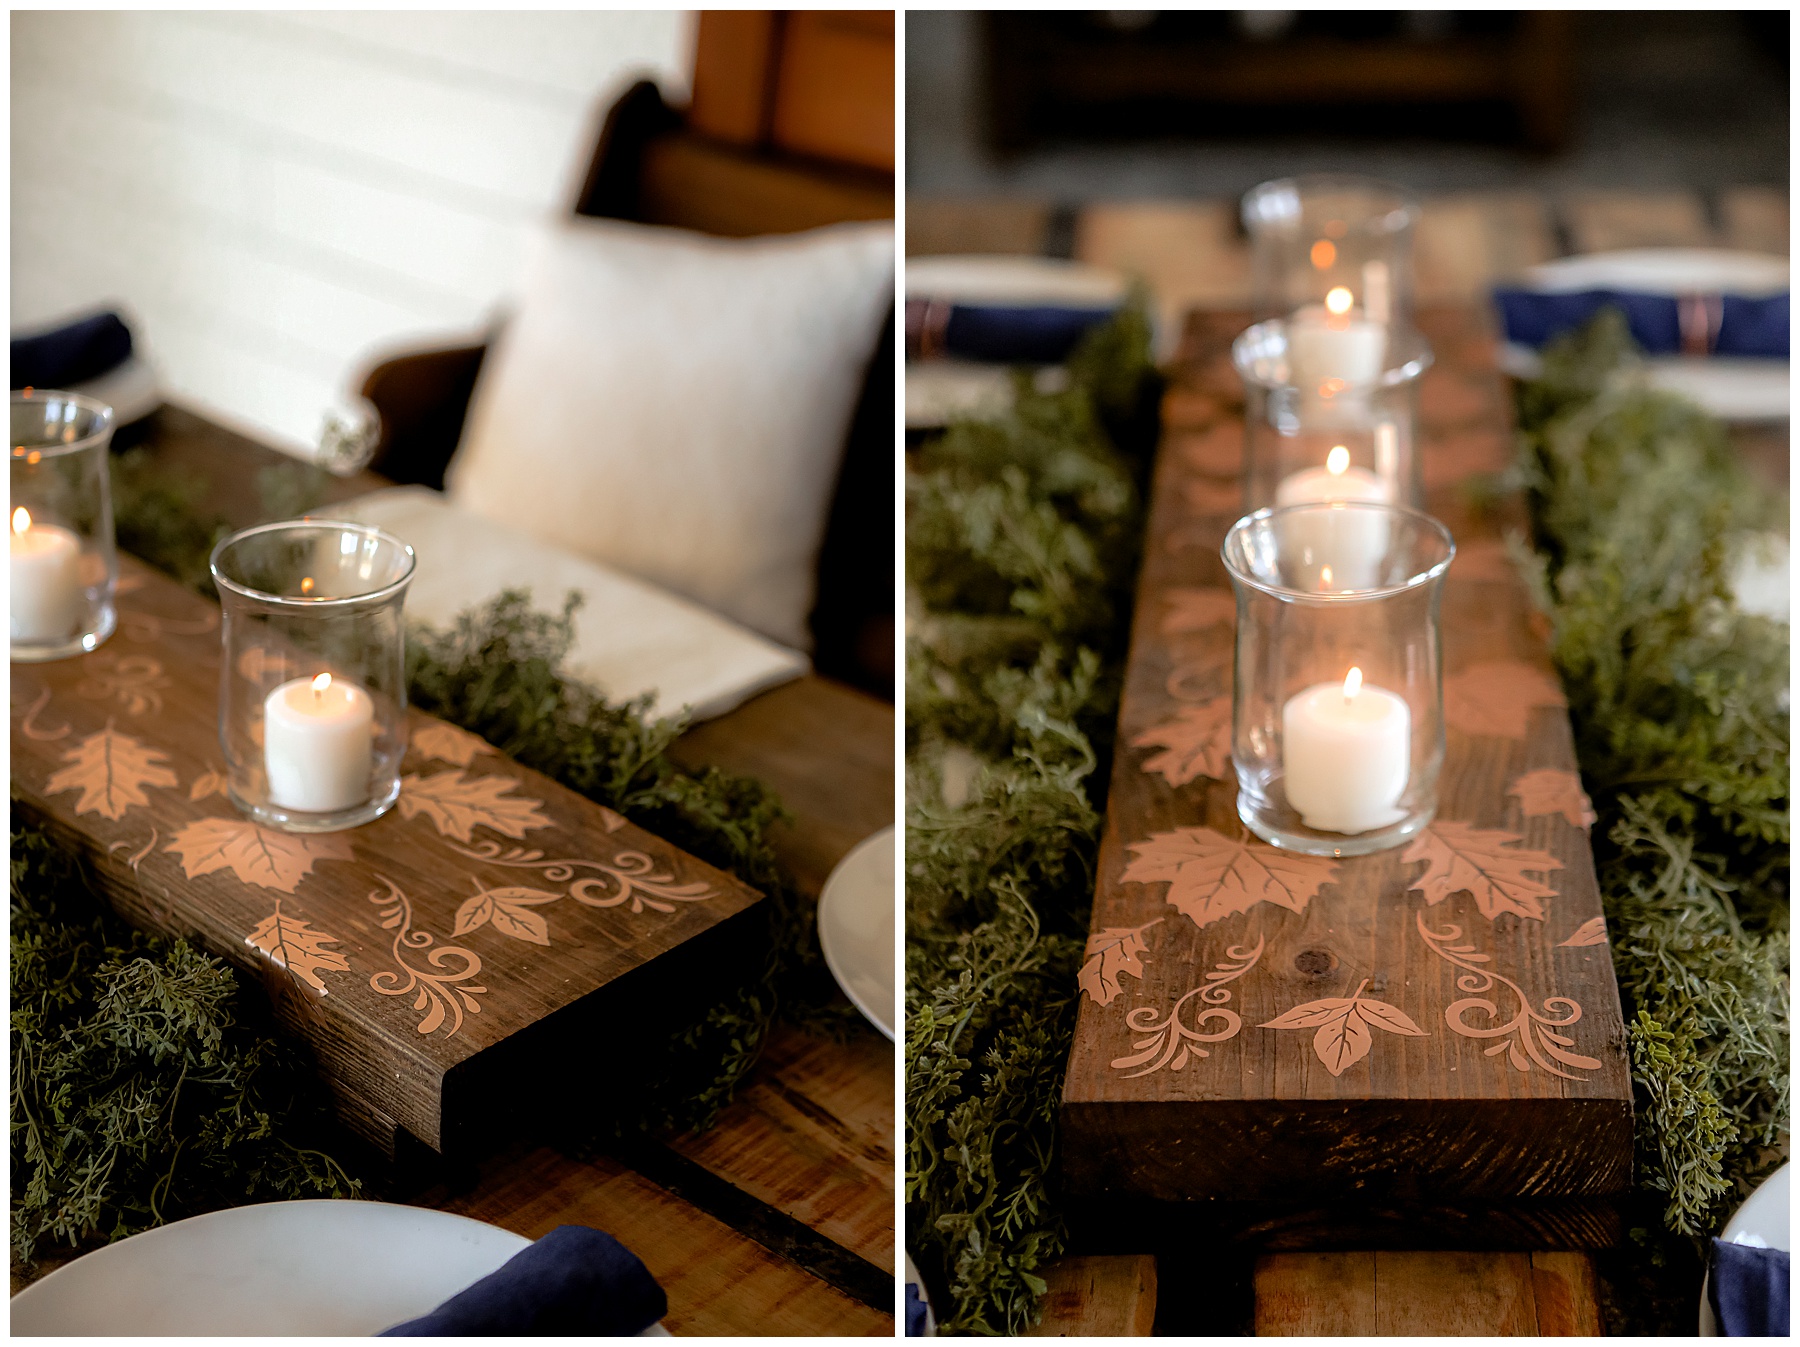
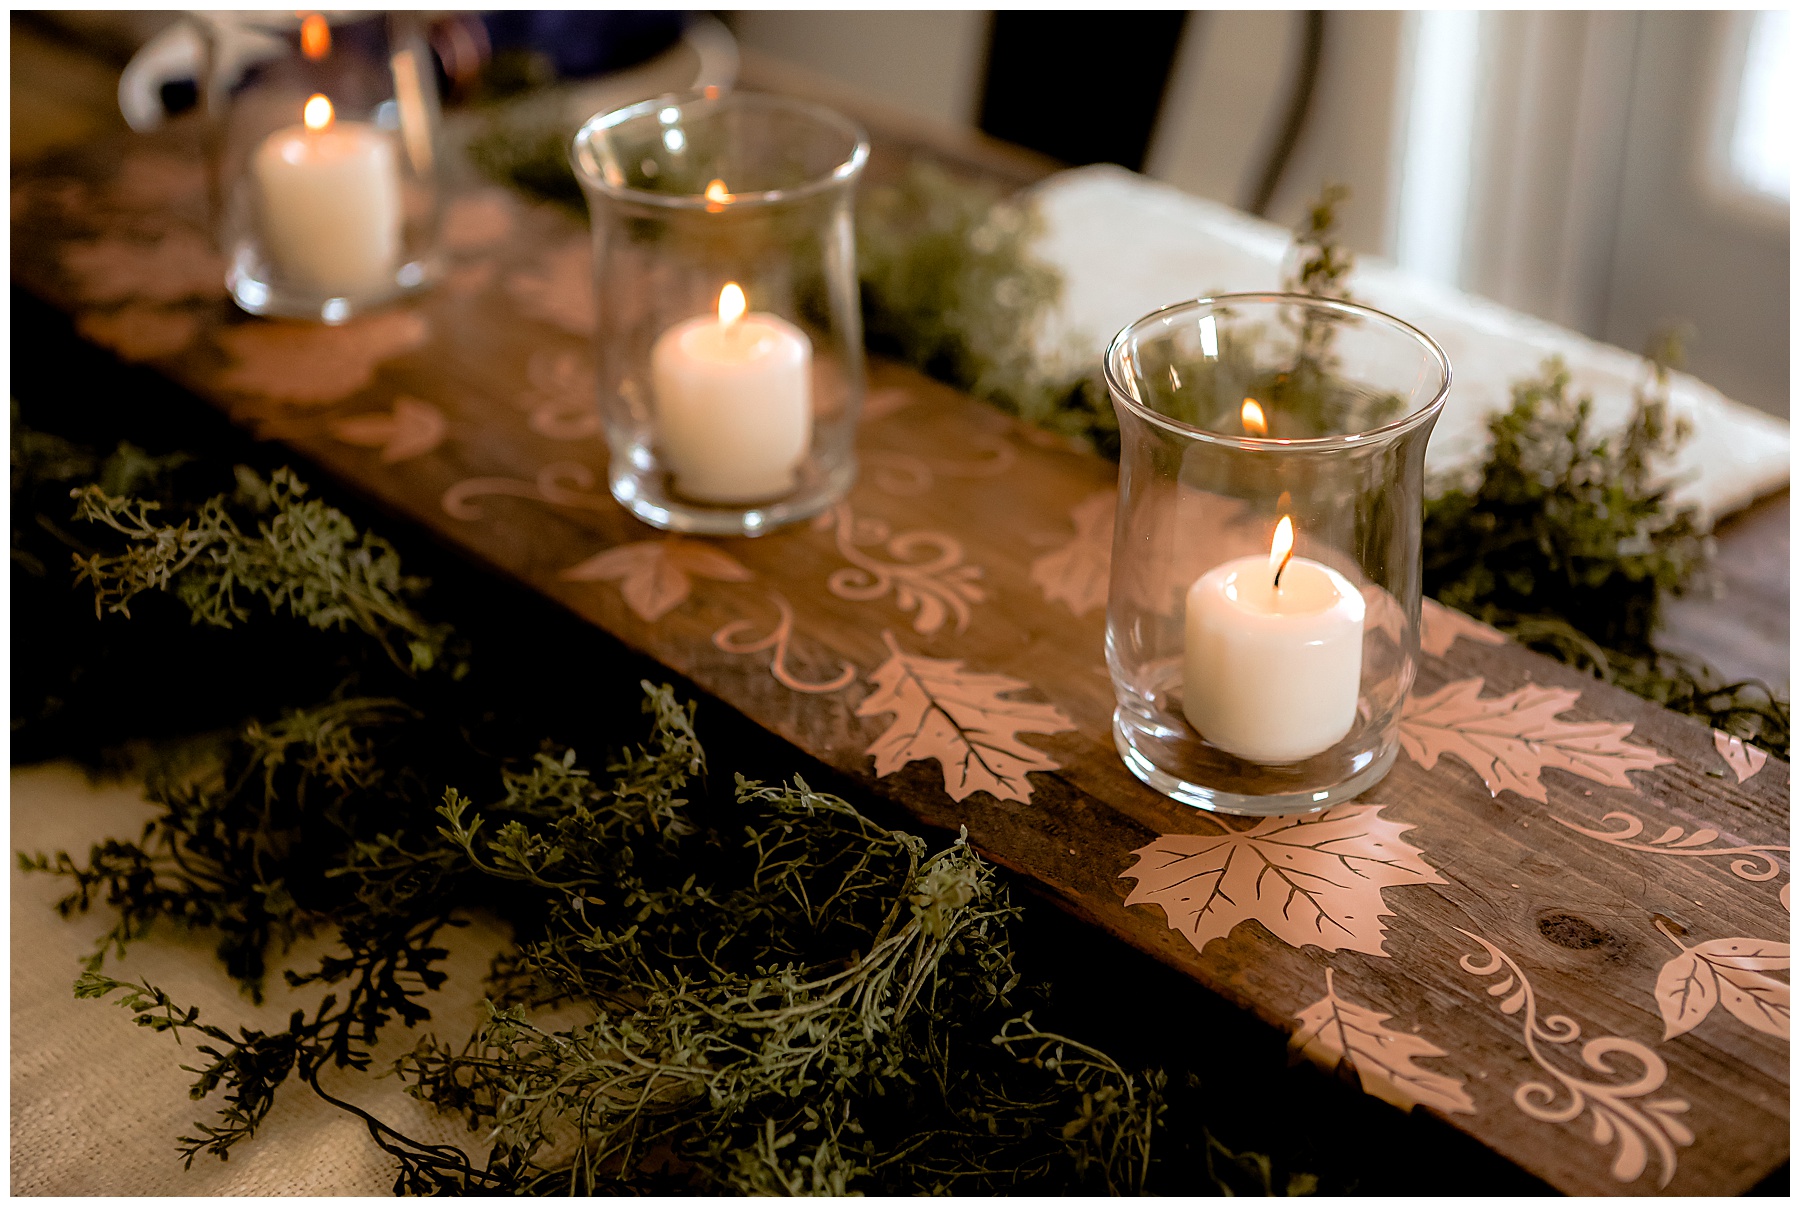
When applying the Cricut Adhesive Foil to your DIY wood centerpiece, you can apply it just as you would apply Cricut vinyl to any surface. Use the Cricut transfer paper and transfer tool to move your design from the backing to the wood piece. Then use the transfer tool to push the Cricut Adhesive Foil into the wood.
I will tel you that my wood was rough. We actually didn’t sand it down after cutting it. I always like a little more rustic appearance. However, the Cricut Adhesive Foil has no issues sticking to it.
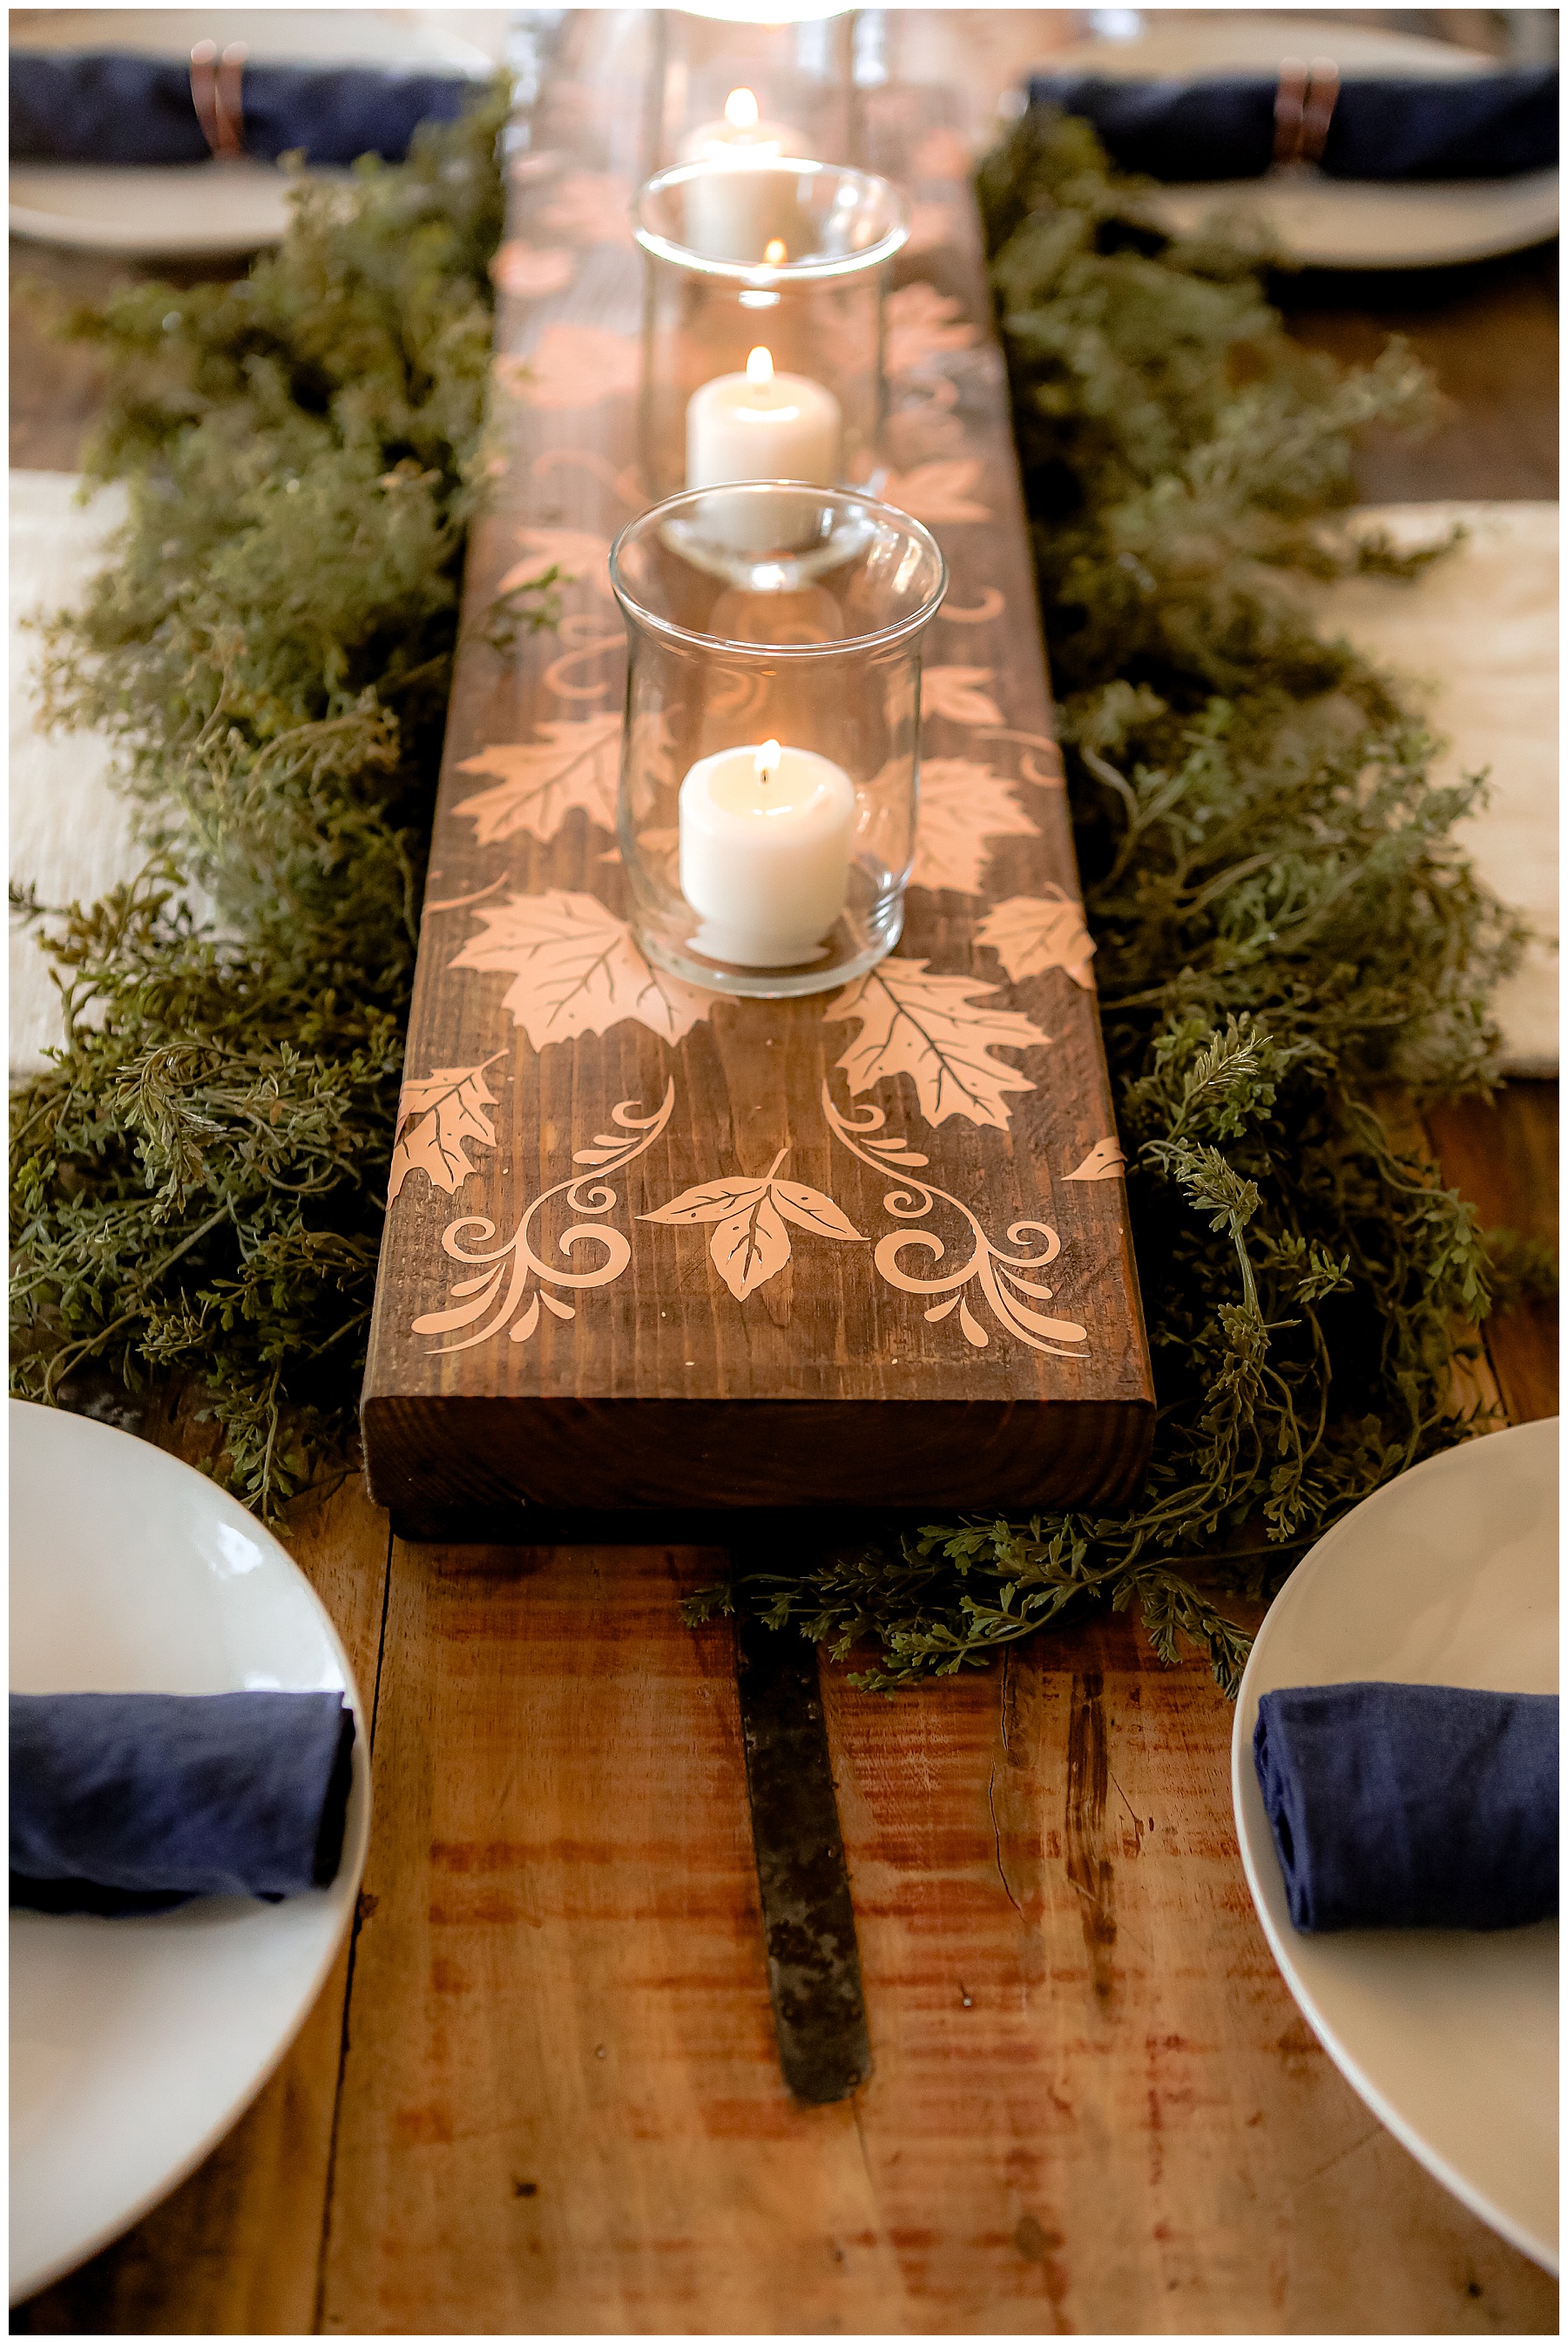
I used two main designs when creating the DIY wood centerpiece with Cricut Foil Adhesive and they are as follows:
- Swirl Flourish #M266FED08
- Maple Leaves #M2F1E49E9
Completing the look
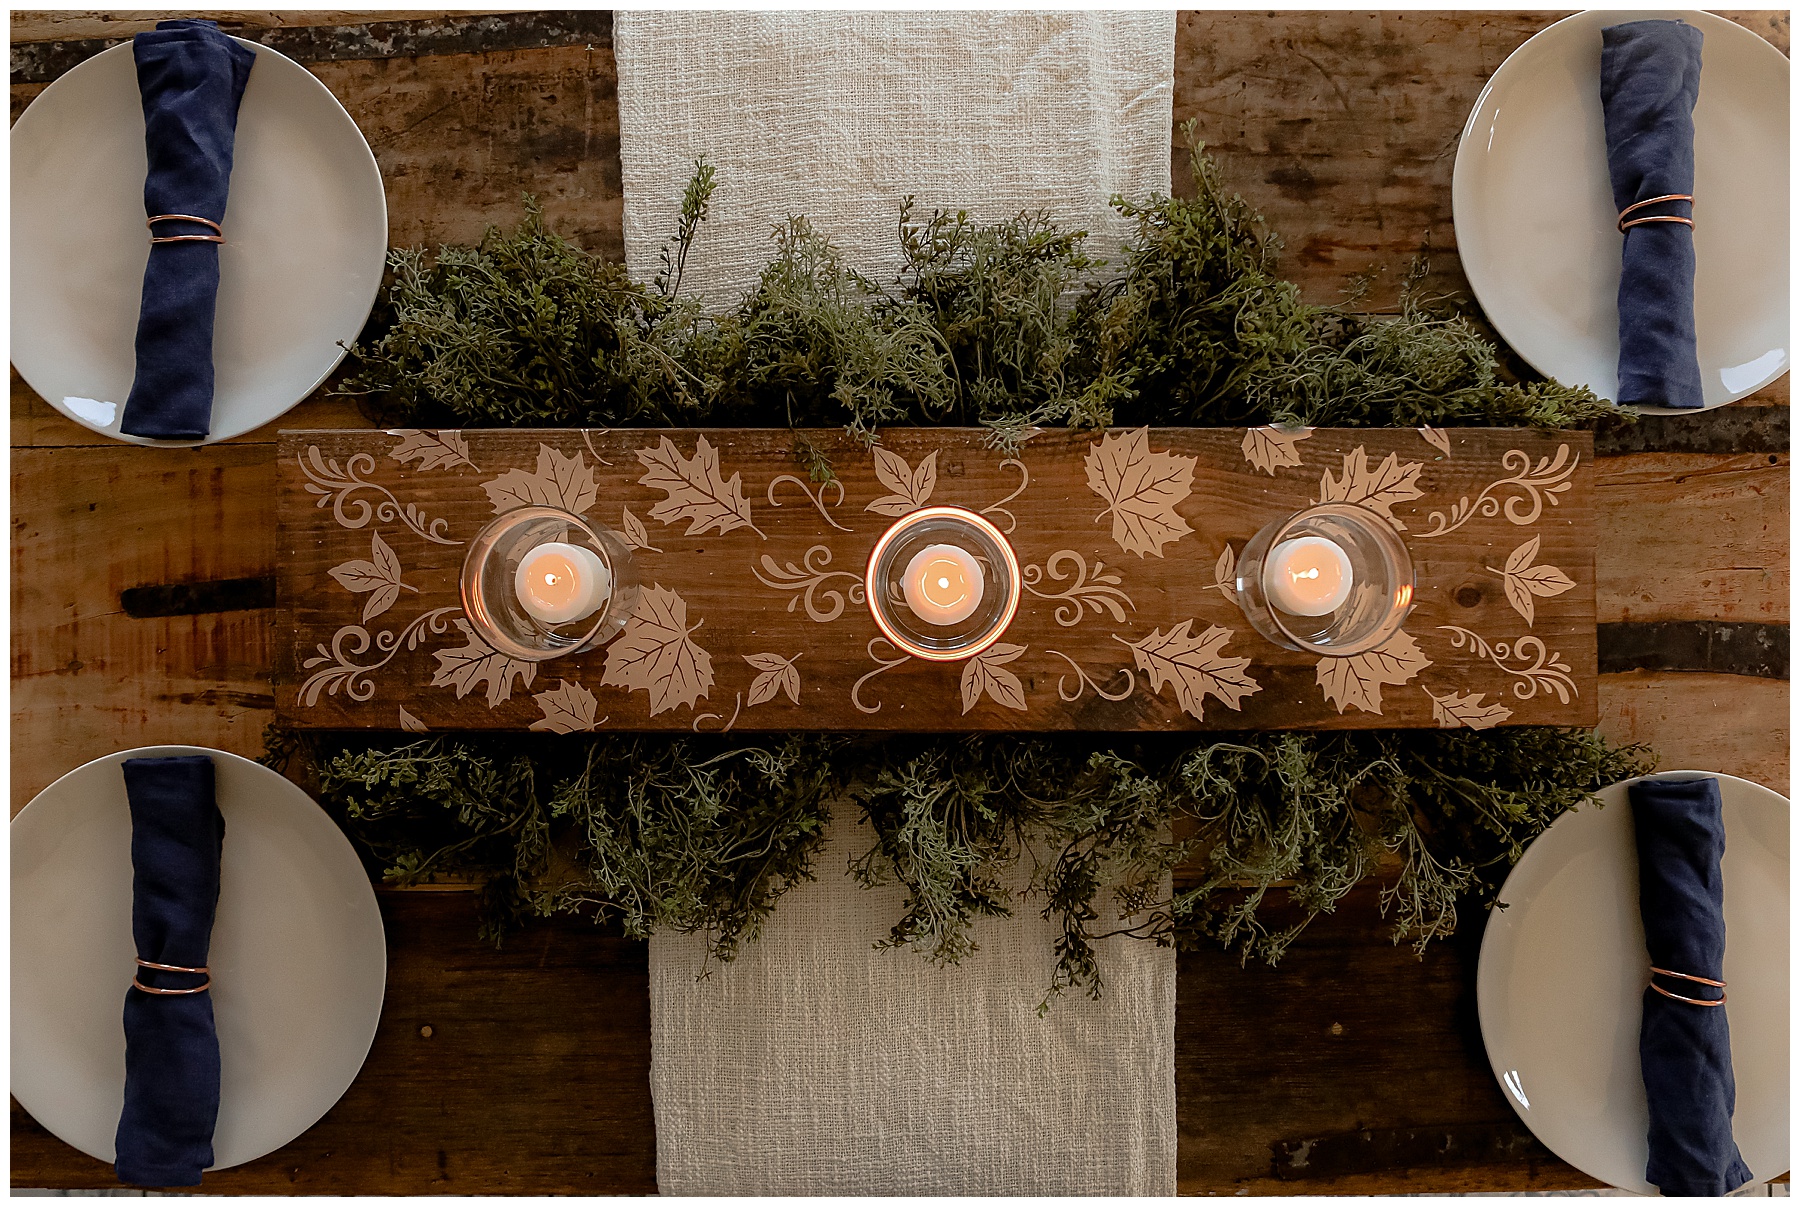
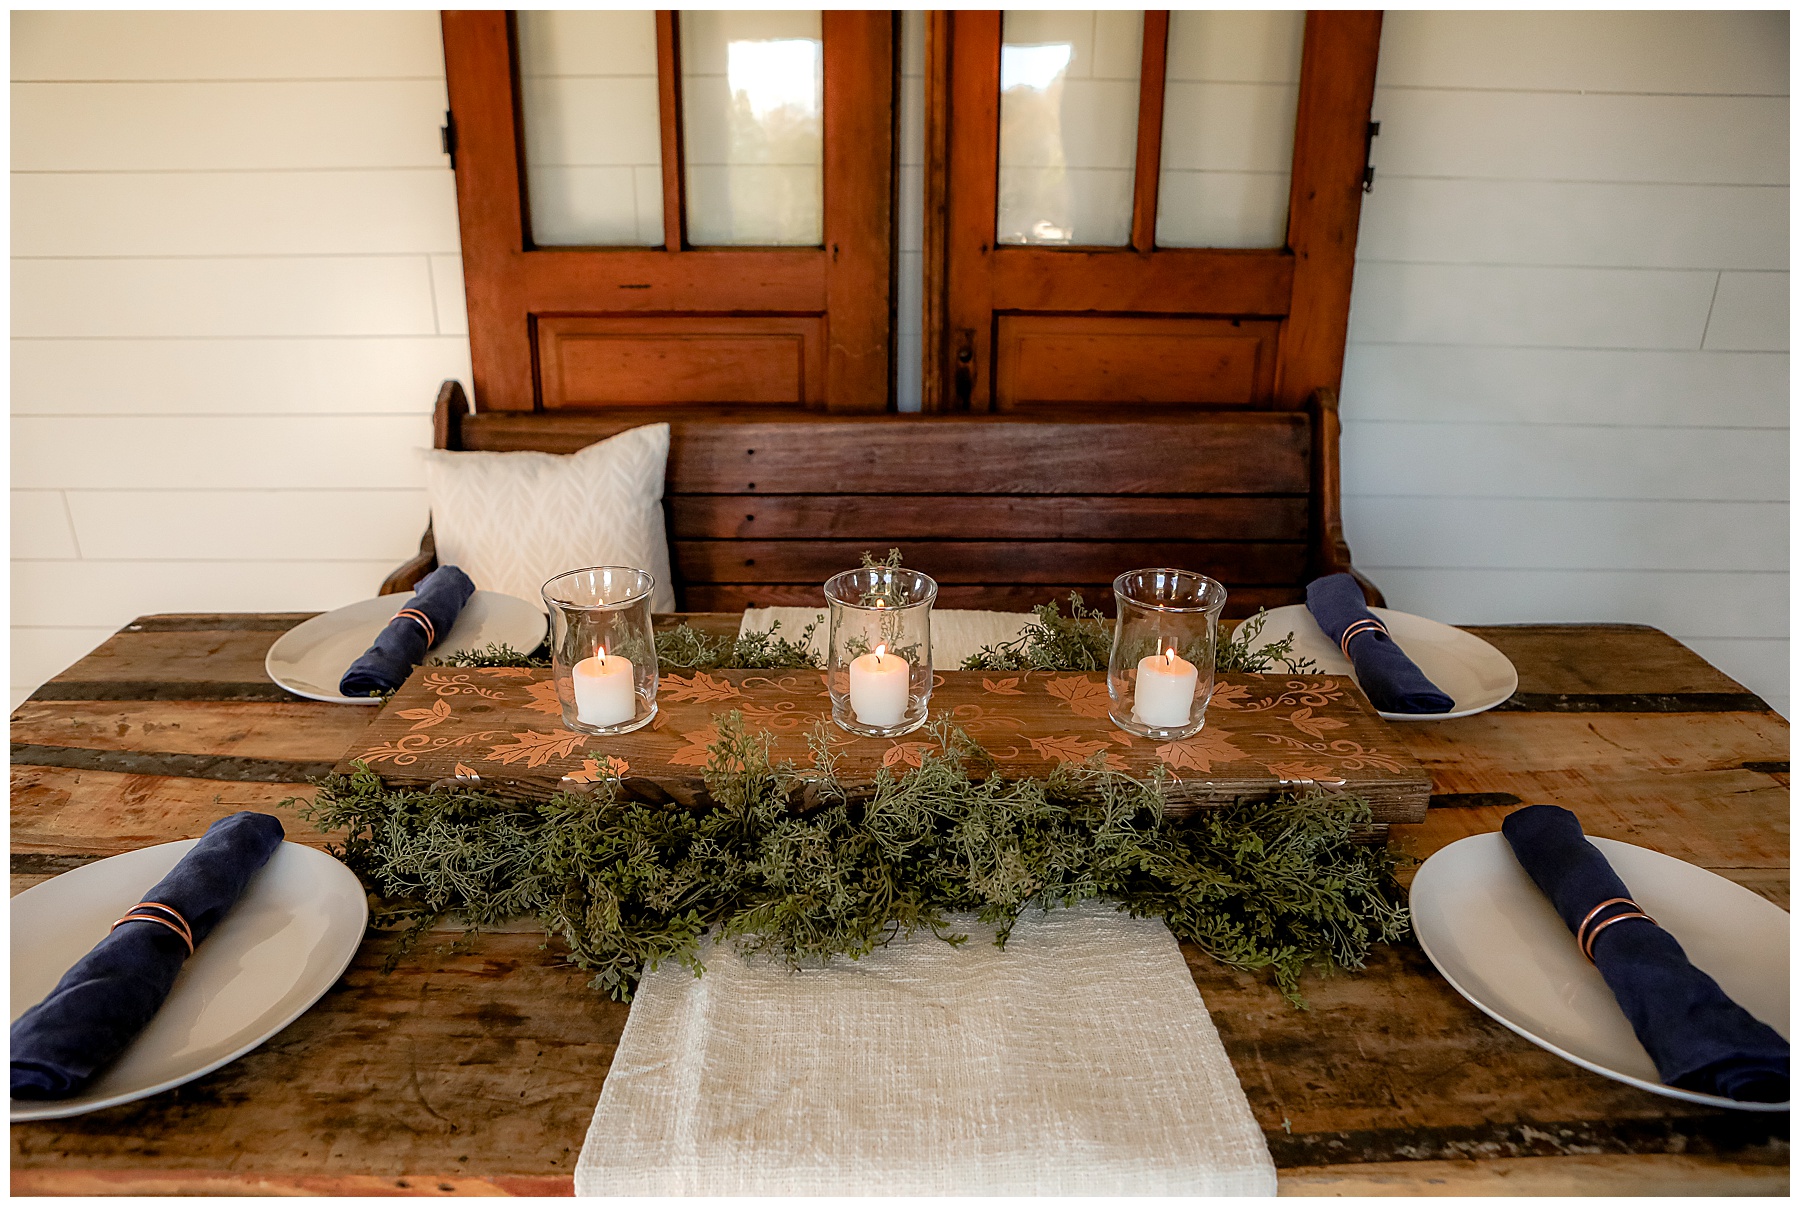
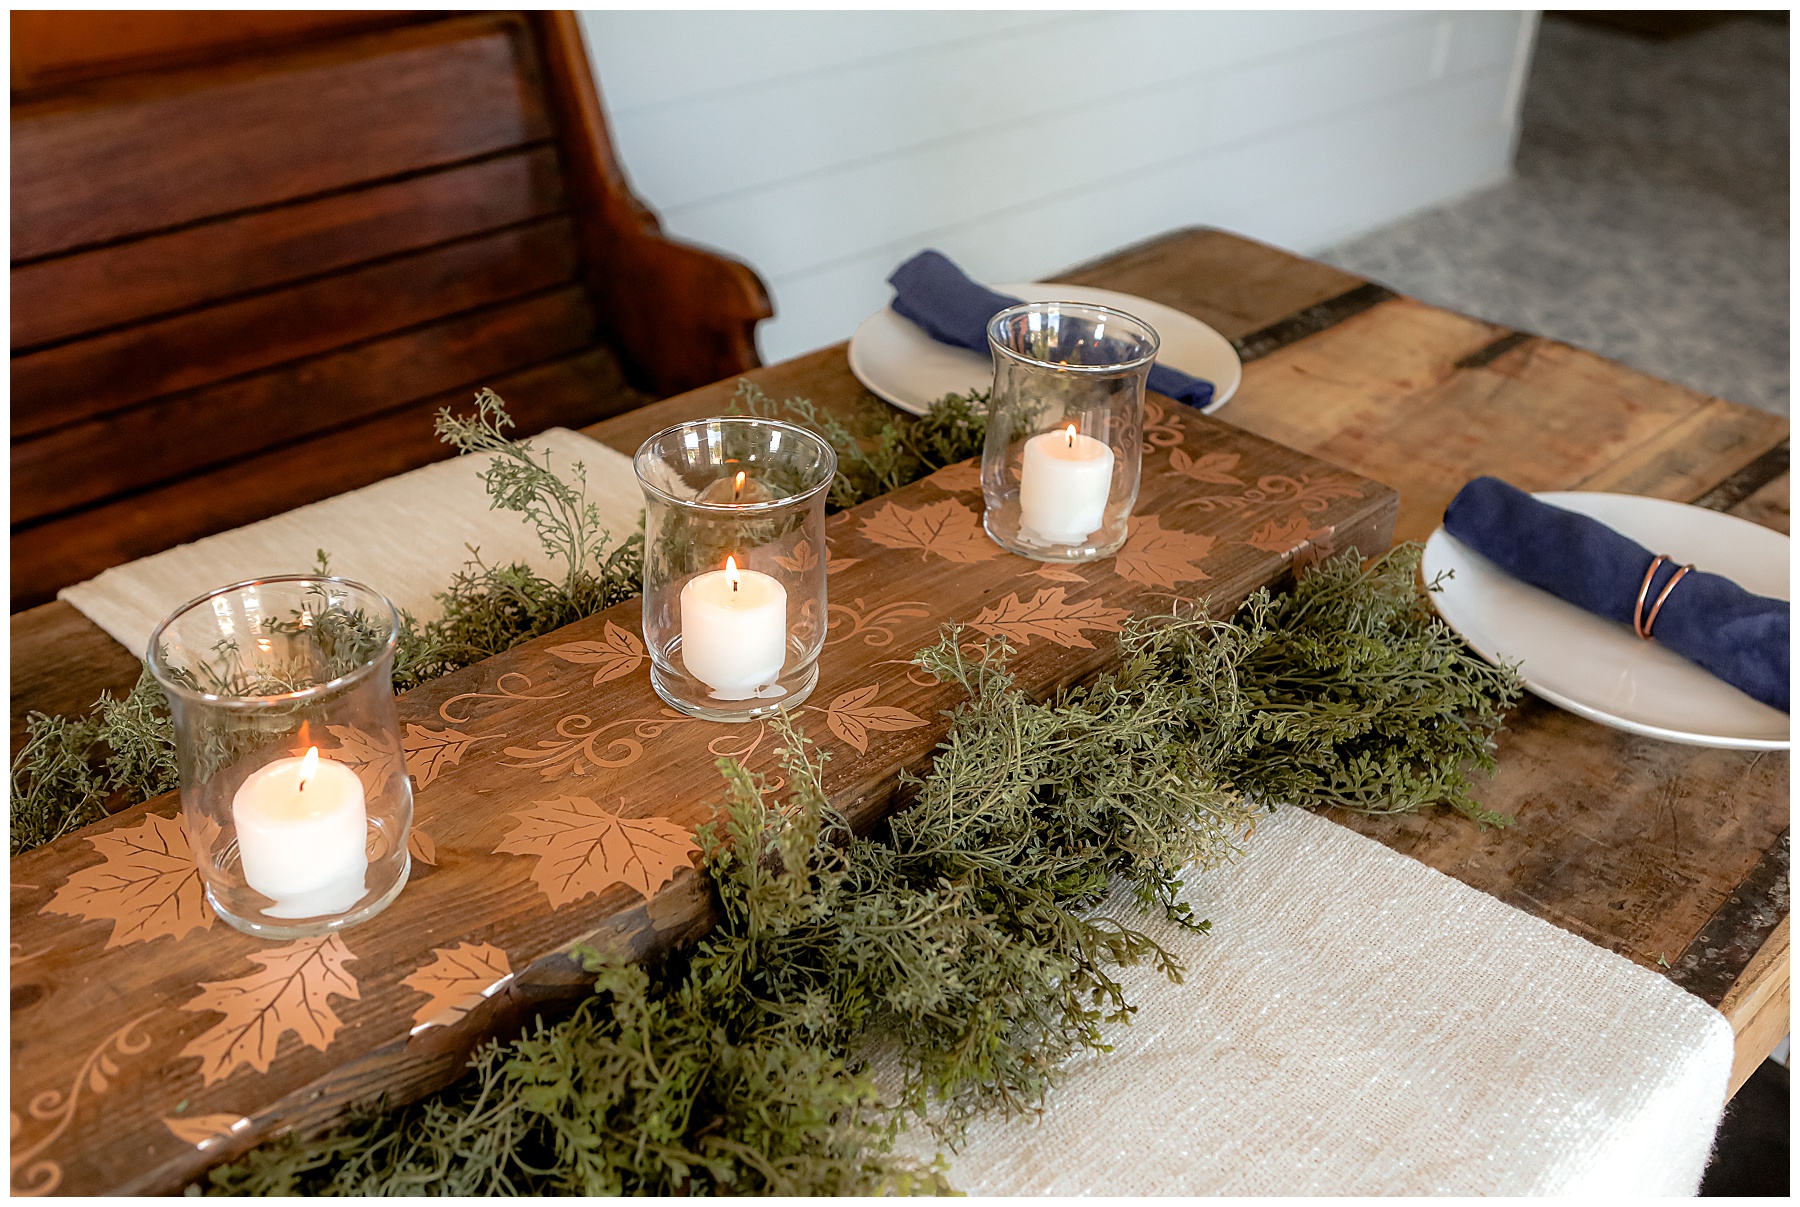
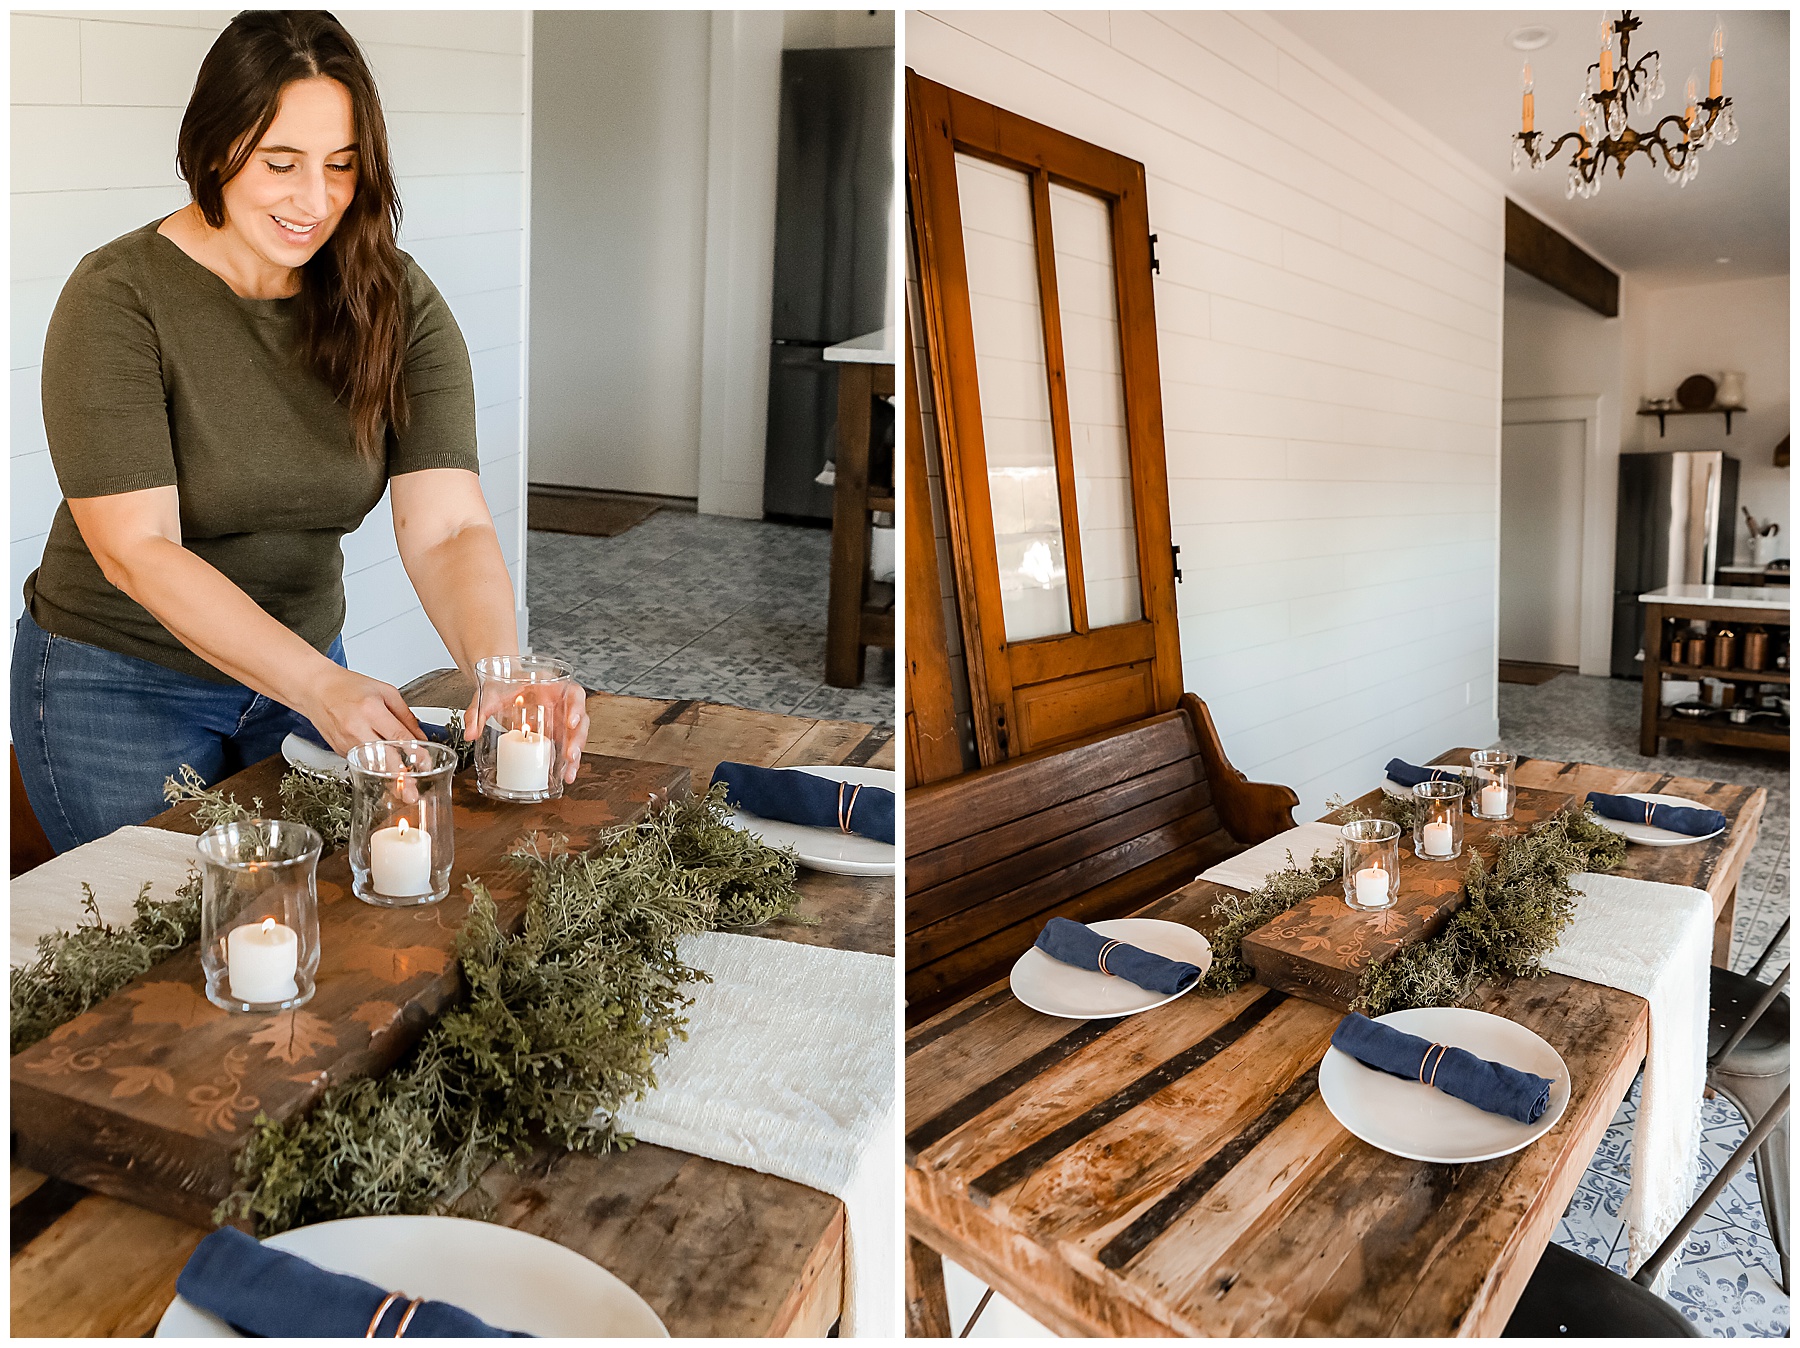
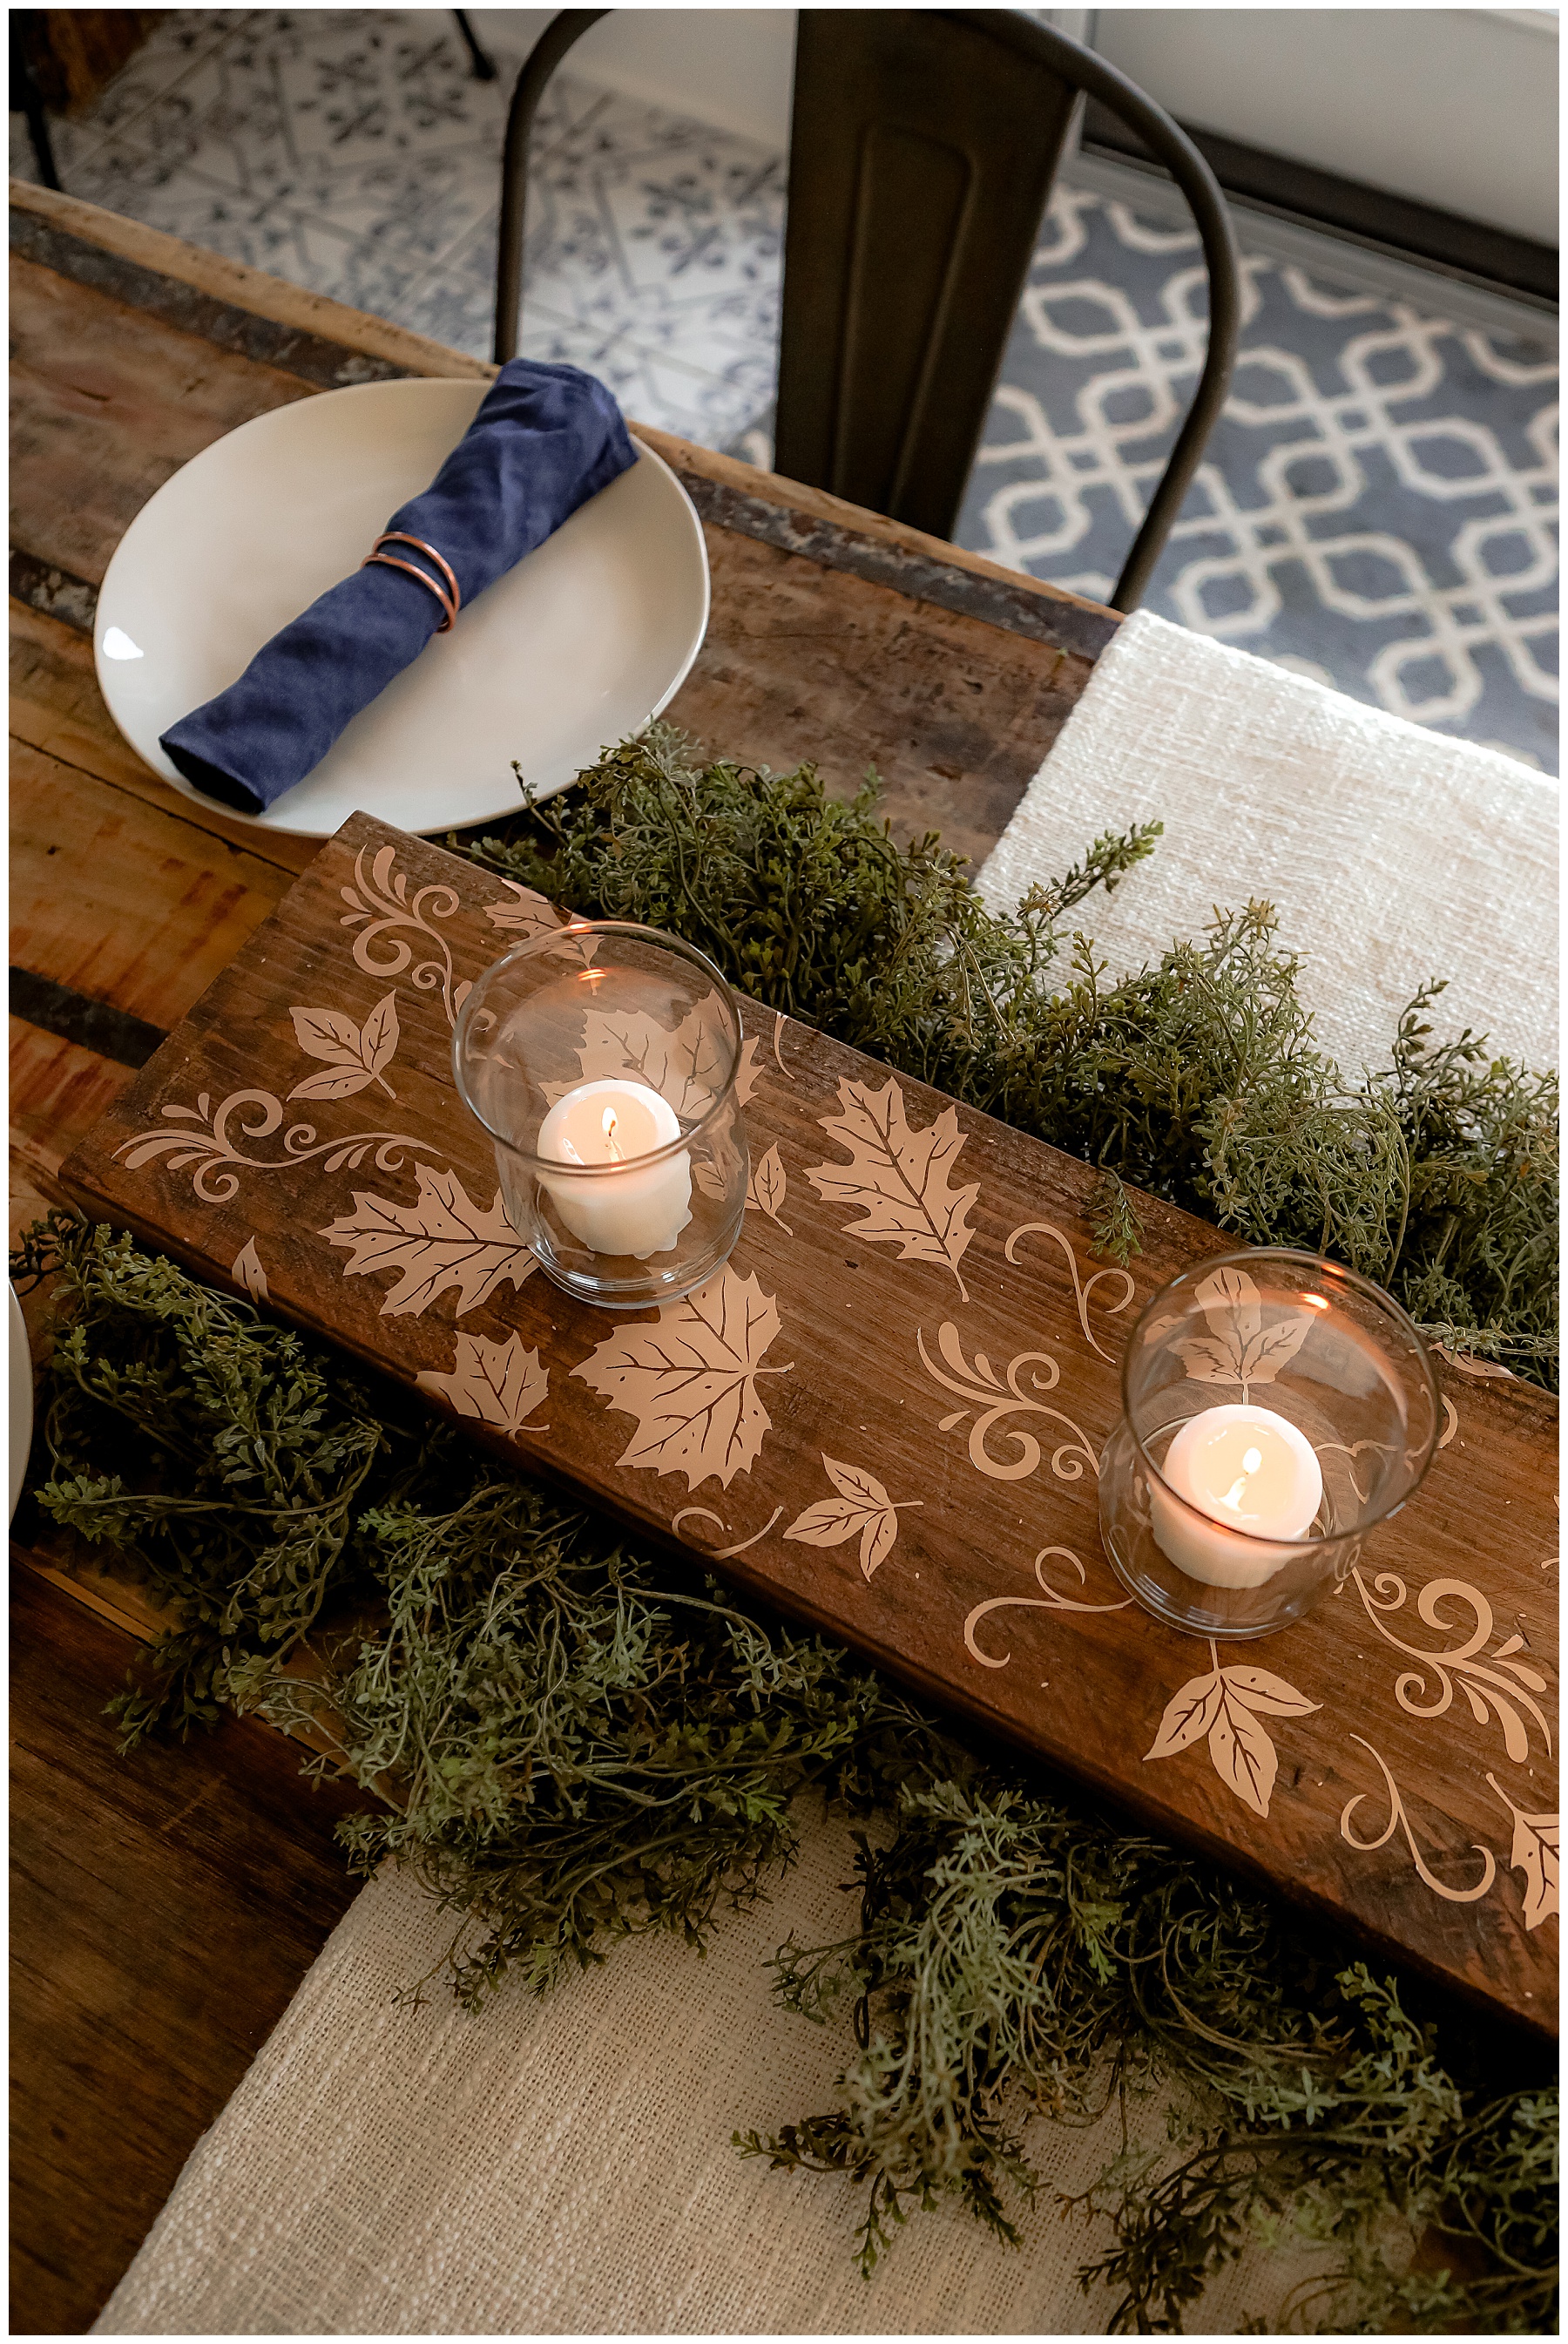
Once my DIY wood centerpiece was completed, all I did was set it up on our table in the barn with some greens and some candles.
If you’ve been following me for a while then you know I usually love using real or dried greens in my décor. However, I just didn’t have a change to make that happen this season and used faux greens instead.
The glass candle holders are 99 cent holders from Michael’s and so are the candles!
Lastly, I added the barn plates to the setting along with some navy blue linen napkins that I love. I secured them with some copper, metal napkin ring holders that you can find {HERE}.
What do you think of the piece friends? For more details, watch the video above and you can see step-by-step how I applied the Cricut Adhesive Foil.
Thank you do much for visiting today everyone! I hope to see you again here at Sugar Maple Farmhouse. For more DIY projects, click {HERE}. And make sure to check out our DIY Outdoor Coffee Table {HERE}. It was one of my favorite DIY projects this year!




Gorgeous. I love this so much. This would be amazing for Thanksgiving.
This is so pretty! I need to make it for Fall
I love the way this turned out, this would be perfect for my home.
Cricut seems to be quite popular these days! And from your work here I can tell why it’s so popular. Love the way everything looked. Beautiful!
This looks so nice. I have a Cricut maker and I’d love to do this. It would be great decor for Thanksgiving.
Your centerpiece looks great! I have a Cricut but haven’t used it very much. We have a lot of old boards around, so this might be the perfect project for me.
Wow! That wooden center piece that you made looks absolutely amazing! I would love to try and do this.
I really love this. I didn’t know about adhesive foil. My imagination is going wild!
This is perfect for thanksgiving. Ive never done any DIY`s before so this will be my first. thanks for sahring
This is perfect. Thanks for giving us an idea. I cant wai to make my own DIY
This is a beautiful piece. The color of the foil accents the wood perfectly.
What a great project! My husband makes some awesome wood gifts and we just got a cricut! I will definitely be showing him this!
Oh! I love the finished product! It looks amazing and just inn time for the holidays!
STUNNING! When my formal dining stops being a playroom and I put my table back in there I am doing this! LOL
That turned out beautifully! I would love to have something like this for my table.
This turned out so beautiful! I love it.
That is such a great idea. The centerpiece looks lovely and would be perfect when having guests.
Wow! This is absolutely amazing. I would love to try this wood centerpiece.
This is really pretty and creative! I never would have guessed you could create this with the help of a Cricut machine. Would be so pretty on a fall table!
This came out amazing! It is so neat what the Cricut can do!
This is absolutely beautiful. I LOVE using the Cricut too. This piece is perfect for the fall and winter. Just gorgeous!
This is beautiful! I love the colors and the design. I like the more subtle colors, and this would fit well into my decor.
I’m absolutely obsessed with this centerpiece!!
Your tutorial is great.
I am going to try and make this for our secret Santa even!