This weekend we set up our first road side farm stand and I’m so excited to show you all a few of the details. This is technically our temporary farm stand set up because we actually have a run-in being delivered soon that we are hoping to use as the farm stand instead. However, the one we put together this weekend is easy to make and if you’re dreaming of having a little roadside stand, maybe our set up can serve as some inspiration to you.

Our original plan
First, we purchased a workbench table last year that we had intended to use as our farm stand at that time. This is actually the same work bench table that we used in my outdoor potting table {HERE} and the outdoor kitchen space {HERE}.We didn’t want to build something from scratch when I knew there was already something out there that was basically what I wanted. It just needed a roof.
So, we added a roof to it and then moved it onto position. However, the roof, which was made from extra metal roofing we took off our garage during a renovation, was much too heavy for the structure. Also, on our uneven ground, it didn’t stand a chance against our high winds. I continually flipped and became unusable.
The new plan
Fast forward to this summer…
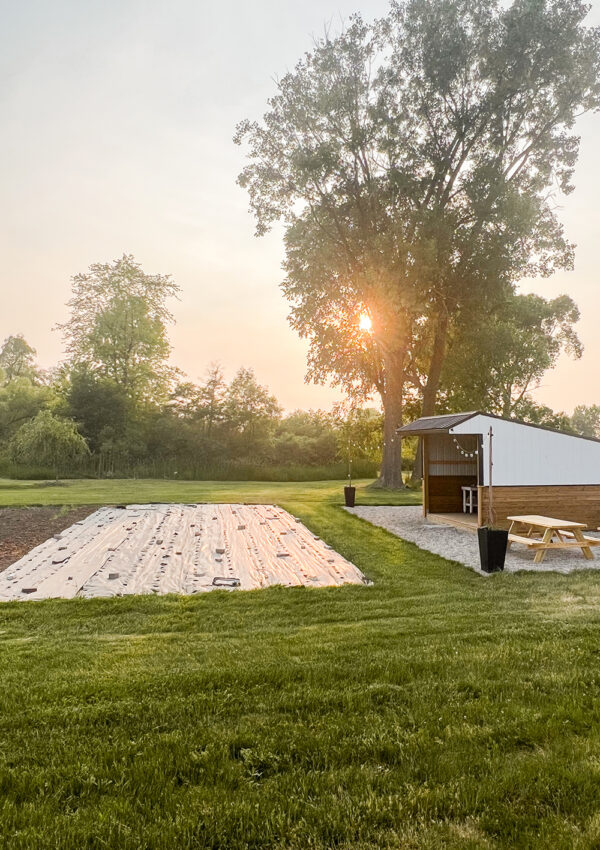
I knew we needed to really get the farm stand going because our garden is huge. I didn’t want to let another summer go by without capitalizing on that. To avoid the issues of having something flip in high winds, I decided to order an animal run from a local Amish community. We bought one last year for the donkeys and it was well-made with a roof on it.
I loved the idea of having something a little more permanent and it wasn’t overly expensive. Plus, if the farm stand failed we figured we could always use it in a new field for our animals or even for hay storage.
The run-in was supposed to be here this week. However, it’s been delayed. While it should be here in a week, the garden waits for no one and it is producing an incredible amount of produce right now. Here’s a sample of a few of the items we grew.


Creating the farm stand space
So, we hauled out or workbench table again and decided to make something temporary. Due to optimal weather this season (and actually a little too much rain if you ask me) the garden is in overdrive. I truly wanted to try to start selling our vegetables now. Not to mention we are growing a variety of flowers this summer too. I attempting to make a few mason jars to sell.
The farm stand needed two things in my opinion:
- Tablespace, which there is plenty of on that workbench.
- Shade, which we decided to create with an extra umbrella.
Kevin spent a few minutes removing the roof and posts we put on the table last year. Then he made it a bit more stable. Turns out falling over again and again really wasn’t great for it. 🙂
We propped the table up against one side of our fence and used an extra patio umbrella for shade. I purchased the for our stone flower bed area {HERE} to act as an awning last year. You can find the umbrella {HERE}.
And the results, well, I think they were charming. What do you think?
Thank you all so much for visiting today. I hope this gives you some inspiration if you were thinking of making a little roadside farm stand too. For more on our farmhouse projects, click {HERE}


I LOVE your farm stand! It is such an inspiration!
Thank you!
I love the rustic antique look to your table! What stain did you use to achieve this? 🙂
Nothing on that. That is just how the weathered wood looks once we put the table together and let it sit outside for a season.